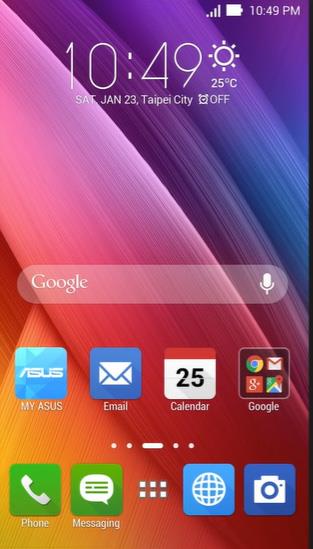
Asus ZenUI Launcher interface is an extremely famous and beautiful interface from Asus. Let's learn how to install and use this application through the article below.

Instructions for installing and using ZenUI Launcher
First, you need to download the APK file to install ZenUI Launcher. Because this application has now been removed from CHPlay, we need to install it manually using the APK file.
After the download is complete, we proceed to install it on the phone. Note that you need to enable the function to allow installation of applications from unknown sources. Refer to the article: How to open the APK file, install the APK file.
Once the installation is complete, the interface of your phone will automatically be changed according to the default settings of ZenUI.

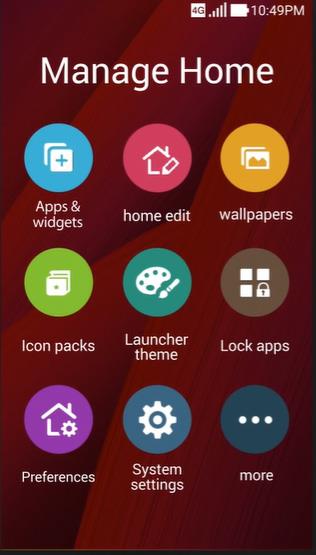
To proceed with customization, please click the image button ... at the bottom of the screen. The options window will appear. Here you can customize a lot of utilities such as the desktop, change the icon color, change the theme interface...

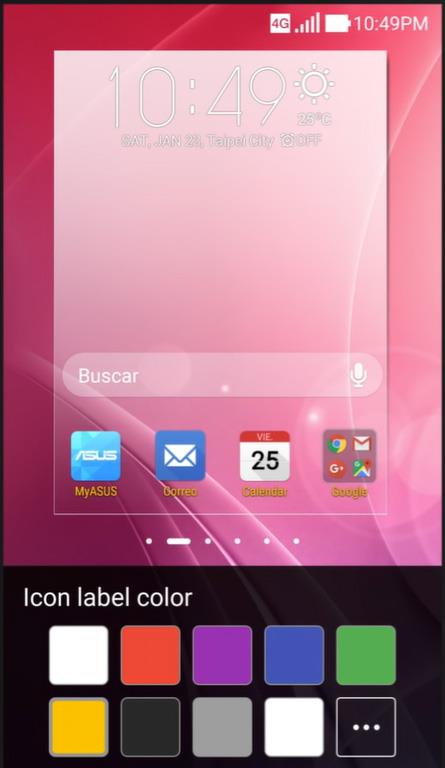
For example, if you want to change the Icon color, click Icon Packs. Here, choose an arbitrary color for your icon name.

To group some applications into 1, you also just need to drag and drop them together to create a new group. Other applications do the same.

ZenUI also provides a very useful and special feature compared to other interfaces that is to quickly access the search by swiping down the screen along the screen. This way, users can also quickly access some frequently used applications without having to search, very convenient, isn't it?

In addition, ZenUI has a lot of customizations that you can exploit, discover for yourself.
Wishing you success!


