When using Windows 10 you can easily record screen videos, take screenshots of game screens without having to install any supporting software. Game Bar is one of the attractive features that the operating system "juniors" secretly jealous.
The ability to film and take screenshots of Game Bar is not inferior to Camtasia Studio or Bandicam , so you can feel secure to use. However, a lot of people don't know how to enable this feature? So invite you to follow the article below of Download.com.vn:
Filming, taking screenshots of games on Windows 10 with Game Bar
Step 1: At the gaming screen, press the Windows + G key combination to open the Game bar. If you open the Game Bar for the first time, a Do you want to open Game bar dialog box will appear ? , tick Yes, this is a game that can be used. In case the Game Bar dialog box is not visible, you are playing in full screen mode, just switch to the window mode to see it.

Step 2: The Game Bar appears, you will see the following functions:
- 1: Connect to Xbox, use Microsoft account to customize parameters as well as shortcuts.
- 2: Take a quick screenshot ( Windows + Alt + PrtSc) .
- 3: Record video immediately, use only when the Record feature is in Pause mode.
- 4: Record game screen (Windows + Alt + R).
- 5: Visit Settings to set some parameters.

Step 3: In the Settings section , in the General section you can customize the video length or record the video even in the background. However, this state is not allowed to spin much.
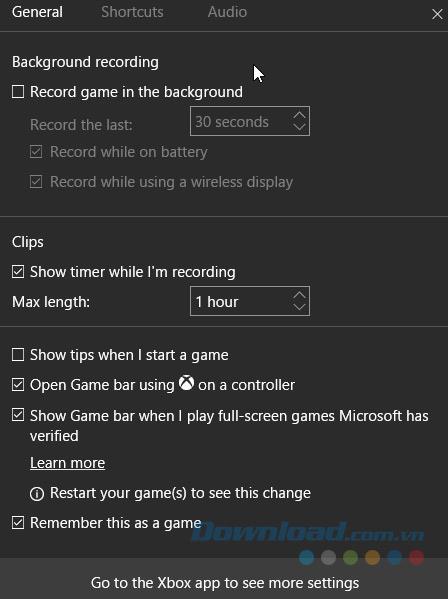
Step 4: At Shortcut tab , allows you to edit the shortcut as you like.
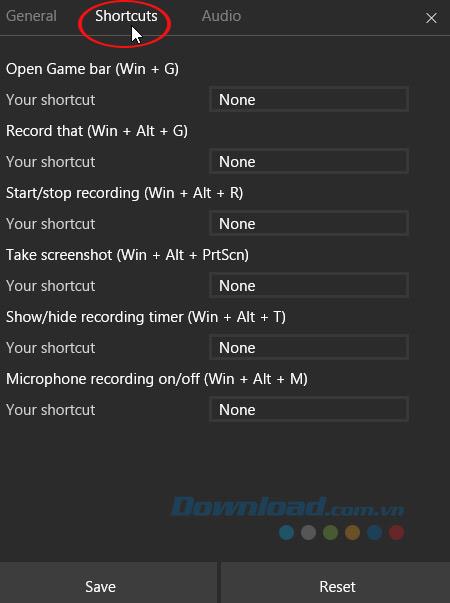
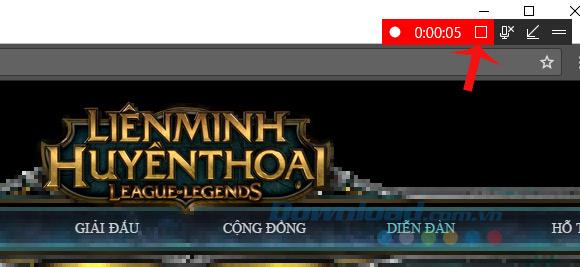
Step 5: To record game screen on Windows 10, press Windows key + Alt + R or the red Record button to start recording. Immediately after that appeared a timer in the upper right corner of the game window that was playing. When you want to stop recording press the Stop button square right next to the timer. When the recording stops, notification will appear that the video has been recorded.
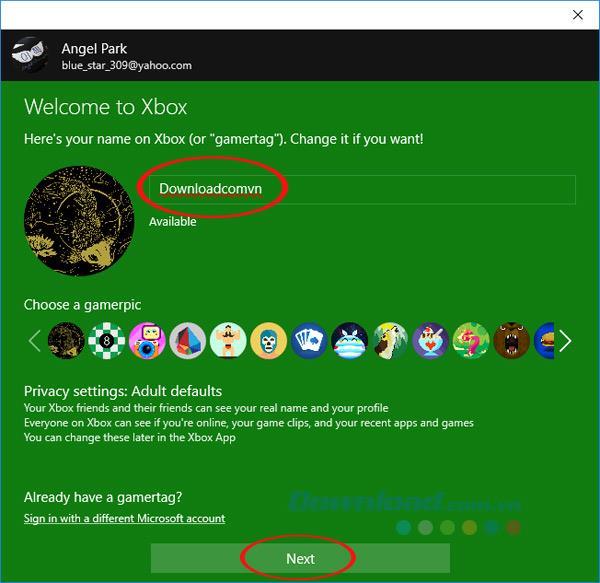
Step 6: To customize the Game Bar even more, click the Xbox icon on the main interface of Game Bar. Log in with your Microsoft account, then proceed to name the account if it's the first time to use, then click Next.
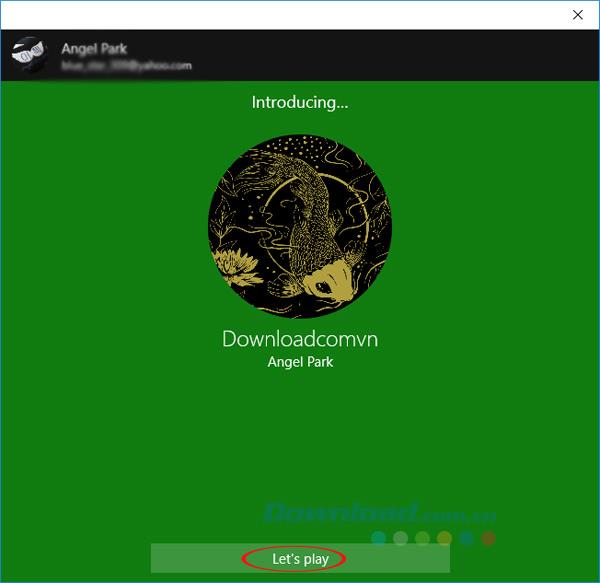
Step 7: Click Next to Let's Play to start Xbox.
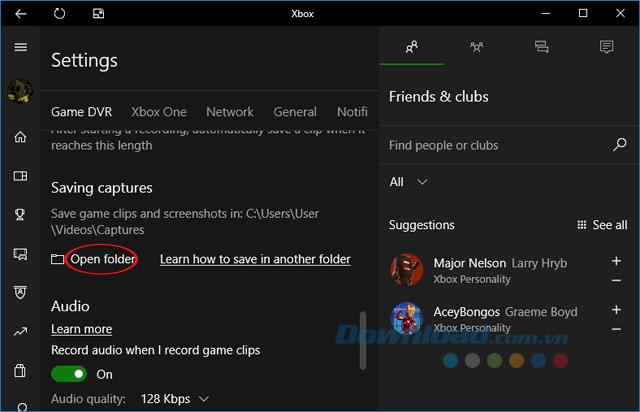
Step 8: In the Settings section of the Xbox. At the Game DVR tab , scroll down to the Saving Captures section , click Open Folder to open the folder to store screenshots, videos, game screens on Windows 10 with Game Bar.
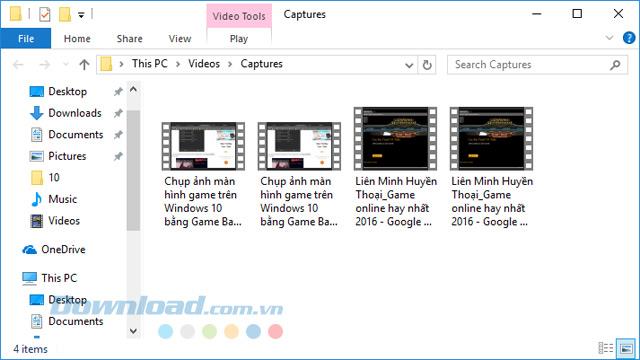
Step 9: Immediately you will be taken to the place containing the video, game screenshots on Windows 10 with Game Bar.
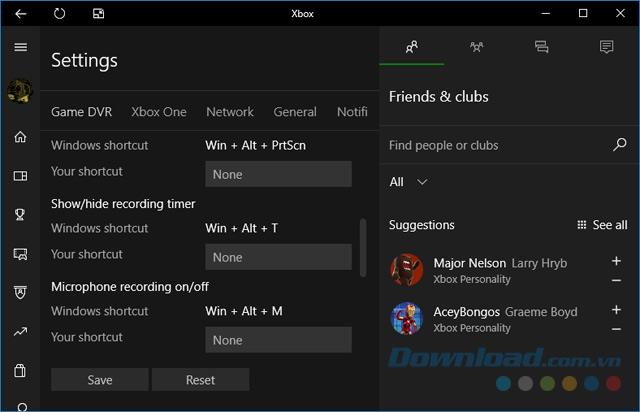
Step 10: Here, you can also customize the keyboard shortcuts as you like.
So you can take advantage of screen capture feature and game recording right on Windows 10, without having to install any additional support tools. Isn't it great, guys?
I wish you successful implementation!




![4 Ways to Fix Mouse Cursor Disappears [GUIDE] 4 Ways to Fix Mouse Cursor Disappears [GUIDE]](https://img.webtech360.com/imagesupdate14/image-8497-1125143849716.png)

