Microsoft explains the benefits of TPM and why Windows 11 is superior to Windows 10
It's no surprise that Microsoft wants Windows 10 users to upgrade to Windows 11.
If you are using the same Microsoft account for multiple devices using Windows10 operating system, there will certainly be times when you accidentally sync common data on these devices and want to delete. If you do not know how to delete synced data on Windows 10 , you can refer to the following tutorial.
Synchronizing settings is something that a lot of users, especially when there are many different devices but only using a single account. This will make the user experience consistent and easier to use. However, when you sign in to your Microsoft account and use this synchronization may include installing some applications, passwords or other topics, it can sometimes be inconvenient and cause problems. should have.
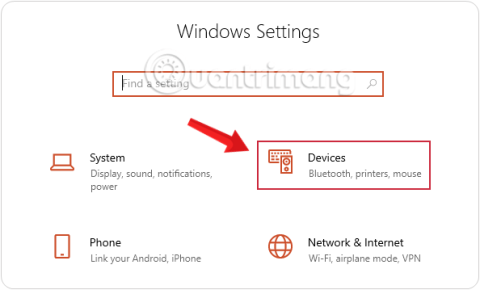
Step 1: To delete the sync, first we need to turn off the synchronization mode in the computer first, by, from the desktop screen, left-click on the Windows icon in the lower left corner of the screen, select Click on the Settings icon.

Step 2 : Click on the Accounts icon in the next interface.

Step 3 : Find Sync your settings and switch Sync settings to OFF as below to turn it off.

If we want to re-sync, we just need to do the serialization and enable this item to finish.
To delete settings that have been synced on previous devices, simply visit the OneDrive address , sign in to your OneDrive account.
 Then scroll down and click on Remove .

This is a guide to turning off and deleting synchronized data from a Microsoft account on your computer's Windows 10 operating system, with other devices or operating systems, you can do the same.
Turn off sync on Windows 8 :
Settings / Change PC settings / OneDrive / Sync settings / toggle Sync your settings on this PC to OFF.
Turn off sync on Windows Phone 8.1:
Settings / Sync my settings / then turn off sync for all themes like: Wallpaper, app settings, passwords ...
It's no surprise that Microsoft wants Windows 10 users to upgrade to Windows 11.
It's easy to preview files without opening them in Windows 10 thanks to the Preview Pane feature in File Explorer. You can see thumbnails of most images, videos, audio files, and some text-based documents.
Microsoft is currently having difficulty converting users to new products and services.
For many people, the autocorrect feature on Windows 10 is annoying and unnecessary. So how to remove this feature?
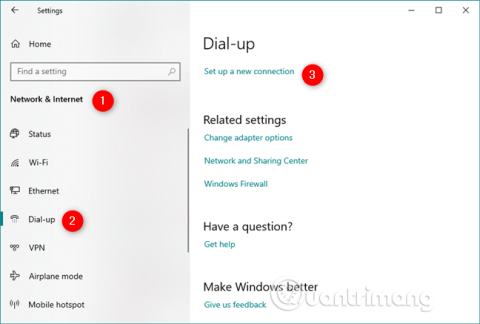
Many Internet service providers provide their customers with a Point-to-Point Protocol over Ethernet (PPPoE) connection. This article will show you how to configure Windows to connect to the Internet via PPPoE.
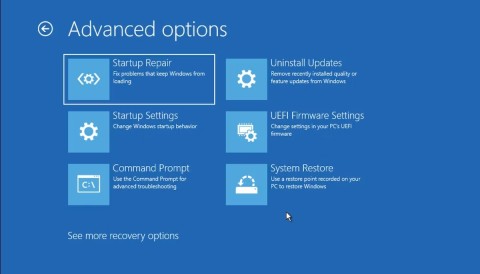
Startup Repair is a Windows recovery tool that can fix some system problems that prevent Windows from starting. Startup Repair scans your PC for problems and then attempts to fix them so your PC can start correctly.
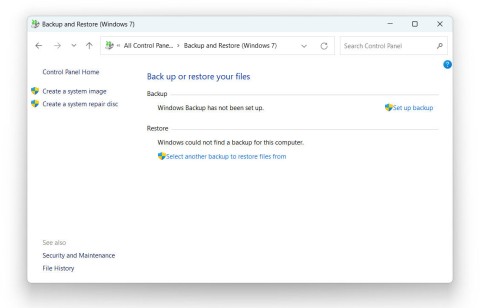
Modern versions of Windows still contain a lot of old code, and Microsoft generally tries to hide outdated parts, like the Control Panel, in favor of more modern components. However, there are some interesting exceptions.
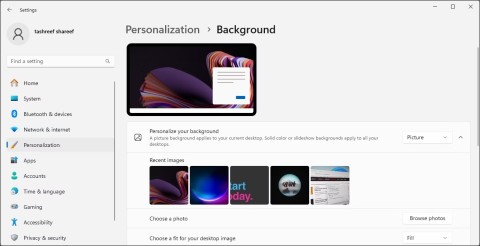
Setting up multiple monitors on Windows is quite simple and only takes a few minutes to do. After setting up multi-monitor mode (multiple screens), you can set up separate wallpapers for each screen. To do this, please refer to the article below from WebTech360.
With less than two weeks to go until 2025, it's time to look back at the list of features that Microsoft has stopped supporting or removed from Windows 10 and 11 in 2024.
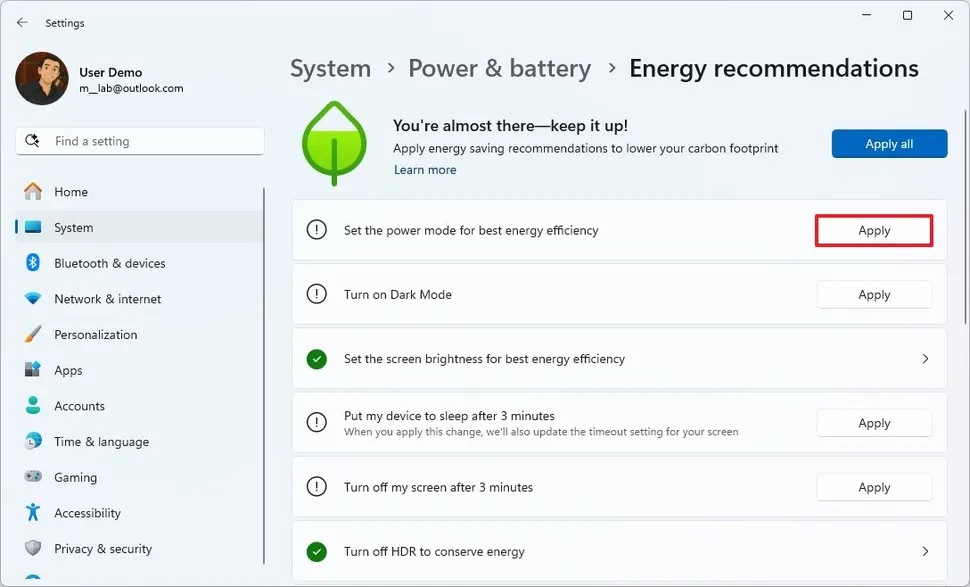
Sleep mode on Windows will put the computer into the lowest power consumption mode, extending the battery life of the computer when not using the device.
Recently, Microsoft has been continuously posting articles on the company's official blog urging users to upgrade to Windows 11 as the end of support for Windows 10 is approaching.
Virtual desktops are a handy way to combine multiple workspaces in Windows 10. There are a number of ways to quickly switch between virtual desktops, including some lesser-known keyboard shortcuts. Quantrimang.com will cover them all in the following article.
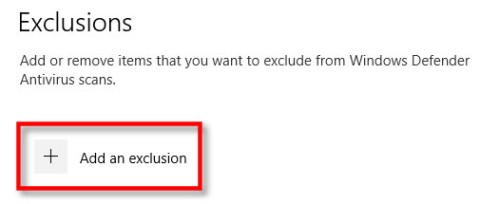
Windows Defender is built into Windows 10 to find malware. To improve performance for tasks like compiling code or running virtual machines, you can add exceptions so Windows Defender will never scan those files.
As the Windows 11 end-of-life deadline approaches, Windows 10 end-of-life (EOL) warning banners are popping up everywhere.
The Start Menu is probably the most popular feature of Windows 10. However, for some PC versions, this feature may be faulty. In this article, WebTech360 will guide readers on how to fix Start Menu errors on Windows 10.
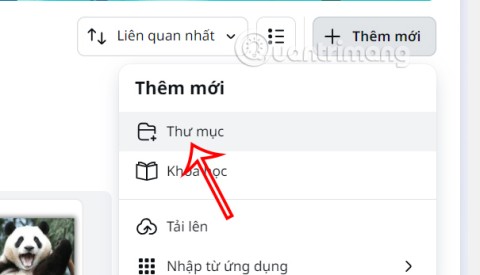
Creating folders in Canva helps us organize uploaded designs and files much more neatly and scientifically.
Now we can save songs from Instagram Reels to Spotify very simply without having to do too many manual operations, like finding songs on Spotify anymore.
When you create a list on the Reminders app, you can share it with others so they can read it together, such as sharing among family members.
The exciting new Dynamax feature is here in Pokémon GO. Here's what you need to know about how to Dynamax and Max in Pokémon Go.
Weibo social network also has the same setting options as other social networking applications such as changing Weibo account password or changing account name to a new name you like.
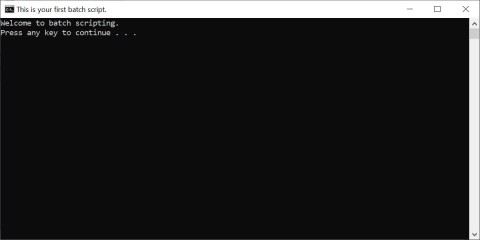
Batch files are a way for computer users to get work done. They can automate everyday tasks, shorten the time it takes to do something, and turn a complex process into something anyone can operate.
With the instructions in the article you can download and install Minecraft for free on iPhone/iPad
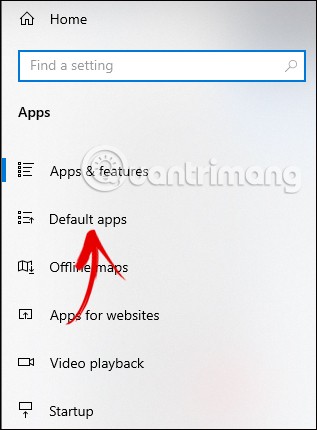
There are many different ways to change the default PDF reader on Windows 10, helping you get the PDF reader on your computer as you like through PDF reading software or even reading PDF files using a browser.
The Shortcuts app on iPhone has a shortcut to convert videos to GIFs with very simple operations.
Numerology reveals exactly what's in your name. From destiny to soul path, here's how to calculate your numerology chart based on your name.
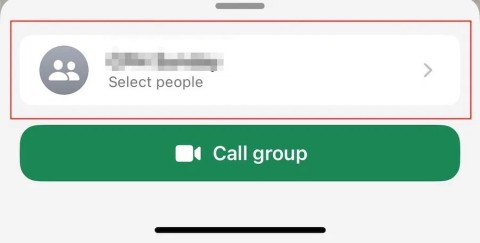
WhatsApp has been updated with a new feature to select video callers in groups, no need to make a call with all members in the group. Here is a guide to select video callers in WhatsApp groups.
Meta AI has been updated on Messenger for you to experience this chatbot, interact with the chatbot for any issue you care about.
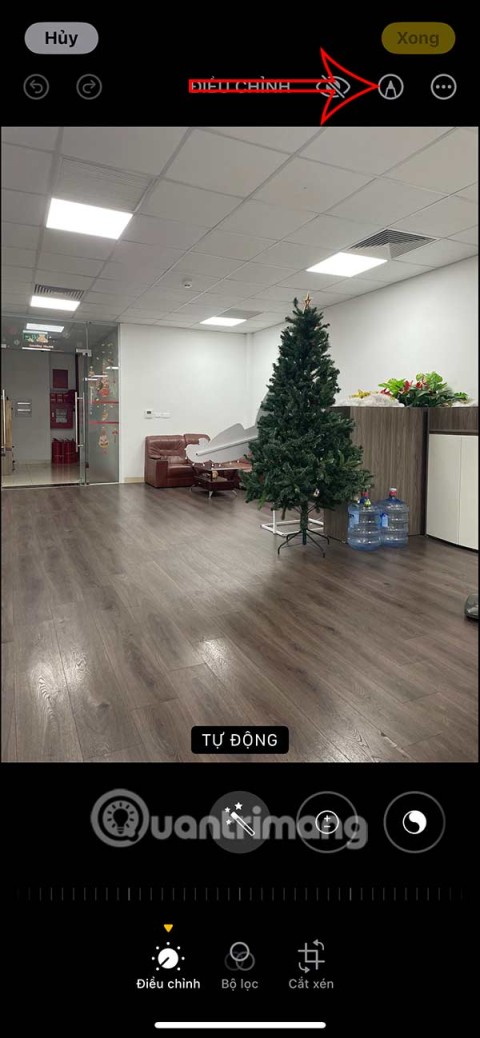
If you have a personal photo that you want to cover some information or even a certain image, you can insert stickers into the photo on iPhone.
For some reason, you no longer want to use your current Google account, and want to completely delete it. So how can you permanently delete your Google account?
You can now chat with the official ChatGPT on WhatsApp without resorting to third-party chatbots.
