Not everyone is able to own a Samsung 2018 smart TV , owning an older Samsung TV such as 2017, 2016 will help users save progress while still maintaining good image quality.
However, those TVs usually do not automatically set up the network and still have to manually set IP and DNS. In the article below, WebTech360 guides the steps to setup IP and network DNS for your Samsung smart TV !
Reasons to install IP network and network DNS for Samsung smart TVs
The setting of network IP and network DNS will help your TV to connect to the network more successfully and steadily, and troubleshoot the network later.
The detailed steps to install IP network and DNS for Samsung smart TV network
Step 1: Check the information on the network IP address your home is installing:
- To know which IP address your home is installing, use a laptop, tablet, or smartphopne to see.
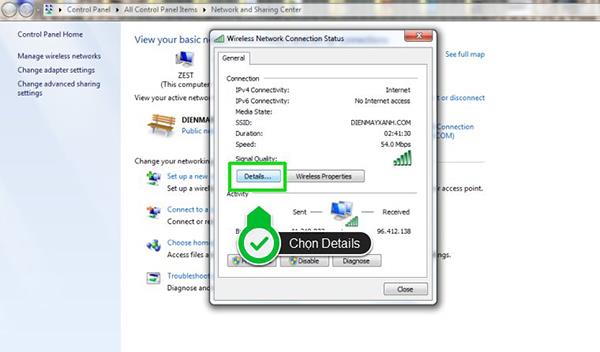
- For laptop, go to Control Panel -> All Control Panel Items -> Network and Sharing Center and you select the network you are using.
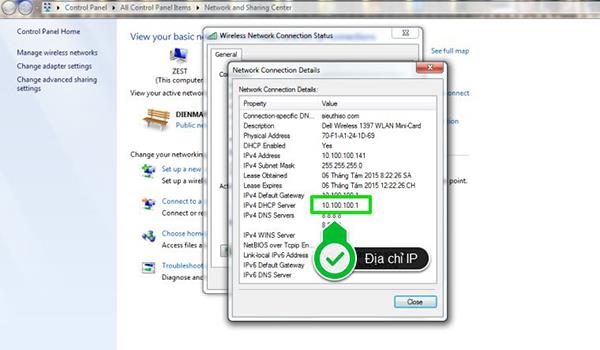
Step 2: Proceed to set IP for TV.
- To set IP for Samsung smart TV, press MENU button (some other remote will have house picture).

- Then you go to the network and select Network status to check the Internet connection.
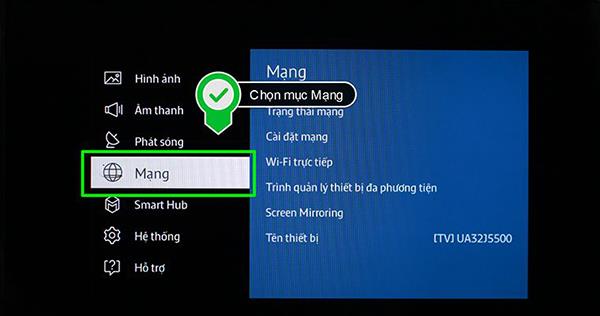
- You choose to enter the network state.
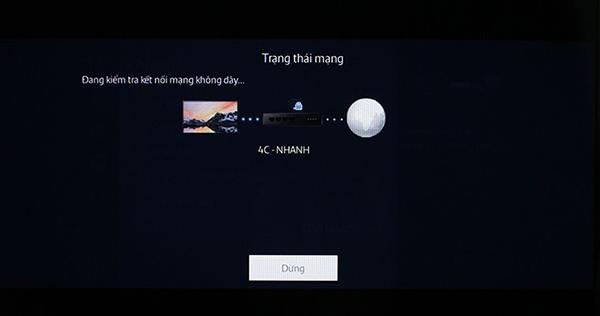
- After that, the TV will enter network check standby mode.
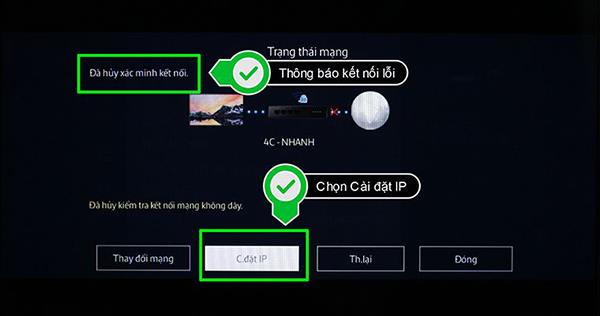
- The network interface on the TV will display as shown, choose IP Settings to edit.
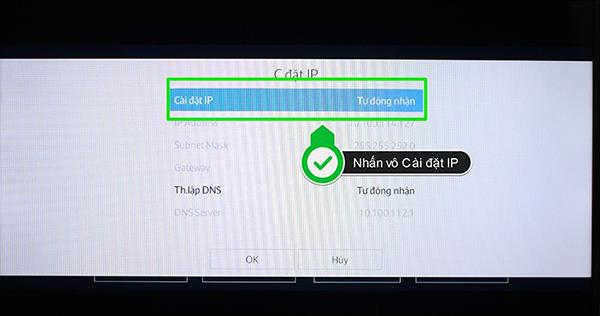
- You choose Manual Import.
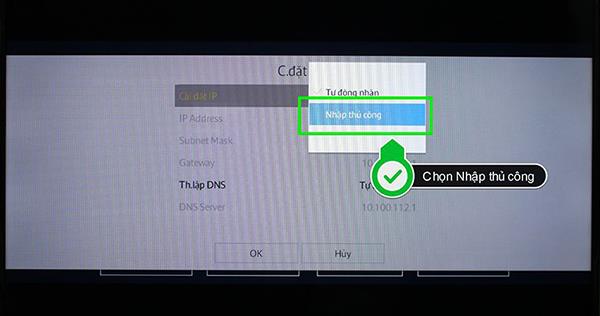
- You choose to go to IP Address and enter the correct IP address of the network operator.
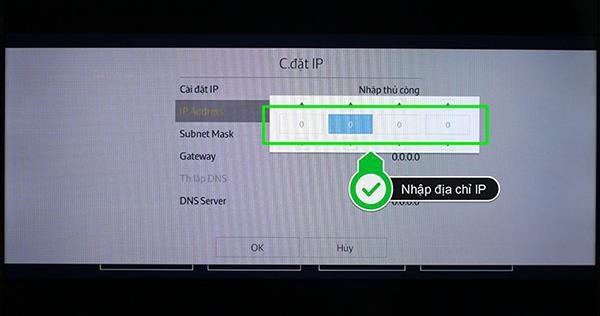
Step 3: To proceed with DNS settings, scroll down to DNS Settings .
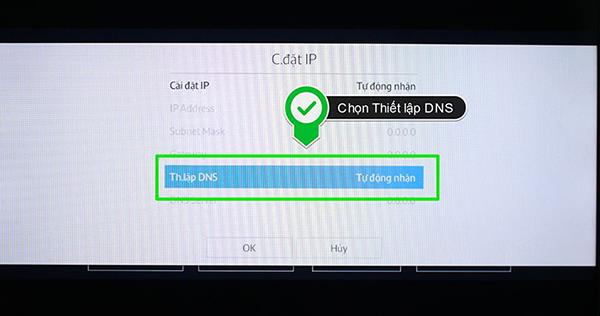
- And similar to IP, you set up the DNS network automatically or choose to enter manual mode.
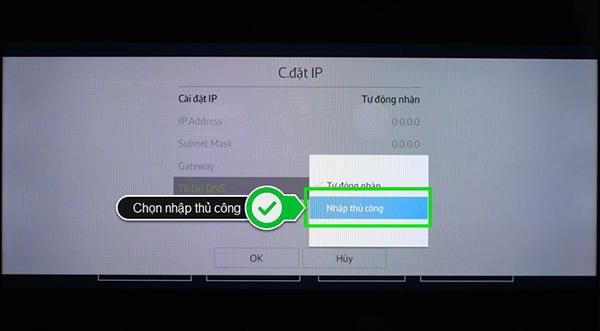
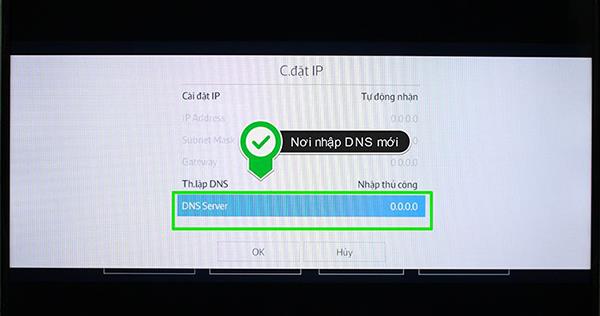
- You choose to go to DNS Server.
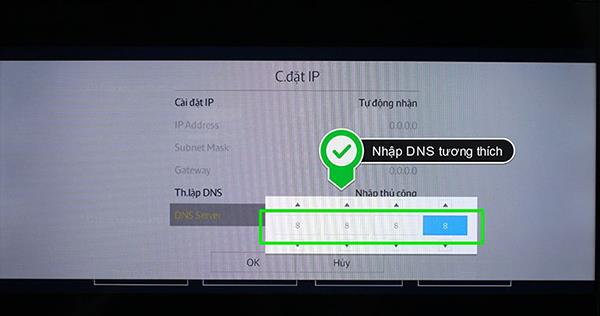
Enter compatible DNS, it will normally be 8.8.8.8
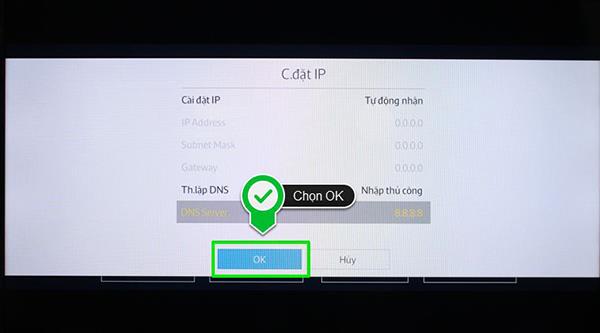
- After successfully entering, click OK to end the program.
Wish you success !!!


