Device Links
Despite their name, video editing apps, like iMovie, allow you to import image files as well. While video files are somewhat limited when it comes to their duration, images can be adjusted freely.

If you’re working on a slideshow or a similar project in iMovie, changing the duration of each image can be time-consuming. Work smart instead of hard and adjust all images at once by following the steps below on your Mac device. iPhone and iPad users may also want to stick around for a few helpful tips.
Change the Duration of All Photos in iMovie on a Mac
You can adjust the duration of an item on your iMovie timeline by grabbing its edge and dragging it left or right. This can mean hours of monotonous clicking when you have hundreds of images inside your project. Fortunately, there are several ways to cut down on the labor needed using the Mac app for iMovie.
Change the Duration of All Photos in Your Current Project on a Mac
So, you need to create a slideshow where each image is displayed for the same length of time. It sounds simple, but the process can be tedious if you plan on adjusting each image individually. Save some elbow grease by selecting the images first and applying a uniform duration to all of them with a few simple clicks.
- Open your iMovie project.
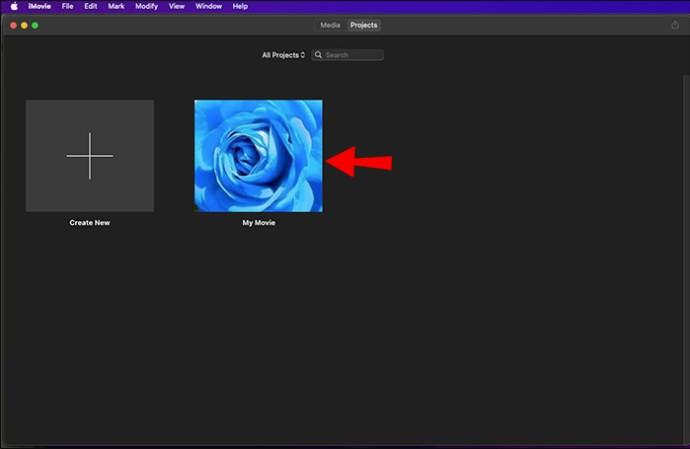
- Select the images on your timeline in one of the following ways.
- Click anywhere in the timeline, then press and hold your Command key and hit “A” on your keyboard. This will select everything on your timeline.

- Click and hold your left mouse button while dragging your cursor over the image files you want to select.
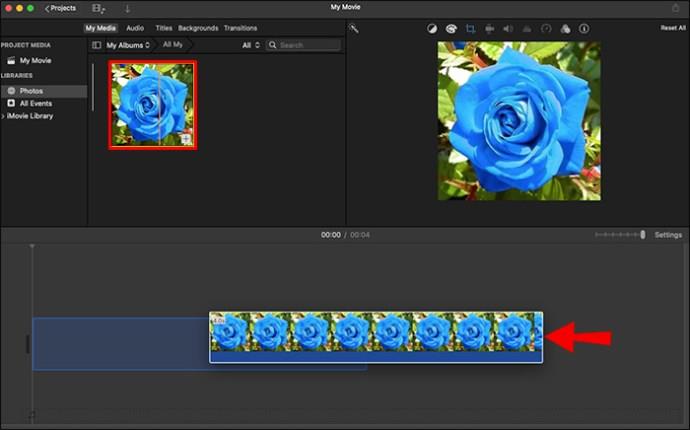
- Press and hold “Alt” on your keyboard and click each image you want to add to your selection.

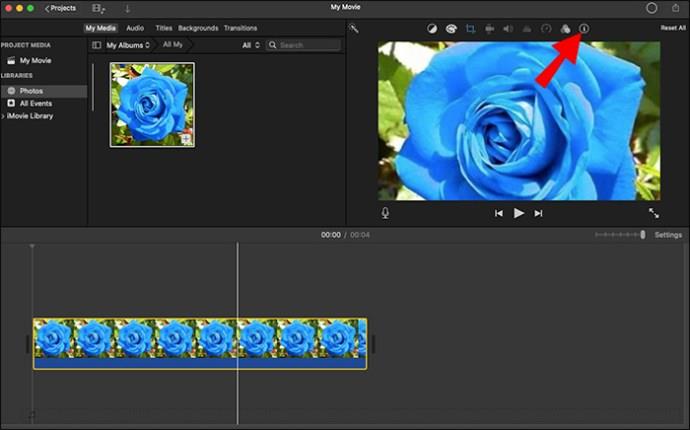
- Once the images are selected, click the information button (a lowercase “i” in a circle) in the top-right corner of the iMovie interface. A toolbar will appear underneath.
- You’ll see the number of items selected in the toolbar alongside the duration of the elements. Enter the duration you want to apply to the selected images into the duration box. The duration is expressed in seconds.
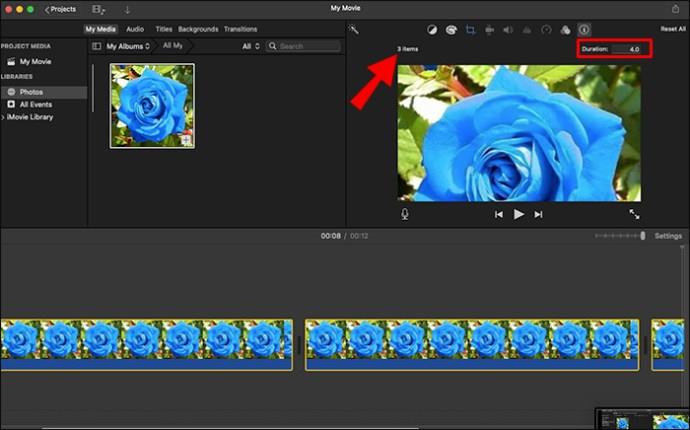
- Hit “Enter” to apply the changes to all your images.

- Click anywhere in the timeline to deselect the items.
Change the Duration of All Imported Photos on a Mac
While the above instructions can change the duration of all images on your timeline, you’ll need to adjust it individually every time you add a new photo to your project. If you often work on similar projects, ensuring that photos will always have the same duration when imported can reduce your editing time. Make a few adjustments to your iMovie preferences in the following way.
- Open any iMovie project.

- Click the “iMovie” option in the menu bar at the top, and select “Preferences.”
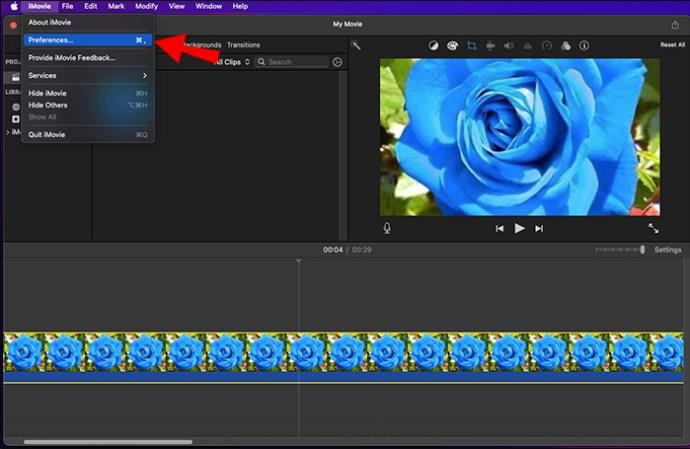
- You can adjust various settings in the pop-up window. To change the default photo duration, enter a number in the field next to “Photo Duration.”
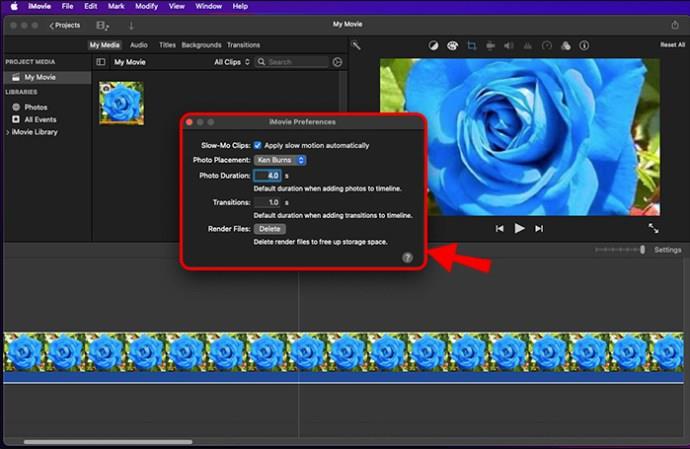
After adjusting these settings, your photos will always have the same duration when you drag them into your timeline. This applies to all your future projects, not just the current ones.
Change the Duration of All Photos in iMovie on an iPhone
iMovie is also available on iOS. Although the iOS app has similar features, it’s still slightly more limited than the macOS version. For instance, the iMovie iPhone app doesn’t let you select multiple items in your timeline. Therefore, you won’t be able to change the duration of all the photos in your project at once. You can still ensure that all the pictures are the same length by adjusting them one by one.
To change the duration of each image in your iMovie project on an iPhone, follow the steps below.
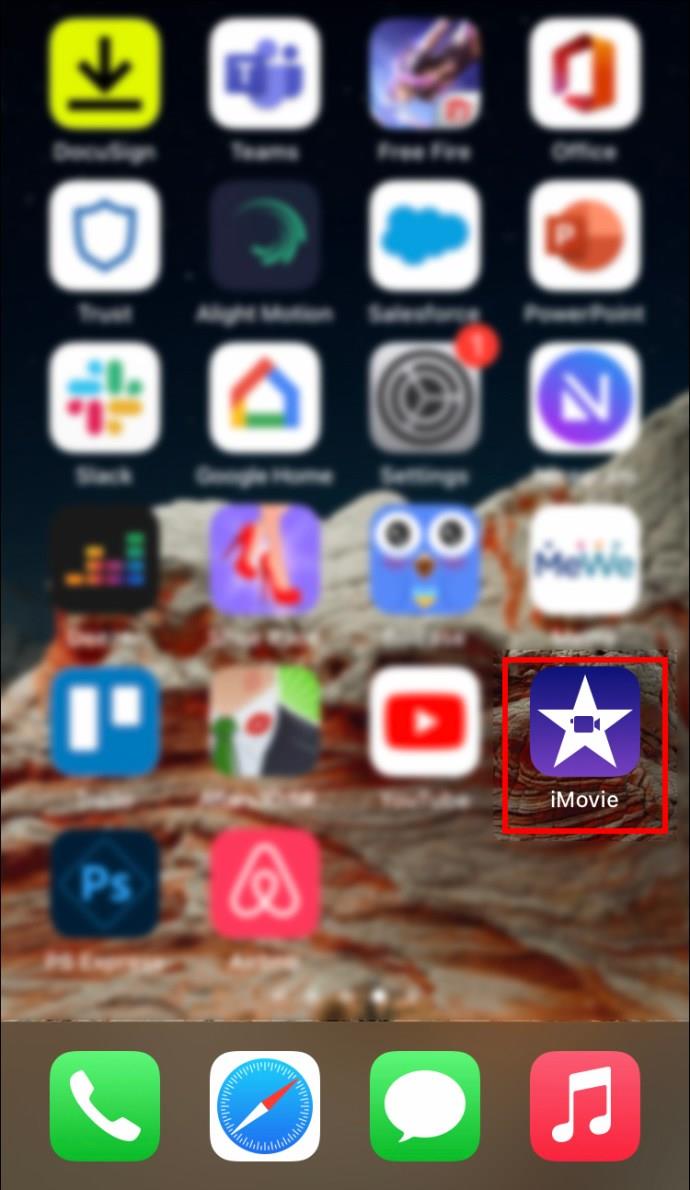
- Open your iMovie iPhone app.
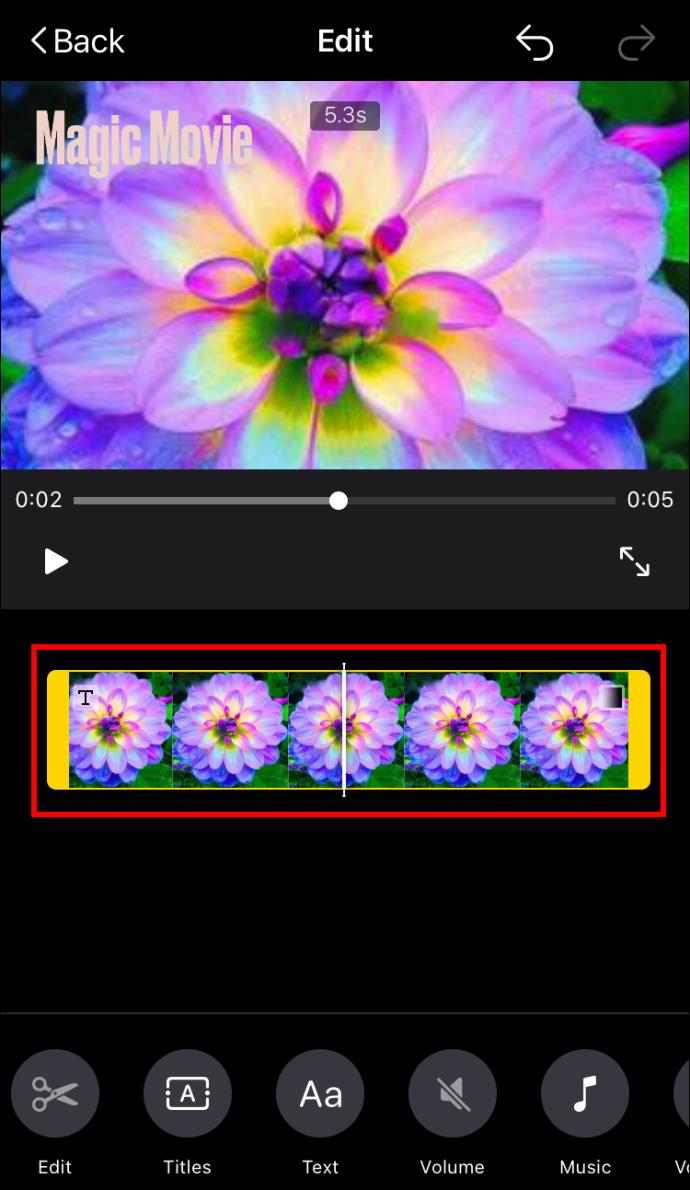
- Tap an image in your timeline to select it. A yellow handle will appear on both sides of the item.

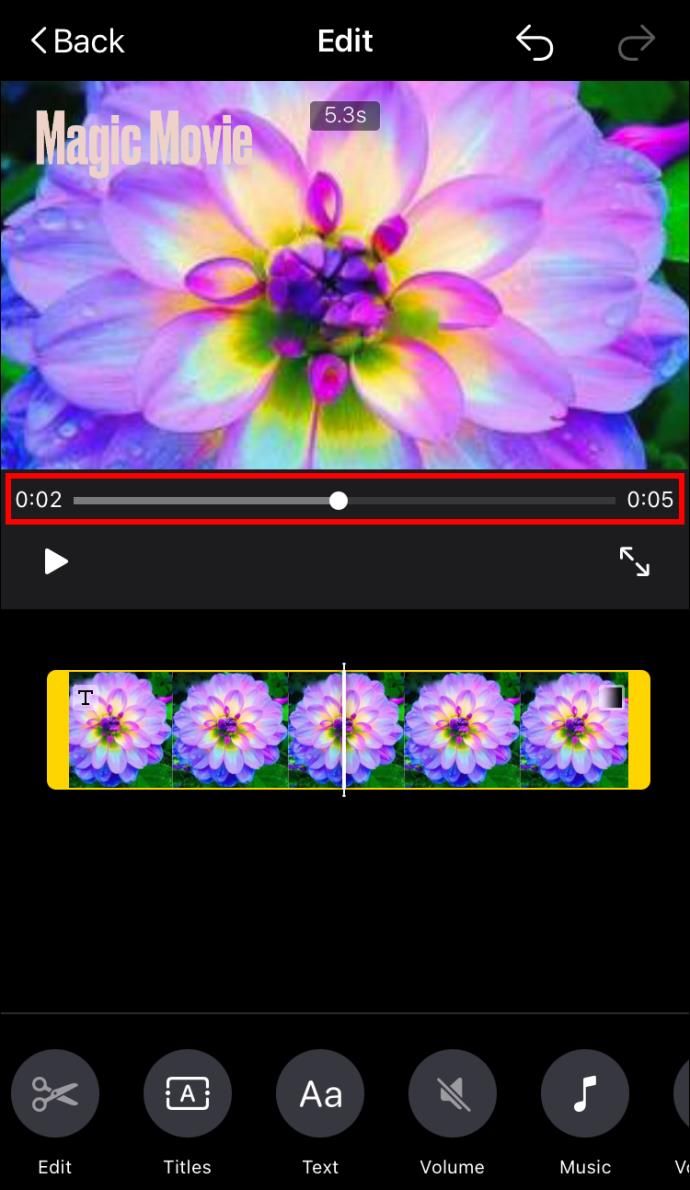
- Change the duration of the image by pressing and dragging either of the yellow handles until you reach the desired length. You can see the exact duration of the image at the top of the preview window.
- Repeat this step for each image in your project. Keep an eye on the duration indicator (sliding bar) in the preview to ensure the same duration.
Using iMovie templates is an alternative way to ensure a set duration for your project files. Find a suitable template for your project and you won’t have to worry about image duration, as it’s already preset in the template.
Change the Duration of All Photos in iMovie on an iPad
Similar to iPhone, it’s not possible to select multiple items in the iMovie iPad app, so you won’t be able to batch-edit your image files. You can still change the duration of each image individually. It will be more time-consuming, but the result will be the same.
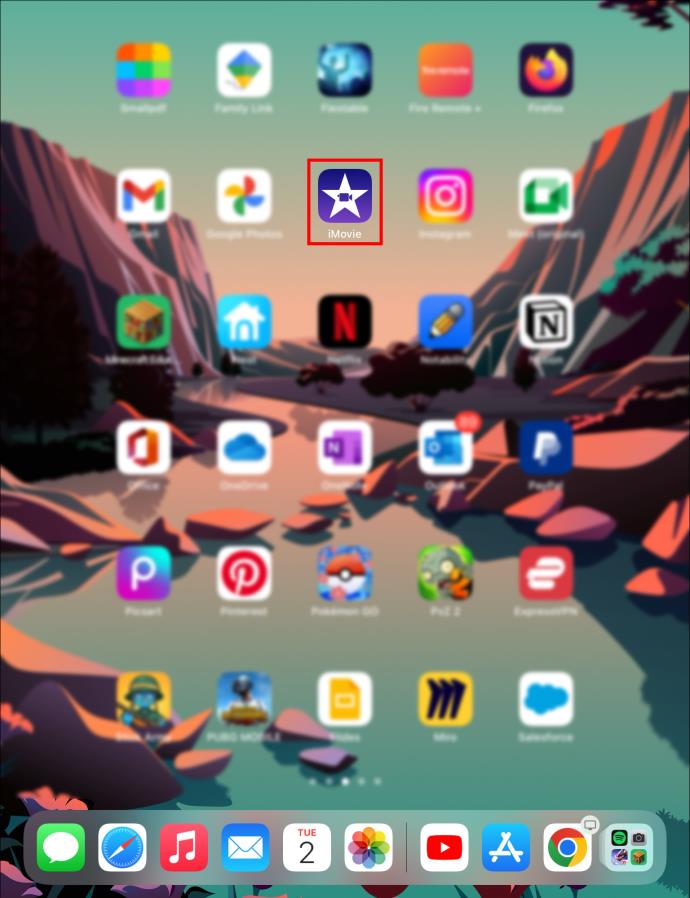
- Open your iMovie app on your iPad and find your project.
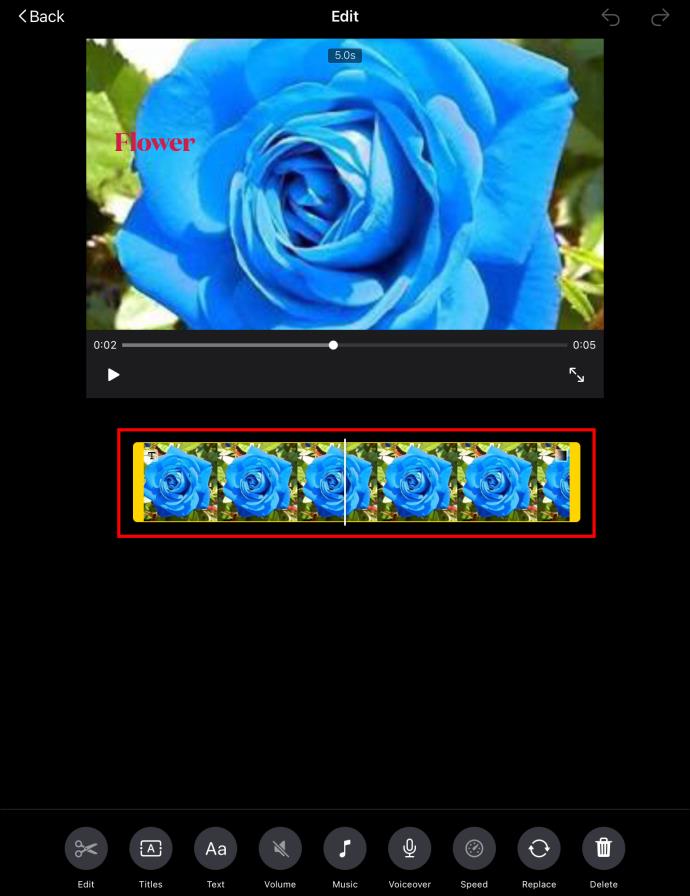
- Select an image on your photos to call forth the yellow handles.

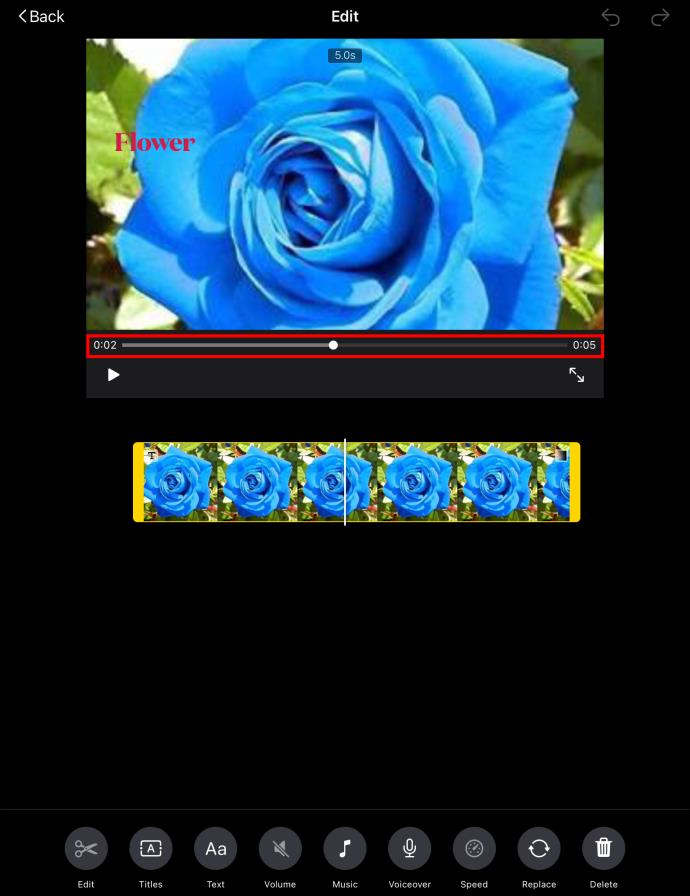
- Tap and drag one of the yellow handles to adjust the duration of the image. A number at the top of the preview will tell you the exact duration as you’re dragging the handle.
- Do the same for each image file on your timeline while keeping an eye on the duration indicator (sliding bar) to achieve the same length.
In addition to adjusting image files individually, you can also use iMovie templates to give a specific preset duration to your images.
Measure Twice, Cut Once
Finding the perfect image duration for the rhythm of your iMovie project is paramount for its success. Spare your fingers and your mouse button by adjusting the duration of all images at once in the Mac app. If you’re using an iPad or iPhone, look for a suitable alternative.
Do you often need a batch-edit option while working in iMovie? How easy do you find using this feature? Let us know in the comments section below.


