Ways to find all video files on Windows

Ways to find all video files on Windows, Can't find recorded and saved videos on PC. Below are ways to help you find all clips on Windows.
Dual-booting Windows 10 is useful but can leave redundant boot options in the menu. Here's how to delete the old boot menu on Windows 10 .
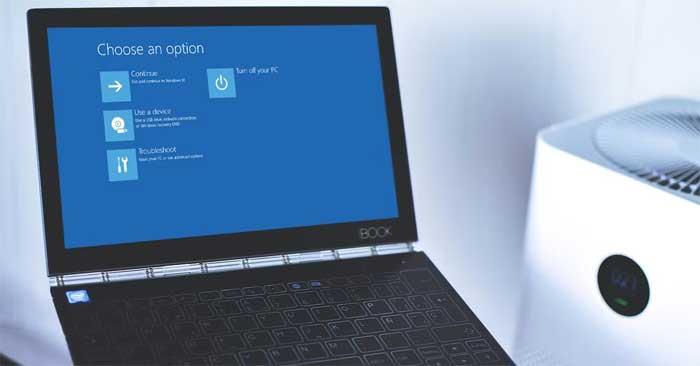
What is Windows Boot Manager?
Windows Boot Manager is a small software that runs during system startup. The boot manager code loads from the start of the Active system partition, sometimes labeled System Reserved so you don't accidentally overwrite it. Boot manager helps start Windows installation.
When there is only one version of the operating system, the system will boot into Windows Boot Manager without displaying the boot manager selection screen. However, after you install another operating system, this process changes, allowing you to choose the operating system you want to use.
Boot configuration data
Current versions of Windows store Boot Configuration Data (BCD) in a registry-like database for greater safety. Additionally, BCD provides both BIOS and EFI-based systems for editing configuration data using the BCDEdit tool.
Below are ways to delete old boot menu options from the system boot process on Windows 10.
How to delete old boot menu options on Windows 10
Hide Options
Although you can't completely remove this item, you can hide alternative boot options using the Windows Advanced boot menu:
Use MSConfig
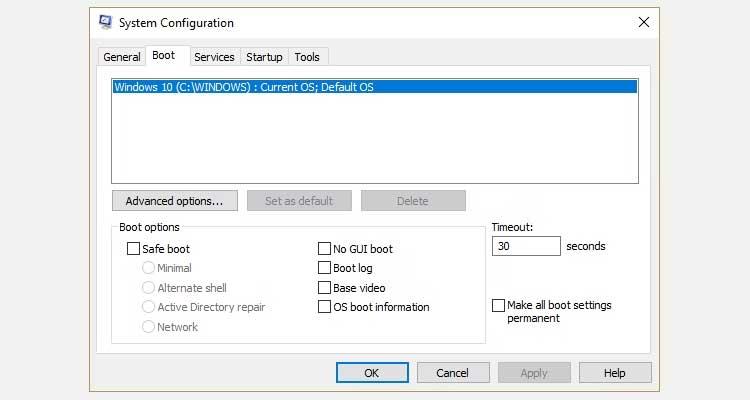
You can achieve the same result using the Windows System Configuration window.
Furthermore, you can delete old entries from the boot process. This action does not actually remove them from the system.
Follow the steps above to open the System Configuration menu, then the Boot tab. Next, highlight the operating system you want to remove and press Delete . Just make sure you don't delete the item marked Default OS . You will get an error if you do this.
Use BCEdit to remove the Boot Manager option
This is a tool available in Windows. Basically, the way to do it is as follows:
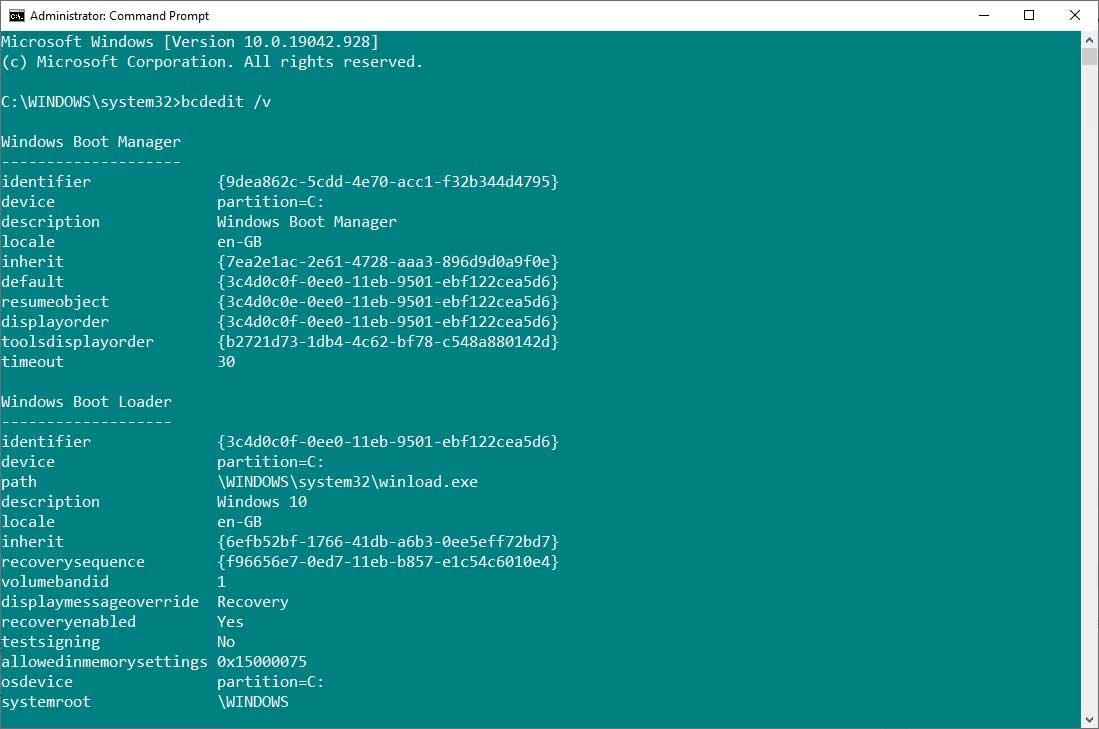
The Windows Boot Manager section describes the location of the boot manager, along with other identifiers. The Windows Boot Loader section describes the Win 10 boot loader for this system, the unique identifier where winload.exe is found to continue the boot process, if that partition has recovery enabled and the root of the system directory.
If you have more than one Windows installation, this is where you find the bootloader information. The operating system type appears with its description. Furthermore, a Legacy OS Loader will appear in parentheses.
Copy the identifier (long string of letters and numbers) of the bootloader you want to delete. Now enter this command bcdedit /delete {identifier} , swapping the identifier for the string of digits.
Double check that you have the correct entry, then press Enter to remove the additional bootloader entry. The built-in BCD Editor is one of the fastest ways to remove boot options from the BIOS, but it's not for everyone.
Above is how to delete the old boot menu on Windows 10 . Hope the article is useful to you.
Ways to find all video files on Windows, Can't find recorded and saved videos on PC. Below are ways to help you find all clips on Windows.
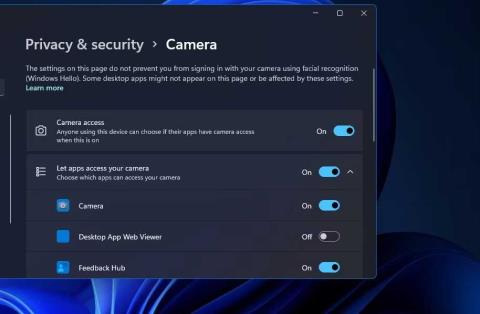
How to fix error 0xa00f4288 in the Camera app on Windows 10 & 11. Windows' default Camera App is the main tool for taking photos. So in the case of Win 10 & 11 cameras
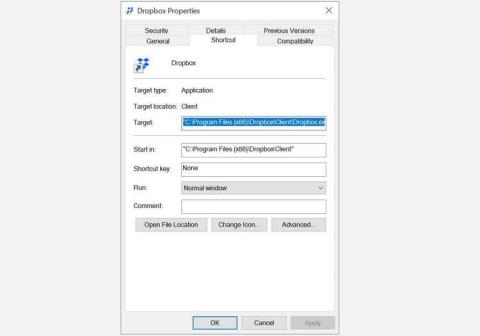
How to open multiple programs with one shortcut on Windows 10, You can actually open multiple programs at the same time with a single key. Here's how to use one
How to remove old boot menu options on Windows, Windows 10 dual boot is useful but can leave redundant boot options in the menu. Here's how to remove the menu
Instructions for fixing Snipping Tool errors on Windows 11. Windows 11 has officially been released for a while, but during use there are still many errors
Instructions for entering text by voice on Windows 11, Entering text by voice on Windows 11 helps you significantly improve your work efficiency. Here's how
How to turn on/off Sticky Key on Windows 11, Sticky Key makes the PC keyboard easier to use. Here's how to turn Sticky Key on and off on Windows 11.
What is Windows Modules Installer?, Windows Modules Installer sometimes takes up a lot of system resources. Is Windows Modules Installer important or not?
How to increase volume in Windows 10, How to increase computer volume to maximum level? Let's learn with WebTech360 how to increase Windows 10 computer volume
How to use Windows 11 Installation Assistant to install Windows 11, Windows 11 Installation Assistant is one of the best ways to upgrade your computer to Windows 11.
How to turn off the startup sound in Windows 11, Does the PC startup sound bother you? Then please refer to how to turn off the startup sound for PC running Windows 11 below
Instructions for changing the screen lock timeout on Windows 11. While using Windows 11, there are times when users will need to leave the computer for a period of time.
Instructions for optimizing Windows 11 to help increase FPS when playing games, Windows 11 is an operating system platform that is introduced as more improved in gaming quality, helping games
Windows 11: How to use and customize the Quick Settings menu, Windows 11 brings some great new features and the Quick Settings menu is no exception. Here it is
How to fix the error of not being able to start Windows 11 after turning on Hyper-V. Hyper-V helps you run virtual machines on Windows. However, after enabling Hyper-V, you cannot post again
How to fix error 0xc00007b in Windows, Windows displays error 0xc00007b when the application does not work properly. Below is a step-by-step guide to fix error 0xc00007b in
How to change the login screen on Windows 10/11, Don't like the blurry screen when logging in on Windows 10/11? So, instructions on how to turn off and change the login screen
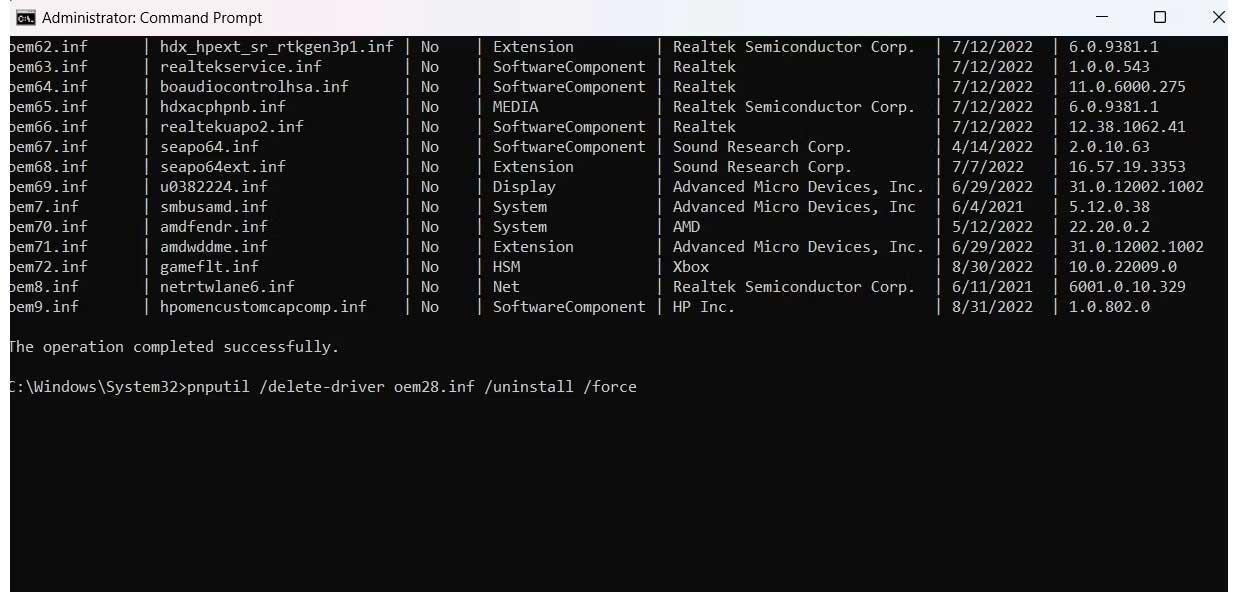
How to uninstall drivers in Windows 11, Do you want to remove unwanted drivers on Windows 11? Then please see instructions on how to remove drivers in Windows
How to fix No Internet Secured error on Windows 10, No Internet Secured is a common error on Windows 10. Below are simple ways to fix No Internet Secured error
How to fix the error of not being able to save an Excel file on Windows. If you can't save the Excel file, don't worry too much. Below are ways to fix the error of not being able to save the above Excel file
