How to use Blender is not difficult if you take the time to learn the instructions. Here's what you need to know about using Blender for beginners .

3D graphics software is quickly becoming a standard tool in the design industry thanks to its ease of use and accessibility.
Blender is free, open source software that can be used to create motion graphics, animation, visual effects, compositing, digital illustration, and design. Regularly updated with a strong community of artists and animators using this platform, don't hesitate to try Blender as soon as possible. The article below will provide instructions for using Blender for beginners.
Beginner's guide to using Blender
Install the Blender plugin
Blender has a built-in add-on store so installing it is very easy. You just need to go to Edit > Preferences > Add-ons and find the extension you want to install, for example Measurelt. You will see the add-on with the same name appear. Click on the box in the left hand corner to activate it.
You will need to download the TechDraw add-on from GitHub before installing it. Once you've done this, go back to the Add-ons menu in Blender and select Install at the top of the window. Here, select the zip file that comes with the add-on and open it to install. You will see this add-on appear in the menu but you need to check the box on the top left to activate it.
Import & open 3D files
After installing the add-on, it's time to open the 3D model file in Blender. How to do this depends on the file you accessed. Basically, you go to File > Open , then select the file you want to work with.
Navigate Blender's interface
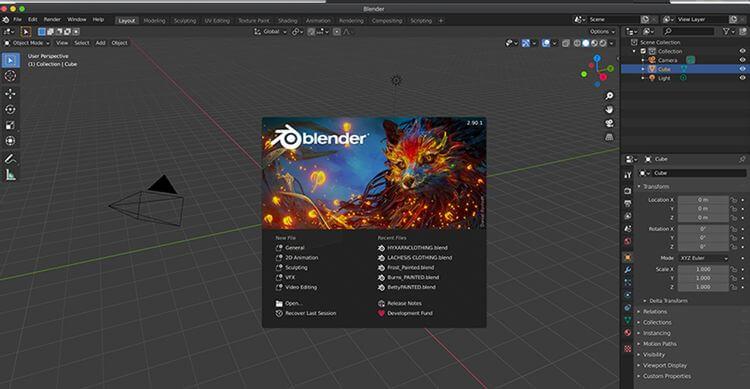
Blender welcomes you with a splash screen, allowing you to load an existing project or create a new one. You have a set of presets available for new projects: General , 2D Animation , Sculpting , VFX and Video Editing .

The article will select workspace General . By default, this opens a new project with a camera and a cube object.
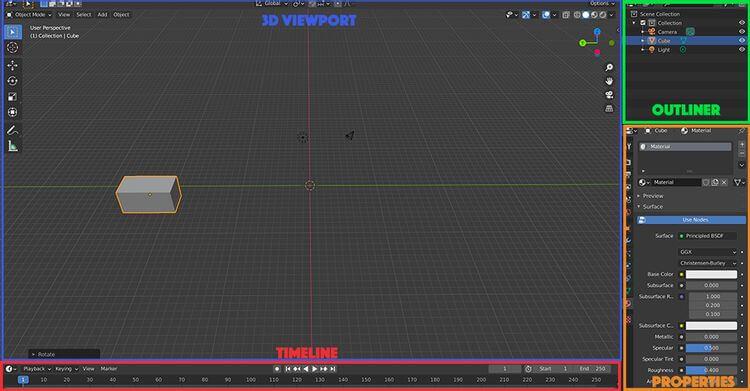
This default layout provides a workspace that includes a main 3D Viewport (the window in which you move around and view compositions in 3D space) as well as a Timeline at the bottom of the screen for working with keyframes, simulations, and animation.
Finally, the Outliner panel is on the top right, displaying details of all the objects and elements in the scene. The Properties panel on the bottom right allows you to adjust various settings and parameters.

Other available panels and windows include more specific settings and tools for keyframing, shading, intersections, image editing and more.
3D Viewport controls
The 3D Viewport window features a series of keyboard and mouse keyboard shortcuts, allowing users to move smoothly and precisely in 3D space. You need to spend some time getting used to them, but once you master them, using Blender will be easier.
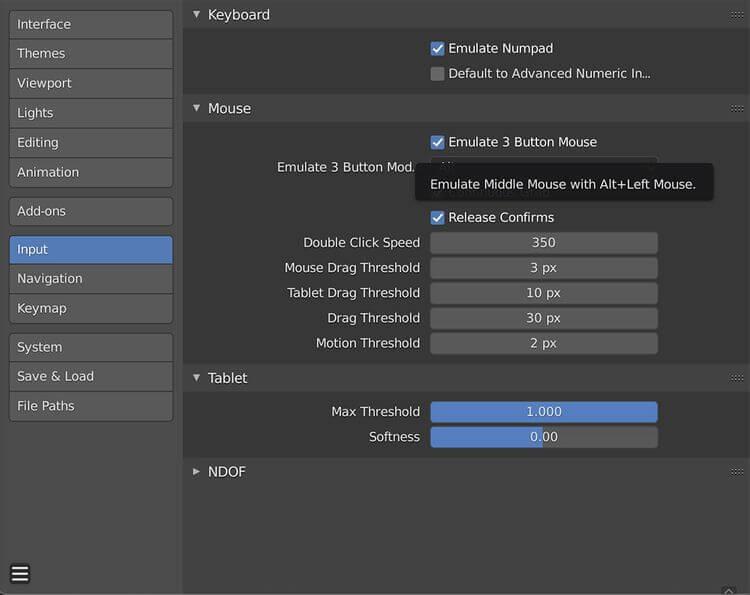
Remember that all controls can be customized by going to the Edit tab at the top of the screen, then clicking Preferences > Input .
If you are using a laptop but cannot use a mouse, you may want to enable Emulate 3 Button Mouse in the same location above. This feature will simulate right mouse clicks and middle mouse button presses.

3D Viewport modes
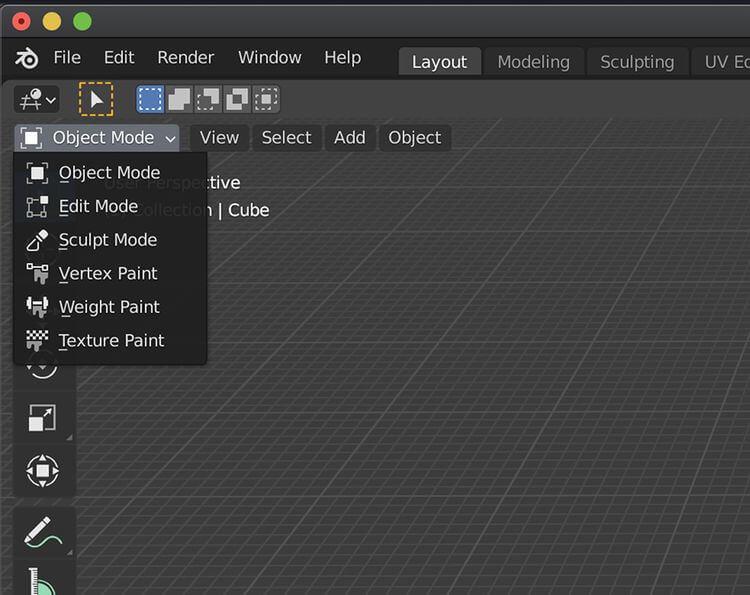
3D Viewport can switch between one of six default modes. All of them can open a variety of tools and functions that you desire.

Here's an overview of each mode in Blender:
- Object Mode allows you to move and animate objects in the scene in relation to other objects.
- Edit Mode allows you to manipulate an object's shape, size, and form. It also allows you to shape polygons through points, faces or edges.
- Sculpt Mode has a series of sculpting tools, allowing you to manipulate and encapsulate objects into distinct shapes.
- Vertex Paint , Weight Paint , and Texture Paint provide different means of adding color and pattern to objects.
Particle Edit and Pose are also available while you work with specific objects such as arms or hair shaping objects. However, these modes are more complex.
Move around in the 3D Viewport
To pan around in the 3D Viewer , hold down the middle mouse or scroll button in conjunction with the mouse move. To rotate, hold down the Shift key while pressing the middle mouse button.
To zoom out or zoom in on the scene, you can scroll with your mouse or hold down the Ctrl (Windows) or CMD (macOS) key, while pressing the middle mouse button.
The number keys on the keyboard also allow you to reset the position to the relevant fixed point in the center of the screen
Try to remember the axis line colors: red, green and blue correspond to the X, Y and Z axis.

Move objects in 3D Viewport
When working in 3D, you need to make sure everything is accurate. When viewing a 3D space on a 2D computer screen, you cannot accurately position components by intuitively moving an object.
To fix this problem, you must calculate and change all parameters of the object along fixed lines on the X, Y and Z axes. You can do this by Moving , Scaling . Scale and Rotating - Rotate the object.
To Scale the object you have selected in the 3D Viewport in Object Mode , use the S key . To move the object, use the G key . To rotate the object, use the K key .
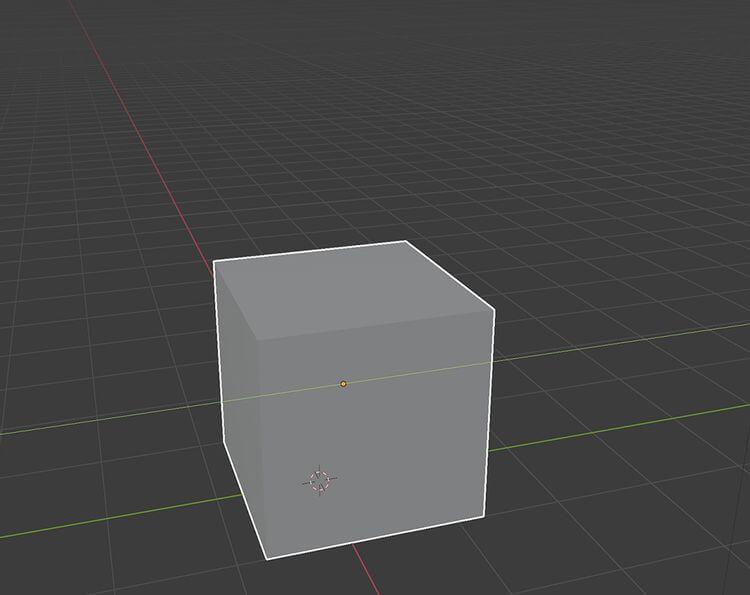
Practice these operations on the cube in the default scene in Object Mode . If you don't have an existing object, you can create one by clicking Add > Mesh at the top of the screen. You will then see a list of basic objects available to add to the scene.
You can also use key commands to tell Blender what you want to do. Navigation here is like defining a set of coordinates.
If you want to move the cube along the Y axis (from side to side), select the cube and press G > Y . This locks the cube's movement along the blue Y axis , while also allowing you to move it with your mouse in a row.
However, using the mouse is not accurate. If you want to convert exactly 10m to the cube, you can repeat the steps above, but this time the parameter will be for the length.
Therefore, to move a square block 10m along the Y axis , you would select that square, type G > Y > 10 , then press Enter .
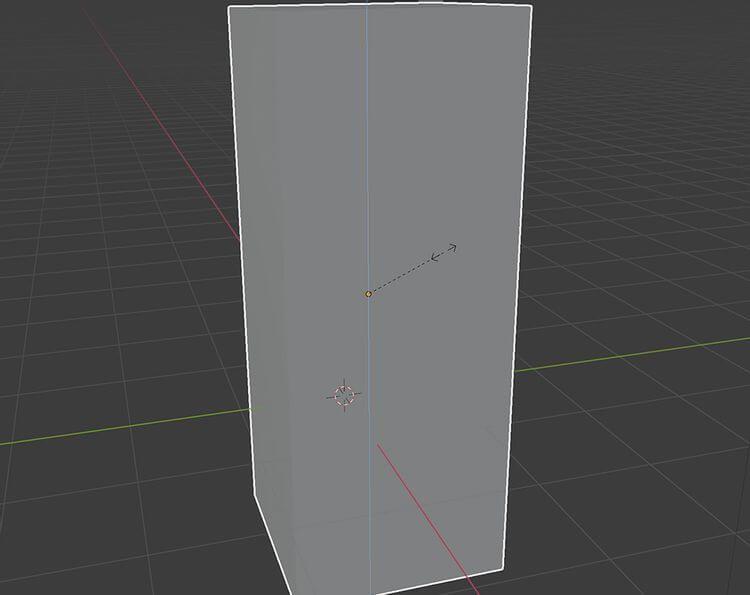
Similarly, if you want the cube to be twice as tall, you can scale it along the Z axis by pressing S > Z > 2 . This action will tell Blender to double the square's size along the Z axis.

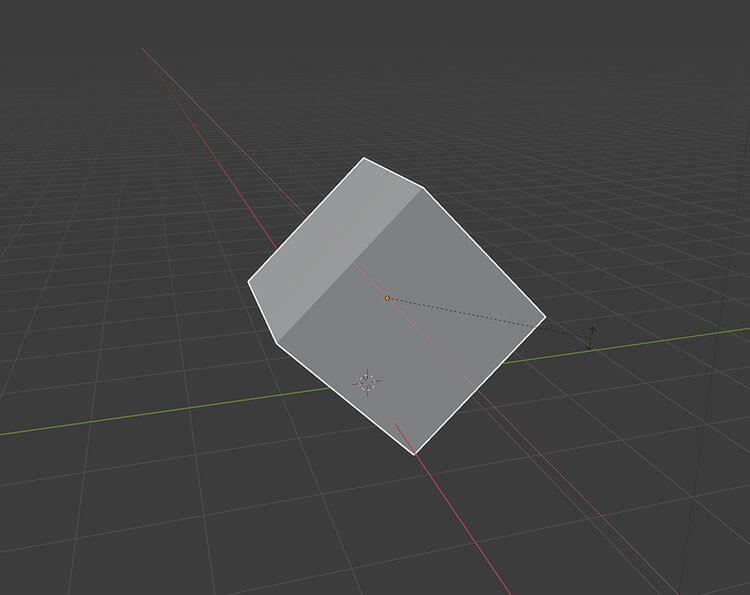
Of course, if you want to rotate the cube 90 degrees along the X axis, you must use R > X > 90 .

Above is the basic way to use Blender for beginners . Hope the article is useful to you.

