Chromebooks lack ePSA support and don’t let users enter a boot menu like other operating systems. Fortunately, the built-in terminal, CROSH, is an excellent diagnostics tool that allows plenty of troubleshooting opportunities and system configurations.

Built similarly to a Windows terminal or the Linux BASH, CROSH has a simple interface. However, if you want to get the most out of it, there are a few commands you need to learn. Although Chromebooks are based on Linux, the terminal commands are different.
How to Bring Up the Terminal
Opening the CROSH terminal window is easy.
- Launch the Chrome browser.

- Press “Ctrl+Alt+T”.

- Type “help” if you need a starting list of commands.

CROSH Commands You Should Know
CROSH is an amazing playground for both casual users and Chrome OS developers. But no matter your area of expertise or level of interest, knowing some basic commands for troubleshooting or to make your job easier is an excellent idea.
Ping
Running a ping test is a quick way to assess the status of your network connection.
- Type “
ping” followed by the domain name and hit “Enter.”
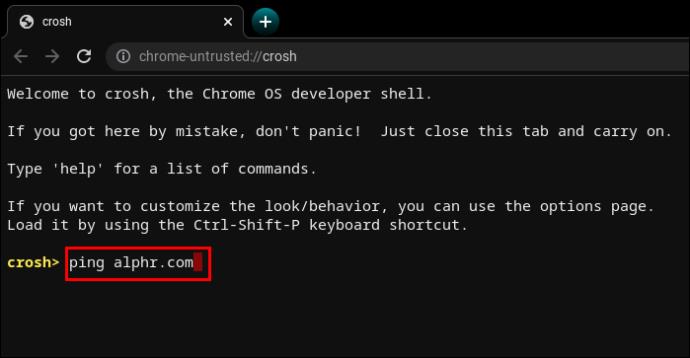
For example, try “ping alphr.com” or the ever-popular “ping google.com.” The terminal will display the number of sent and received packets, the packet loss percentage, and response time.
Memory Test
Chromebooks have limited ways to check memory status. Many users rely on third-party tools. However, entering a simple command in CROSH will initiate a memory test on your device’s free memory.
- Type “
memory_test” and hit “Enter.”
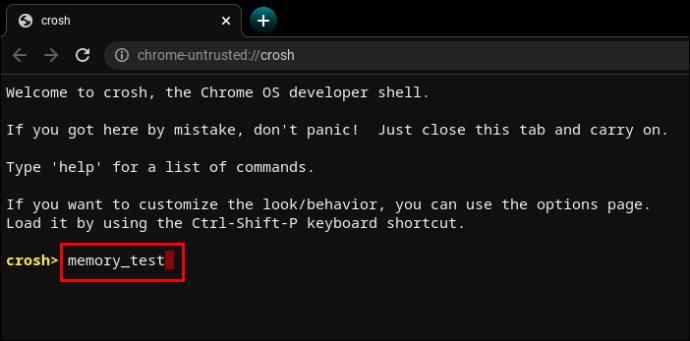
It’s as intuitive as it gets.
Memory Information
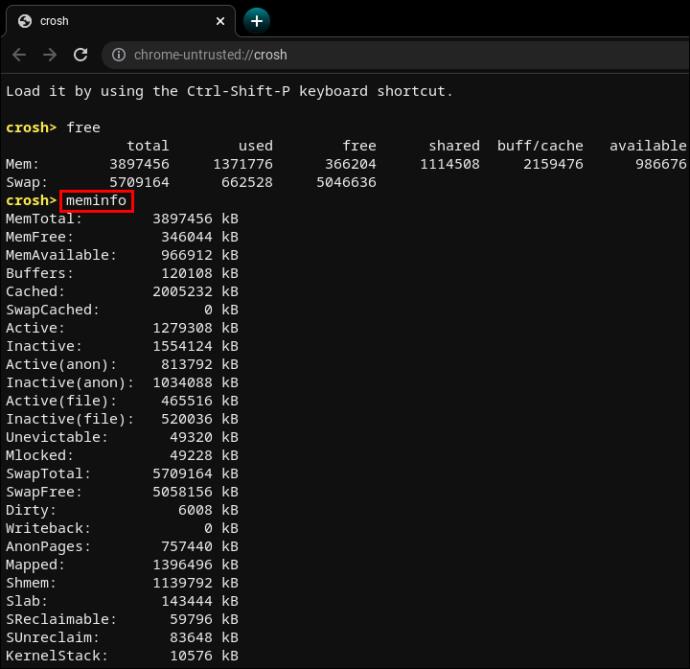
If you want more information about memory usage, two other commands may help.
- Type “
free” to learn how much free memory your Chromebook has.

- Type “
meminfo” to read more about memory availability and usage.
Modem Configuration
Using CROSH to connect to the modem will give you access to many settings, including firmware changes, access control, factory reset, etc.
- Type “
modem help” and hit “Enter.”
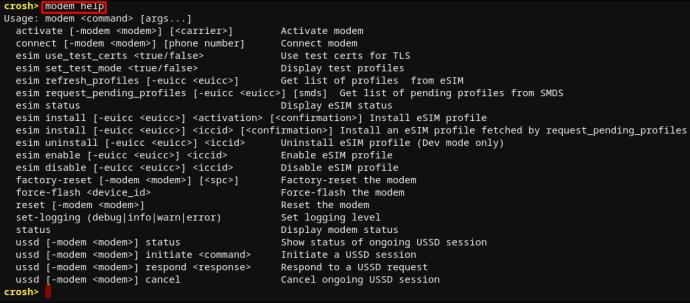
This will display a long list of commands. Alternatively, you can use the following command to set the modem to a specific carrier.
- Type “
modem_set_carrier carrier-name” and hit “Enter.”
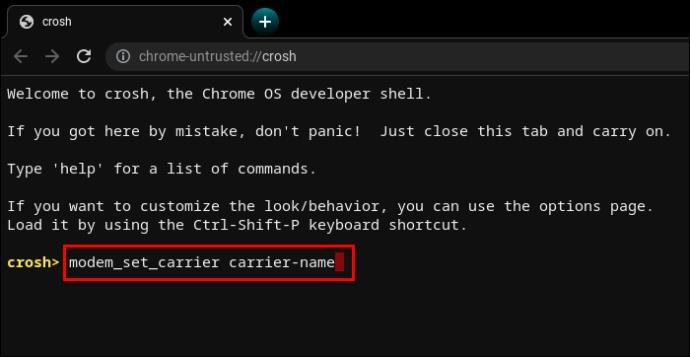
It’s a useful command when first setting up your Chromebook or installing a new modem.
Check the OS Version
If you’re unsure what Chrome OS you have on your Chromebook, the following command will give all the information you need.
- Type “
sudo/opt/google/chrome/chrome –version”.
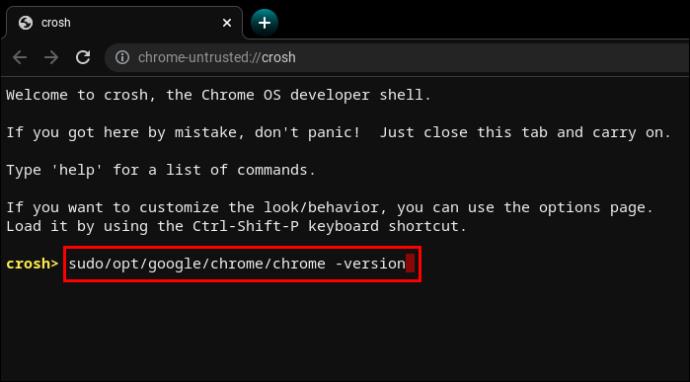
Say your operating system is old and could use an update.
- Type “
update_engine_client–update” to install the latest Chrome OS update.
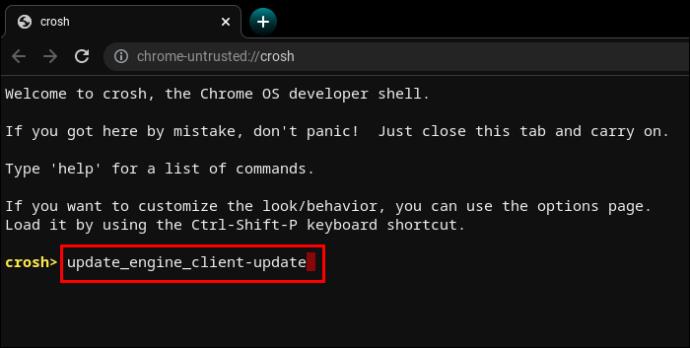
Check the Bios Version
Checking the bios version on a Chromebook from the CROSH terminal requires a command straight out of the Linux playbook.
- Type “
sudo/usr/sbin/chromeos-firmwareupdate–v”.
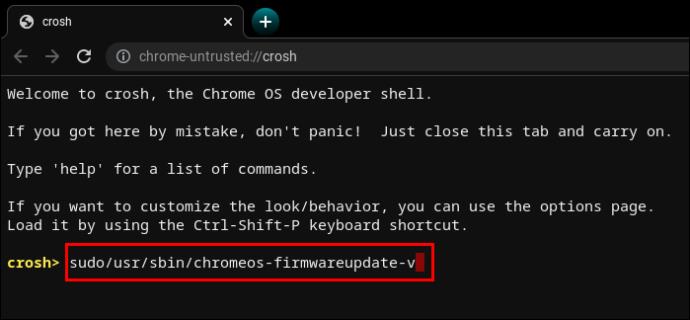
Check the Product Info
Accessing system configurations on a Chromebook is not as intuitive as it is on a Windows PC or a Mac. However, the CROSH terminal can pull all the necessary information with a simple command.
- Type “
sudo dump_vpd_log--full–stdout”.
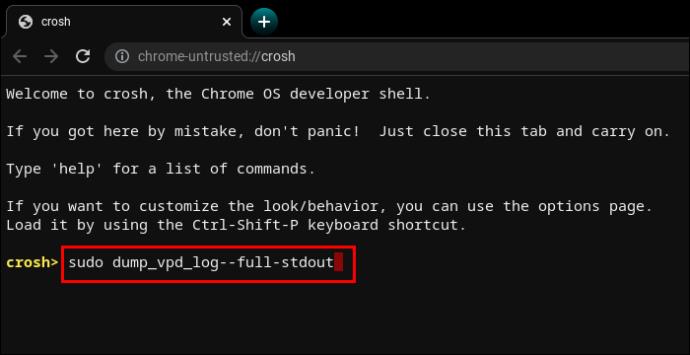
This command displays the IMEI, model, language, region, time zone, UUID, and other information, also known as vital product data. Hence the intuitive “vpd” command line.
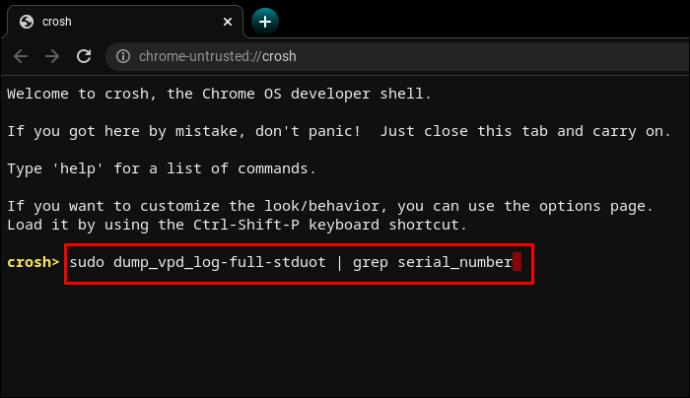
But you can make this information even more specific by adding your device’s serial number.
- Type “
sudo dump_vpd_log–full–stdout | grep serial_number”.
Rollback the OS
Not all operating system updates improve on earlier versions. Sometimes, a new update can introduce bugs, worsen resource management, etc.
If you want to downgrade the OS version, or roll it back to its previous stable version, you can type one word into the terminal.
- Type “
rollback”.
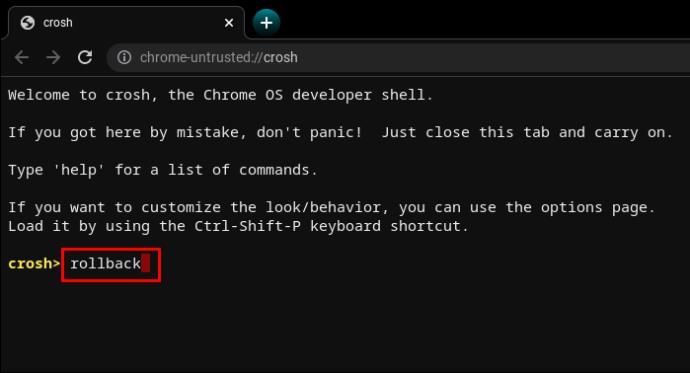
Remember that rollbacks whitewash devices, so it’s possible to lose unsaved work and other files. Additionally, the command doesn’t work on enterprise Chromebooks. It only works on personal devices or those considered “non-stable.”
Load the Task Manager
Another one-word command can display the Chrome OS Task Manager in the terminal interface.
- Type “
top”.
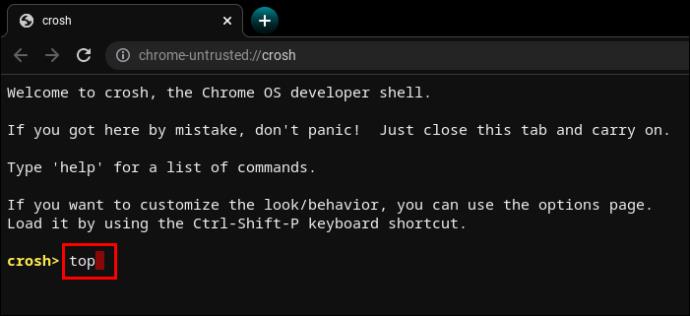
This isn’t the same Task Manager you can access normally. Compared to the desktop version, the CROSH-enabled Task Manager displays additional system and background processes. More specifically, you can see low-level processes that usually stay hidden.
It’s great to see how many processes are eating CPU power and memory.
Test the Battery
Like all other laptops, Chromebooks allow users to see the battery status in the bottom right corner of the taskbar. But the CROSH terminal can display additional information about the battery.
- Type “
battery_test [number of seconds]”.
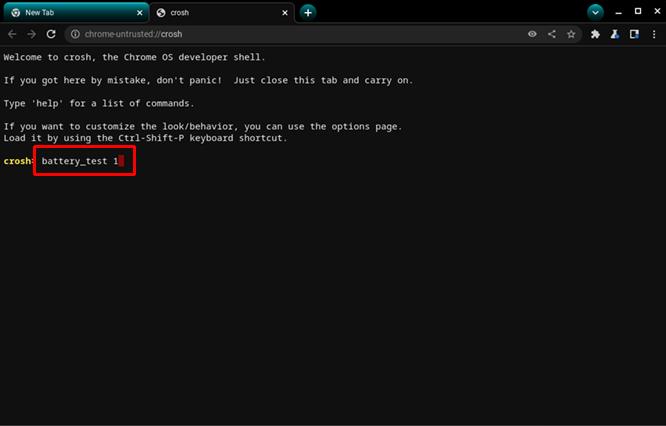
This command will prompt CROSH to initiate a battery test. The feedback will display the current charge, overall health, and how much the battery typically consumes in the specified test timeframe.
It can give you a better sense of the battery’s quality.
CROSH will initiate a 300-second test if you don’t input a specific number of seconds. It’s unnecessarily long in some cases.
Check the Uptime
If you’re uncertain how long it’s been since you completely shut down your Chromebook, a CROSH command will do the trick.
- Type “
uptime”.
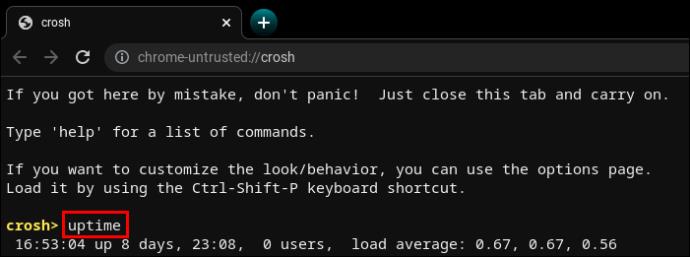
You’ll find out how much time has passed since the last reboot, which users were logged in, and when.
Advanced Network Diagnostics
Running network diagnostics in CROSH is generally faster than taking a manual approach to troubleshooting. Of course, the information must mean something to you to figure out what’s wrong with your connection.
- Type “
network_diag”.
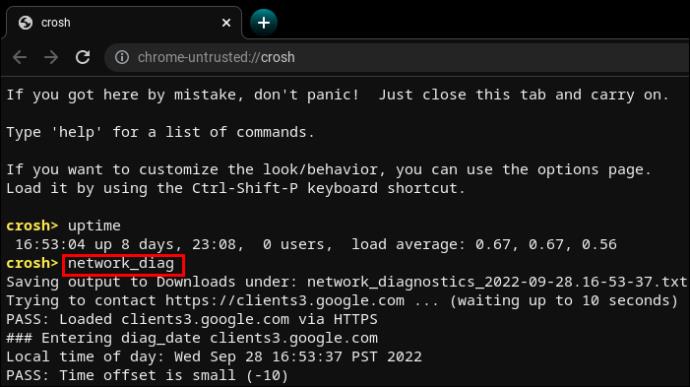
The command is often the second one to use after unsatisfying or unclear “ping” results.
Access Additional Commands
CROSH has two command lists any user can access.
- Type “
help” or “help_advanced” in CROSH.
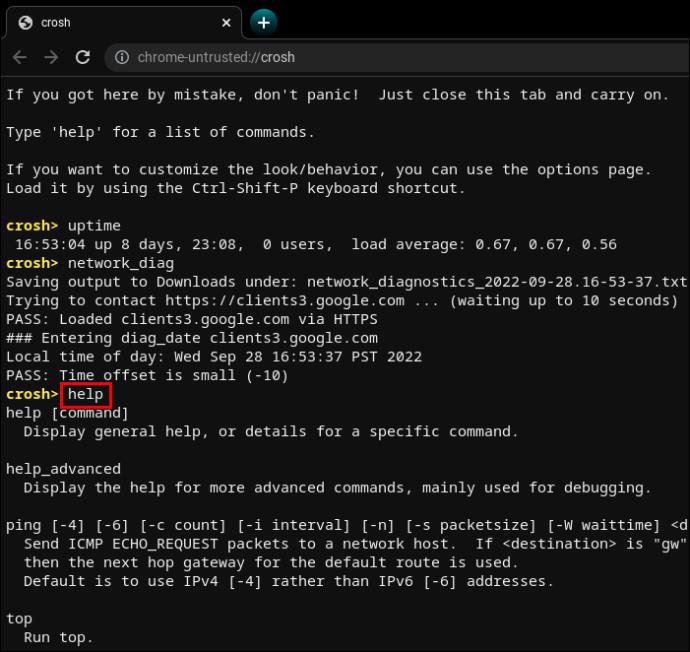
The first list contains more user-friendly and common commands, while the latter displays more advanced options.
Regardless, there are at least three commands you can’t use without the Developer Mode enabled.
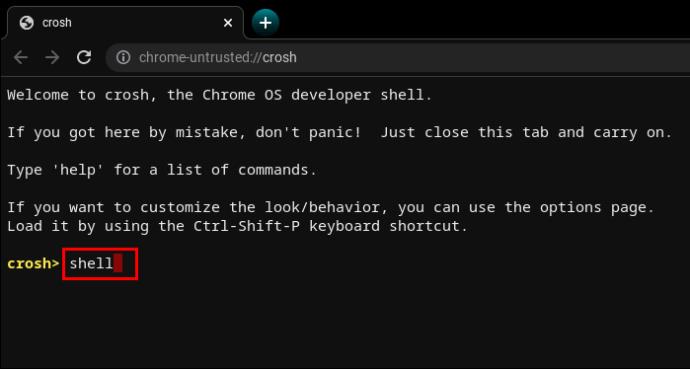
- The “
shell” command opens a Bash shell.
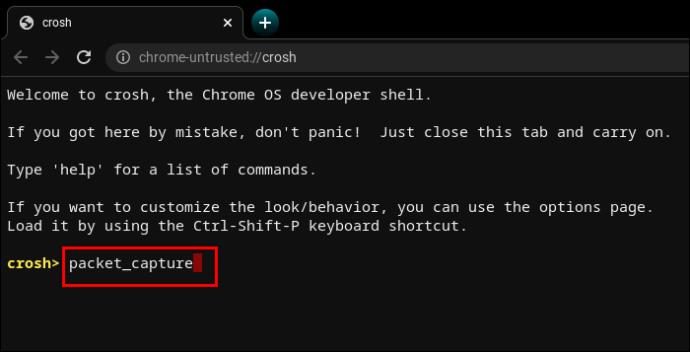
- The “
packet_capture” command logs data packets.
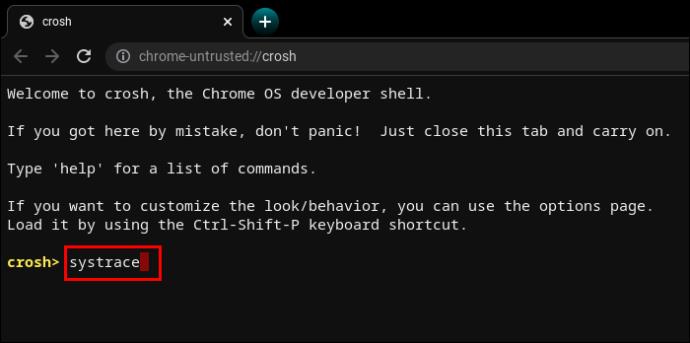
- The “
systrace” command initiates a system trace.
Force Updates on Mobile Data
Chrome OS is a smart cookie and understands the risks of downloading updates on mobile data. To avoid unfortunate situations like WiFi drops, mobile data updates are disabled by default.
However, if you have good bandwidth and unlimited downloads, cellular network updates might be nice to have in areas with weak WiFi signals.
- Type “
update_over_cellular enable”.

Stop a Process
CROSH isn’t foolproof and sometimes gives errors. Moreover, asking it to perform a stressful test on a Chromebook that’s already slow can cause additional problems.
If something doesn’t feel right or takes too long, you can quickly terminate the process or command in the terminal and move on to something else.
- Press “Ctrl+C”.

Enable or Disable P2P Sharing
Chromebooks can get updates from other devices connected to the same local network. If the option is enabled on your Chromebook, others can also get updates from your device.
- Type “
p2p_update enable” in CROSH.

This option shouldn’t be enabled by default.
Test Input Devices
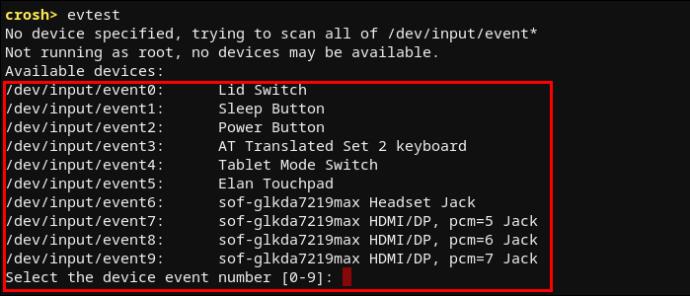
Users with multiple touch input devices can bring up a list with all of them in CROSH. From there, users can run an individual test to diagnose each device and identify problems.
- Type “
evtest” in CROSH.

- Select the target device event number as identified in the list.
- Hit “Enter.”
Configure the Touchpad
A Chromebook touchpad comes with multiple configuration options for sensitivity, touch control, etc. The following command will help you easily change the most advanced touchpad settings.
- Type “
tpcontrol status | taptoclick on or off sensitivity [1-5] | set property value”.
- Type “
tpcontrol syntp on or off”.
Storage Diagnostics
Occasionally checking up on your device storage is a good idea. The most important aspects to analyze are the S.M.A.R.T health status and readability.
- Type “
storage_test_2” to run a readability test.

- Type “
storage_status” to learn about the S.M.A.R.T health status and bring up an error log.

- Type “
storage_test_1” if you want to run an offline S.M.A.R.T test.

Experimental Storage Manager
Chromebook users often split their storage needs between cloud and local storage. However, Chrome OS is known for taking up a lot of space. Thus, local storage could be very limited.
To understand more about how your Chromebook makes use of its storage options, you may want to run the experimental storage manager.
- Type “
experimental_storage enable”.

Note that this shouldn’t be enabled by default. But once you run the command, you’ll get more details about storage capacity and file locations. Like the hidden Task Manager, the Experimental Storage Manager command displays a more detailed overview than the standard File Browser.
A Sweet Tool for Every Chromebook User
Learning the ropes in CROSH is by no means mandatory to use your Chromebook and enjoy the Chrome OS experience. But if you’re at all familiar with Linux-based systems, you should know that working with the terminal is often easier than using the standard interface.
Executing commands in CROSH can help you perform tests, debug, troubleshoot, update, configure apps and features, and learn more about what’s going on in your system. It may take some time to learn all the commands, but most of them are intuitively written. Hence, CROSH comes with a low learning curve.
What commands were helpful to you? Do you find yourself using CROSH more often than you would’ve thought before getting your hands on a Chromebook? Let us know in the comments section below.
