How to Copy Partition to Another Drive in Windows 11/10/8/7
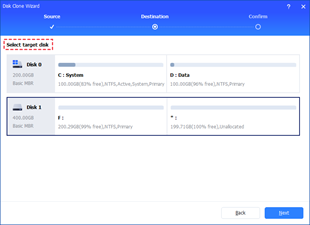
In Windows 11, 10, 8, and 7, you can quickly copy a partition to a different drive using the flexible disk cloning tool AOMEI Partition Assistant.
The Visual Studio Code Workspace is a collection of files opened in a single window. A Workspace can be a single folder but, in some cases, will include multiple files in a development workflow known as multi-root Workspaces. If you’re working on a project and have to open multiple files on this platform, the new Workspace feature can help. You will be able to open several files in the same window, making it easy to access all your necessary documents. The .code-Workspaces file is used to save the project’s folder configuration. Once configured, it will automatically open the various files in the same window. It’s also much faster and easier to set up than writing a shell script. Check out how to create a VS Code Workspace.

Creating a New Workspace in VS Code
Your Workspace is often the local copy of the team’s codebase that you can use to test and develop your code. In most cases, it’s created automatically when you open a VS folder. However, you might want to create multiple files to keep track of all the changes you make in different branches of the project. Here’s how to consolidate those files into a VS Code Workspace.
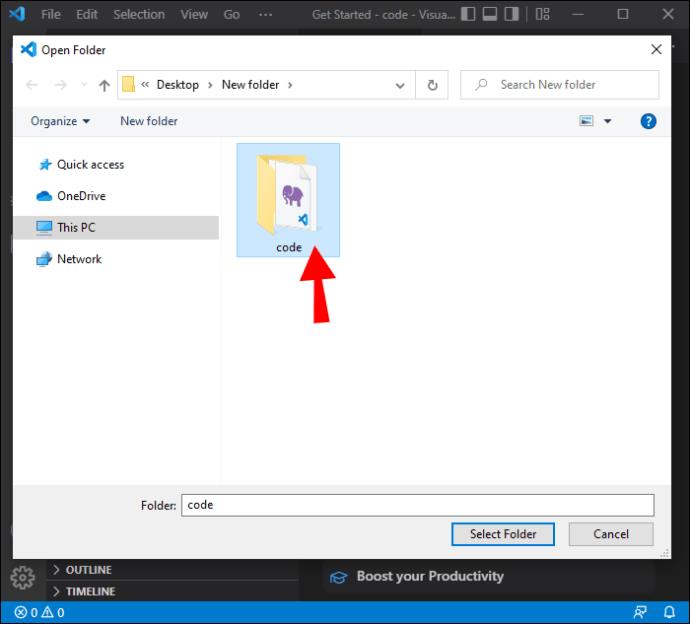
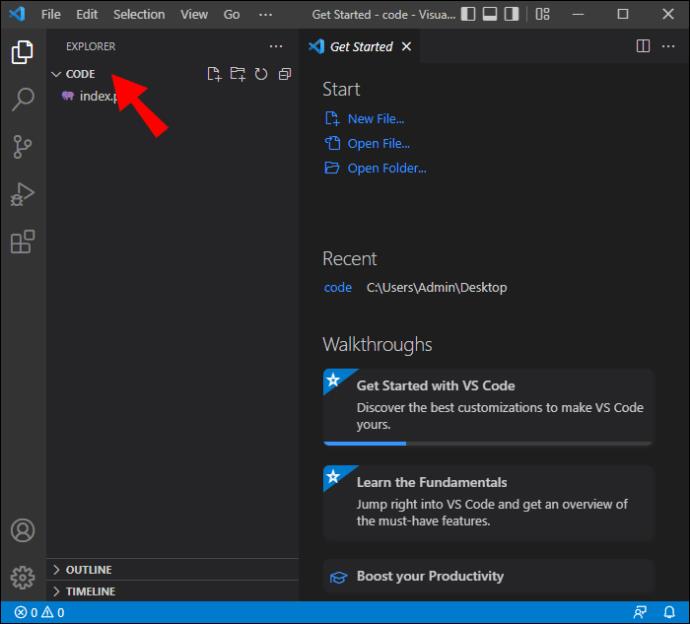
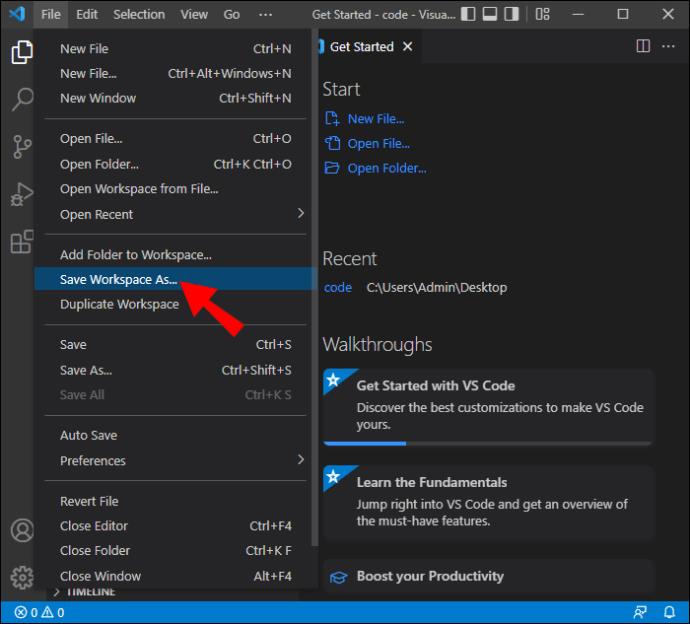
Your new Workspace has now been created on VS Code, and the name will show up as (Name).code-Workspace.
Workspace Settings
These settings override default settings and can be used to customize your Workspace to your liking. They are stored in JSON files, and their location will be determined by how you open your folder.
Single-Folder Workspace Settings
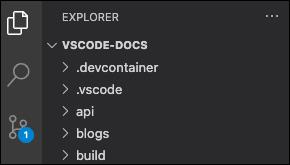
If you open a folder as a Workspace, the settings will be found in .vscode/settings.json.
Multi-Root Workspace Settings
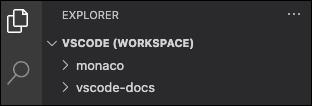
If the folder you open is a .code-workspace file, all Workspace settings will be added to the .code-workspace file.
You can still customize settings per root folder, but the settings will override those defined in the .code-workspace.
Workspace Launch Configurations and Tasks
Similar to how settings are configured for Workspace, tasks and launches can also be personalized to suit a Workspace. If you have a folder opened as a .code-workspace file or a Workspace, the locations of task and launch configurations are in the .vsh file or .workspace file. These configurations can also be adjusted from the folder.
Optimize a New VS Code Workspace
With built-in support for various programming languages, including TypeScript, Javascript, and Node JS, Workspace is an ideal tool for developers. These tips will make the platform more efficient and easier to navigate.
Terminals
You might be utilizing the default terminal provided by your operating system. With VS Code, the platform wanted to make it so that you don’t have to rely on the OS feature. VS Code comes with a built-in terminal that has all your requirements in one place. It’s a great way to keep track of your development projects and ensure that they are running smoothly. With the ability to rename or change the icon color, it’s also easier to differentiate between the various terminals for your project.
Wrap Tabs
This feature is handy for developers who are working on large projects where multiple components are being used. It can be hard to keep track of all the files when moving from one component to another. In VS Code, tabs appear in the browser, and you will have to scroll from one to the other when you want to view what’s inside them.
A more efficient method would be to wrap these tabs by clicking Cmd + and searching for “Wrap Tabs.” This feature will make it easier to see what is in different tabs.
Pin Tabs
As a developer, it’s advisable to keep your Workspace as organized as possible. You can do this by pining tabs you often use to the front of your screen. You can also customize the look and feel of these tabs by hitting the Cmd + or Ctrl + buttons and searching for “Pin Tab.”
User Interface
The interface of your terminal is set up so that it has various options, such as explorer, search, project manager, and output. It also has a footer-like section where you can easily find and modify multiple details. In VS Code, it is possible to drag and drop these tabs, rearranging them to your liking. You can place the more frequently used options closer to the top or customize them to make them easier to access. Personalizing the user interface makes your Workspace easier to navigate.
Language
When creating a new page in Visual Studio Code, the file is untitled, and you will have to fill in those details yourself. You would then have to move to the file’s name and enter the extension. The process can be tedious, especially when dealing with a large number of files.
You can optimize the process by allowing the IDE to look at the files. It will then use the previous naming system to assign names to new files that you create.
Preview
VS Code has some frustrating features. For example, if you open a file in preview and then open another one immediately after without making changes to the first one, the program will close the first file. If you would like to change this and keep both files open in preview, go to Settings and search for “Enable Preview.” Tick the checkbox to make the necessary changes.
New PC Set-Up
You may have customized and personalized your VS Code Workspace to your liking, only to get a new PC. While a new machine is great, having to reconfigure your Workspace can be annoying.
Setting Sync allows you to save all of your configurations in one place. When you get another device, it will automatically apply the settings of the old one to the new VS Code Workspace. This way, you don’t have to reconfigure Workspace on your new PC.
Open Replay

Getting started with debugging a web app in production can be challenging and time-consuming. With OpenReplay, you can monitor and replay everything that your users do, allowing you to see how the app behaves and detect any issues that may appear. OpenReplay is an excellent option as it is a free, open-source alternative to other debugging applications like LogRocket and FullStory. Using a debugging program saves you a lot of time when using Workspace.
GitHub

VS Code comes with a built-in GitHub integration. This allows you to push your files to GitHub quickly. Connecting to GitHub from VS Code means that you don’t have to spend time writing git commands. The VS Code integration makes maintaining your files simpler.
All Your Folders in One Location
Workspace makes it easy for your team to stay organized. Files and folders can be stored in a single location, allowing them to be opened and viewed at the click of a button. Workspace can also be optimized to improve efficiency and help keep track of ongoing projects. With this guide, you are now well equipped to create a Workspace on VS Code and customize it to suit your needs.
Have you set up a new Workspace on VS Code? Let us know how you created and optimized your Workspace in the comments below.
In Windows 11, 10, 8, and 7, you can quickly copy a partition to a different drive using the flexible disk cloning tool AOMEI Partition Assistant.
Driver Booster 12 Free is an effective tool that will keep your computers drivers up to date, which will make the system run faster and more reliably. This driver updater from IObit keeps your PC running at its best by checking for lost, out-of-date, or broken drivers immediately.
In an era where digital efficiency is paramount, Advanced SystemCare 17 Free emerges as a beacon for those seeking to enhance their PC's performance.
Summary of Movies & TV application shortcuts on Windows 10, Summary of Movies & TV application shortcuts on Windows 10 to bring you a great experience. Maybe
How to fix Messages Failed to Load error on Discord for Windows, Discord isn't fun if you can't read what other people write. Here's how to fix Messages error
How to display the This PC icon on the Windows 11 desktop, During the process of using Windows 11, many users need to access This PC (management).
How to find information in the Windows Registry quickly, Do you find it difficult to find information in the Windows Registry? So below are quick ways to find the registry
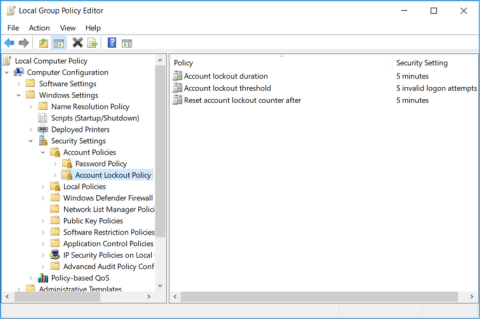
How to limit the number of failed login attempts on Windows 10. Limiting the number of failed password login attempts on Windows 10 helps increase computer security. Here's how
How to create fake error messages in Windows, Windows can come up with some pretty creative error messages but why don't you try creating your own content for them to make fun of?
Ways to open Windows Tools in Windows 11, Windows Administrative Tools or Windows Tools are still useful on Windows 11. Here's how to find Windows Tools in Windows 11.
How to fix Windows Quick Assist not working error, Windows Quick Assist helps you connect to a remote PC easily. However, sometimes it also generates errors. But,
How to pin Word, Excel and PowerPoint files to the corresponding app icon on the Windows 11 taskbar, How to pin Office files to the taskbar icon on Windows 11? Invite
How to fix the error of not being able to install software on Windows, Why can't you install apps or software on Windows 10/11? Here's everything you need to know about how to fix it
Instructions for deleting or changing the PIN code on Windows 11, In Windows 11, the PIN code is a very useful and convenient security tool for users. However some people
How to fix There Are Currently No Power Options Available error in Windows 10, Can't select power mode in Windows 10, what should I do? Here's how to fix the error
The simplest way to fix Photos app errors on Windows 10, what should I do if Microsoft Photos doesn't work? Don't worry about ways to fix Photos app errors on Windows
Instructions for installing shortcuts to switch input languages on Windows 11. During the process of using Windows, users will often have to switch between methods.
How to check power status is supported on Windows 11, Windows 11 can handle many different power states. Here's how to check the power status
How to switch from 2.4GHz to 5GHz in Windows 10, If you want to find a quick and simple way to speed up the Internet, changing the WiFi band from 2.4GHz to 5GHz may help.
How to fix Not Enough Memory to Run Microsoft Excel error on Windows, Are you having an error of not enough memory to run Microsoft Excel? So, how to fix Not Enough Memory error

