Instructions for creating green ticks for Facebook

Step-by-step guide on how to create a green tick for Facebook. Learn how to verify your account and gain credibility with the green verification mark.
Webex Meetings from the famous software company Cisco is a very powerful and professional application for use in online meetings . Recently, with the significant increase in online learning and working caused by the epidemic, Webex has been trusted and used by many people. Let's learn about how to register, install and use Webex in the following article.
Instructions for registering and installing Webex Meeting for online learning and meetings
Note: This is a guide to installing and using Webex software for PC.
First you need to download the Cisco Webex Meetings software version for PC.
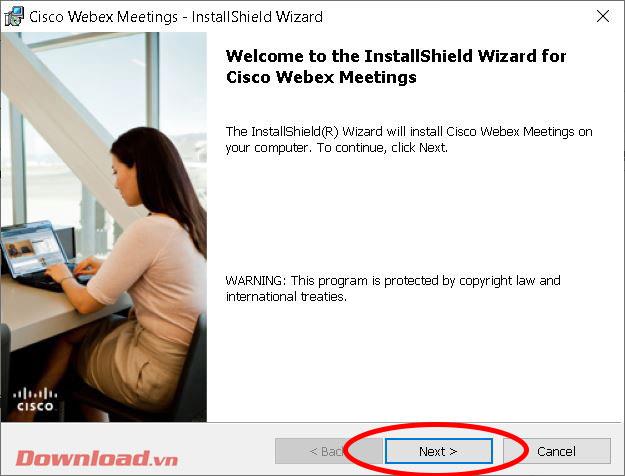
After downloading, run the downloaded file to open the installation window. Click the Next button .
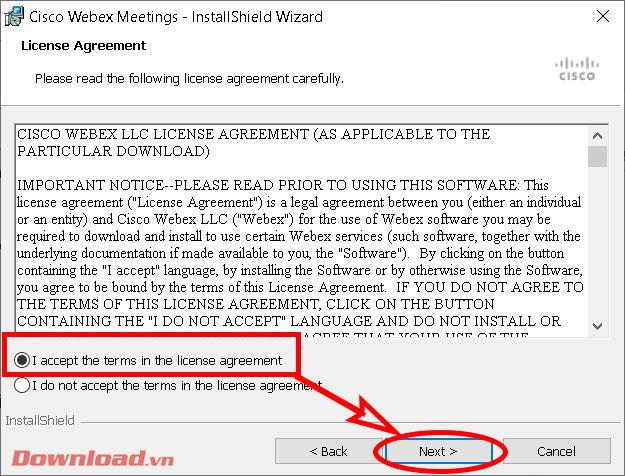
Check the line I accept the terms in the license agreement then click Next .
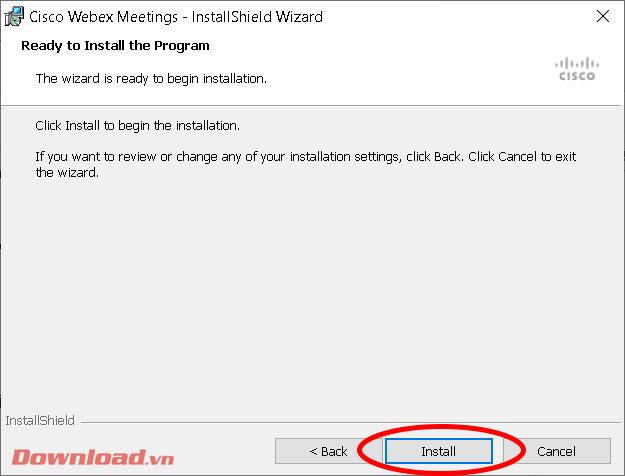
In the next window, click Install to proceed with the installation.
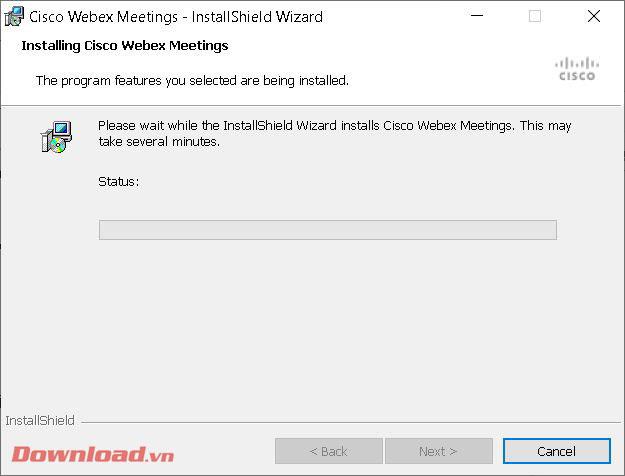
Wait a moment for the installation process to complete. If Windows displays a dialog box asking if you want to install the software, click Yes .
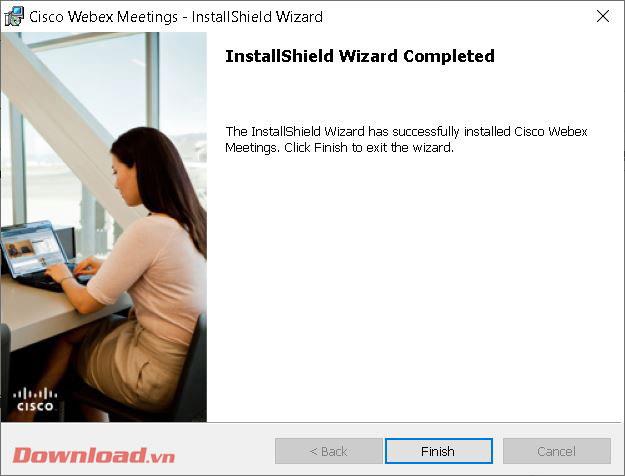
After successful installation, click the Finish button to close the window and start the Webex software immediately afterwards.
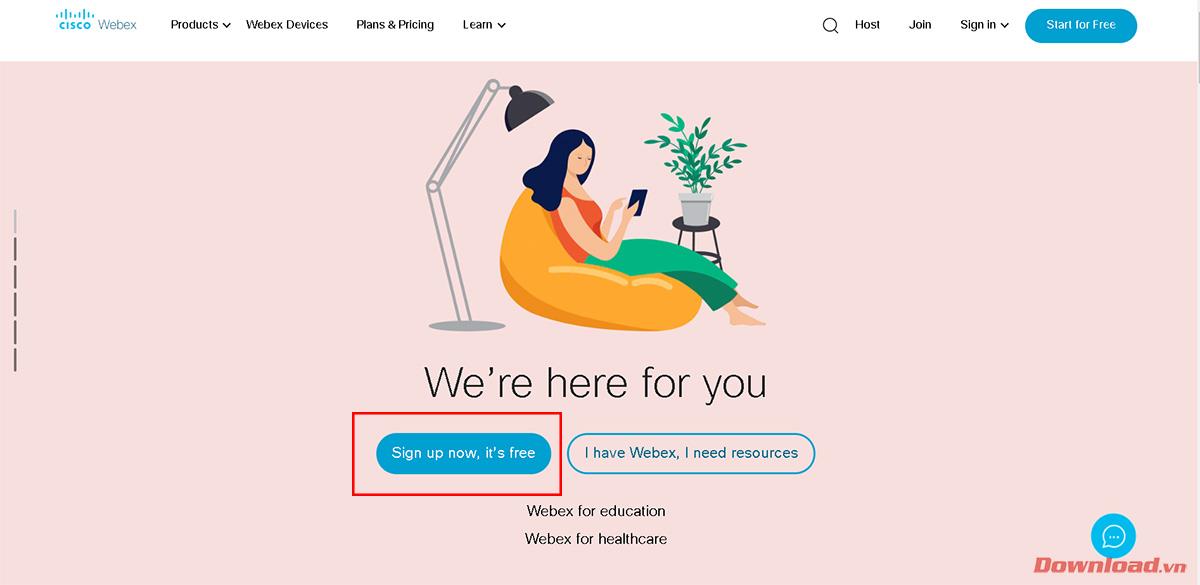
To be able to use Webex, you need to register for an account. Visit the application's homepage at: https://www.webex.com/ then press the Sign up now, It's free button .
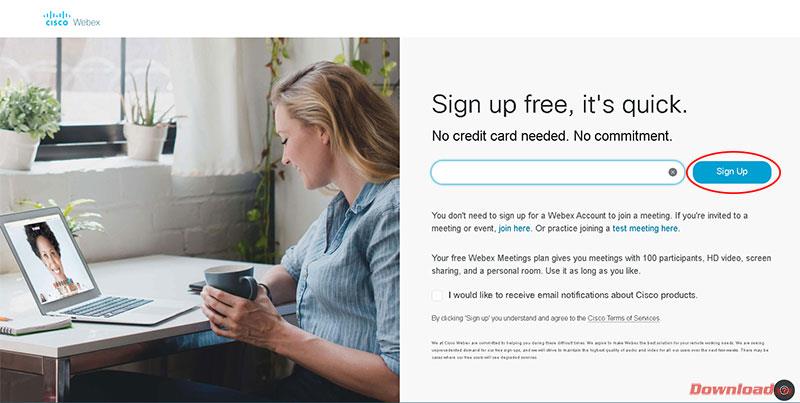
Enter your Email address in the blank box then press the Sign Up button next to it.
Select Country, language and fill in full name in the blank boxes then click Continue .
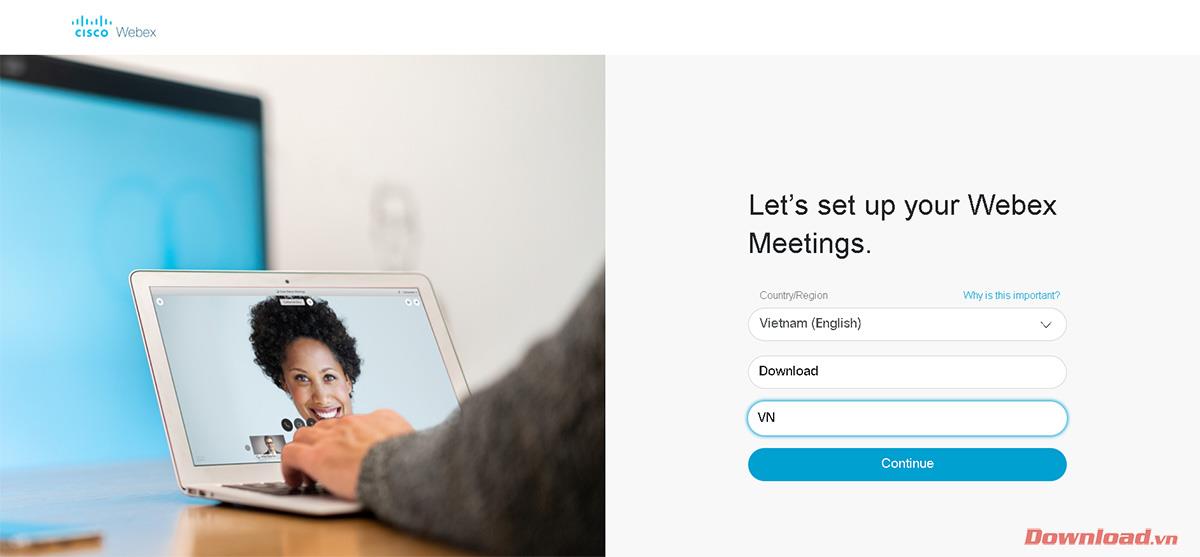
The system will send an email to your mailbox to confirm account creation.

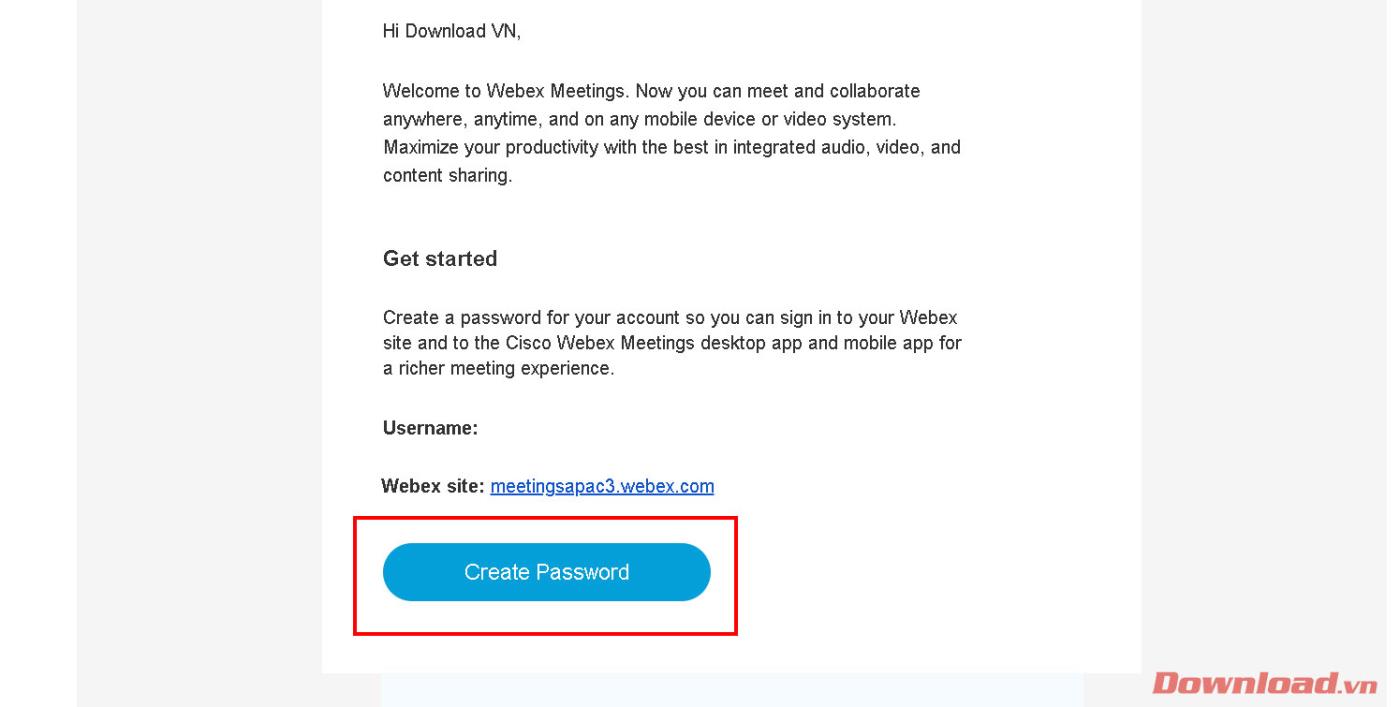
Check your Email sent by Webex, click the Create Password button at the end of the message.
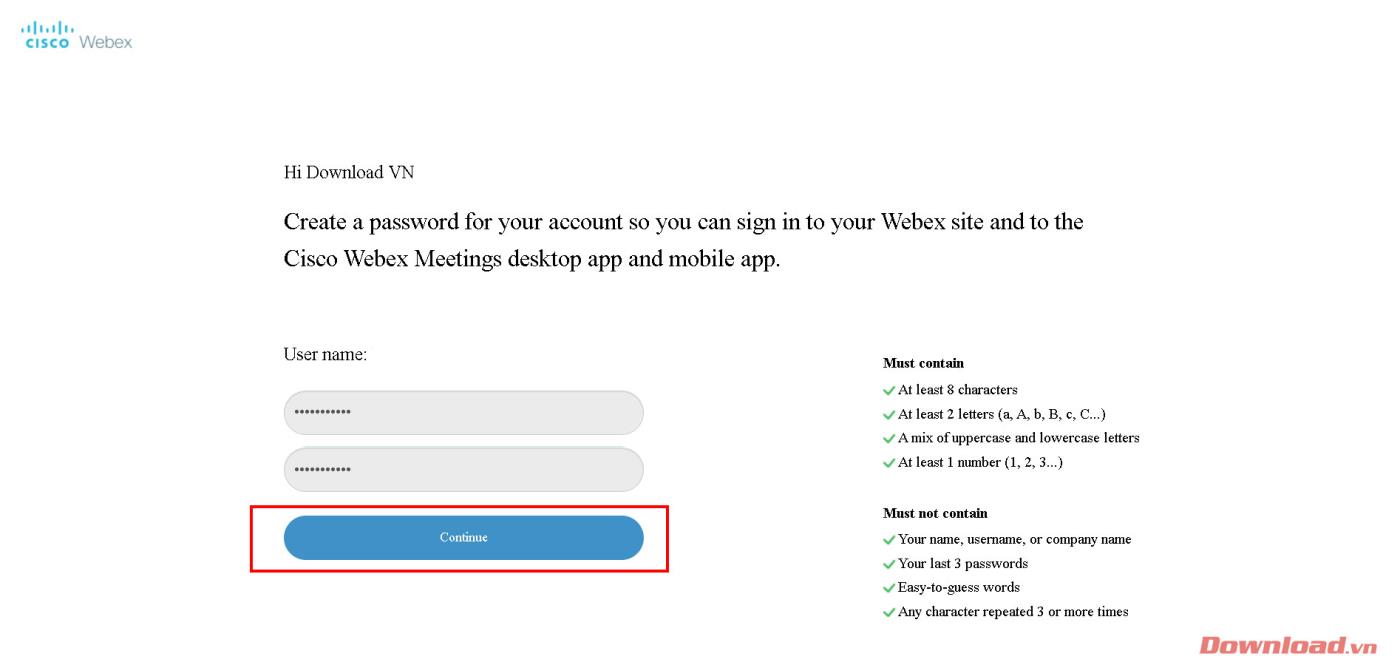
Next, you will be redirected to Webex's account management page to create a login password. Enter your password and confirm your password in the 2 blank boxes under User Name and click Continue to complete the account registration process.
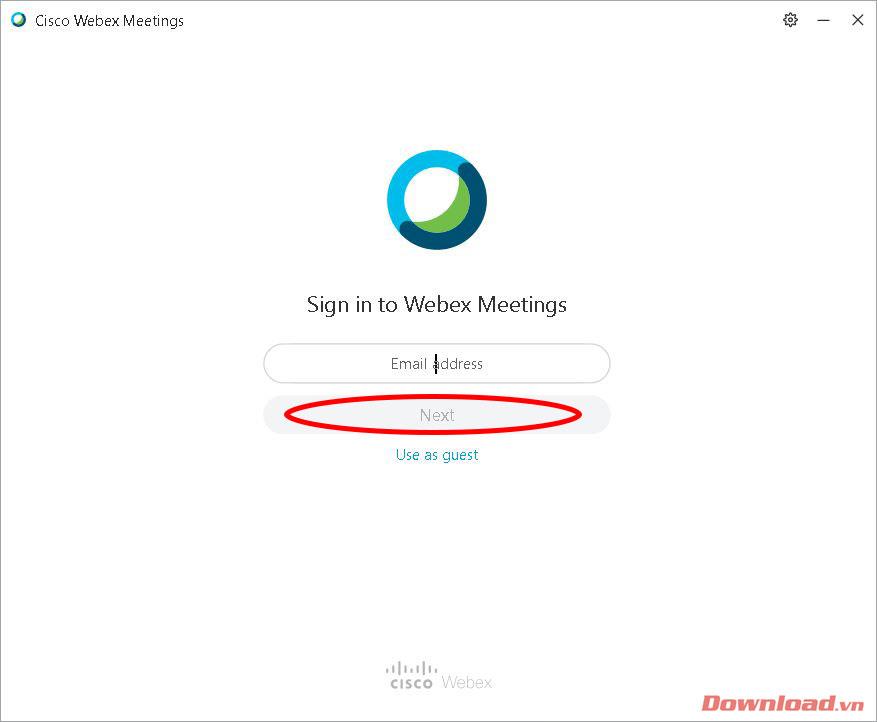
To create a classroom or meeting room, after opening the Webex software, enter the registered Email in the Email Address box then click Next .
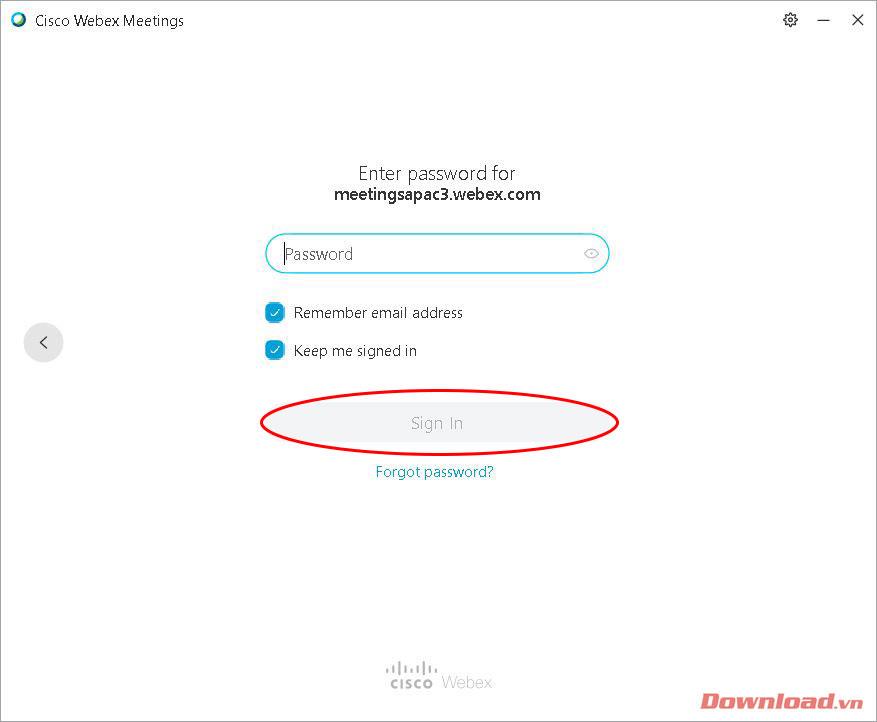
Next, enter your password in the Password box then press the Sign in button .
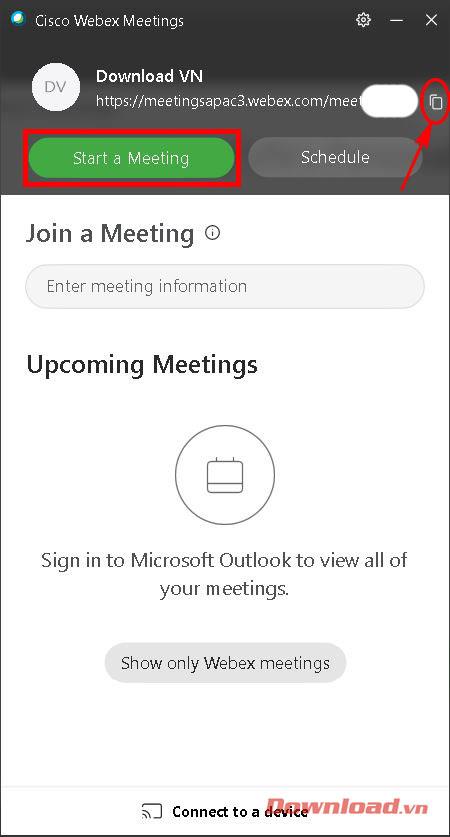
After successfully logging in, the main window of the software will appear. Click on the copy icon next to the room link as shown below to copy the link and send it to the participants. Then, press the Start a Meeting button to start a class/meeting.
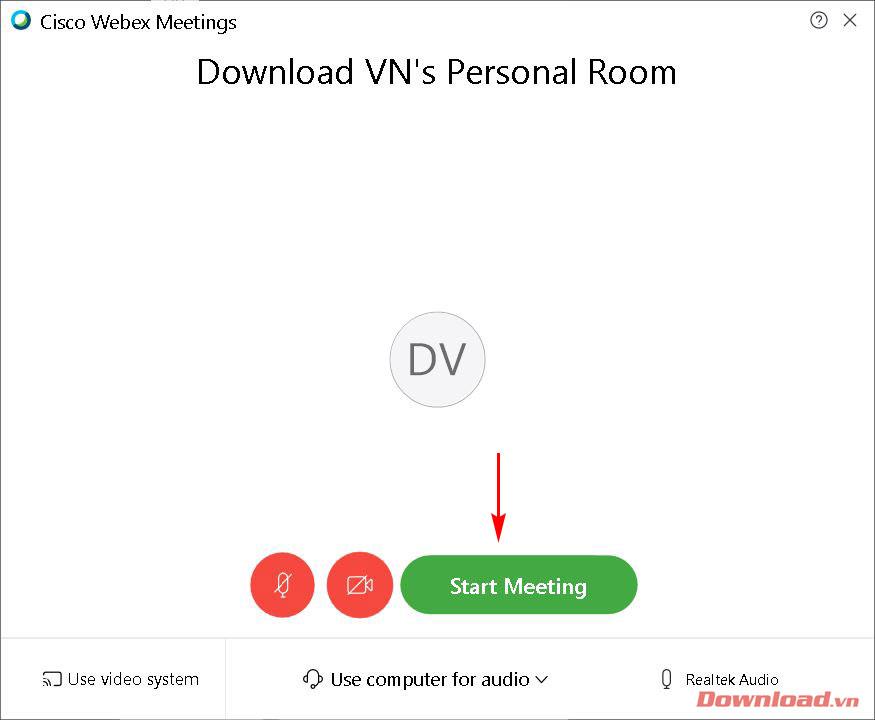
At this time, the user will be transferred to the personal meeting room to prepare for the meeting or study session. After turning off or on the sound and image with the corresponding button on the screen; Click Start Meeting .
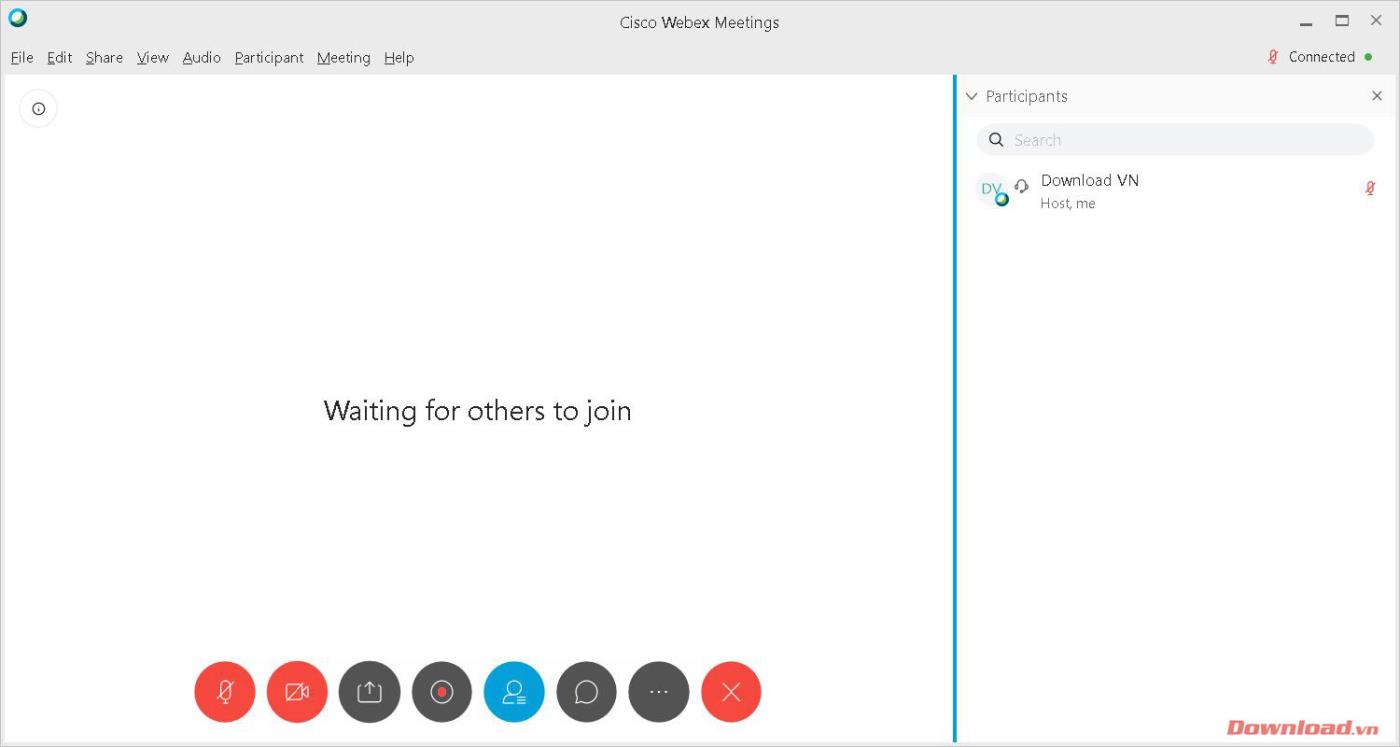
The classroom/meeting room window will appear as shown below. We can manage members participating in the room in the menu on the right hand side. The classroom interface is very friendly and easy to use with quite complete basic functions such as muting, turning off video, recording, uploading data files...
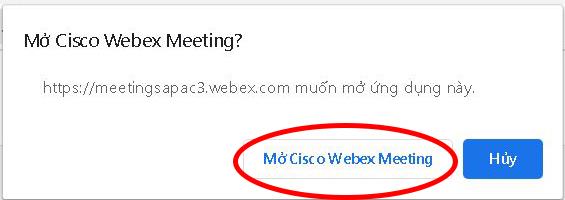
Joining a room After receiving the classroom link , click on it. At this point, you will be redirected to edit the browser window. Click Open Cisco Webex Meeting in the dialog box that appears to open the Webex software and enter the room.
Note: You need to install the Webex software to be able to join the room. If you have not installed it, the website will also ask you to download the file and install it. See the installation instructions at the beginning of the article.
So with just a few simple steps, you can create and join a classroom or meeting room to serve your online exchange needs.
Wishing you success!
Step-by-step guide on how to create a green tick for Facebook. Learn how to verify your account and gain credibility with the green verification mark.
Learn how to download torrent files directly using the Firefox web browser with the Torrent Tornado add-on. Simple steps for effective torrent downloading.
Learn how to view someone else’s TikTok followers, both on public and private accounts. Discover effective methods to access follower counts and improve your TikTok strategy.
Learn how to login to Facebook using your email, phone number, or even QR Code authentication without entering a password.
Learn how to stop echo during your Parsec streaming sessions with effective solutions. Echo is a common issue that disrupts communication in games, and we provide proven methods to eliminate it.
Discover how to change your avatar and cover photo on Zalo to express your personality. Follow our easy guide and optimize your Zalo profile image.
Learn how to manage your relationships on Zalo by marking close friends, similar to Instagram. This feature allows easy access to frequently contacted individuals.
Learn how to send screenshots via Viber quickly and without saving them. This guide provides step-by-step instructions to enhance your messaging experience.
Learn how to easily restore deleted messages on Zalo with our step-by-step instructions. Quickly recover your important chats on this popular messaging app.
Discover how to easily add background music to your personal Zalo page with our comprehensive guide on using Zalo for Android and iOS devices.
If you’ve ever found yourself at the end of a Minecraft raid, searching for the last raider to eliminate, you’re not alone. Many players have faced this challenge.
Learn how to uninstall Coc Coc browser completely from your computer, ensuring all data is removed. Follow these simple steps for an effective uninstallation.
Discover how to effectively use the Toshiba AW-A800SV washing machine control panel with our detailed guide!
Discover how to effectively use emergency features on Samsung Galaxy Watch and other smartwatches, including SOS alerts, fall detection, and health records.
Discover how to effectively <strong>share QR code on Zalo</strong>. QR codes enhance connectivity, enabling easy friend requests and more on Zalo.


