Why Reliability and Flexibility Are the Cornerstones of Great Tech

In the fast-moving digital landscape of the modern world, businesses can no longer afford to rely on systems that are only strong in one area.
Internet environment always contains many dangers. So what to do to protect the safety of your computer system here? AVG AntiVirus Free will be an effective solution for you!
This tool is able to detect and remove malware that attacks the system from many different perspectives. At the same time, improve operational efficiency for the system. So please refer to the instruction on installing and using AVG AntiVirus Free for comprehensive computer protection:
Step 1: Double-click the installation file, wait a bit to load the data.
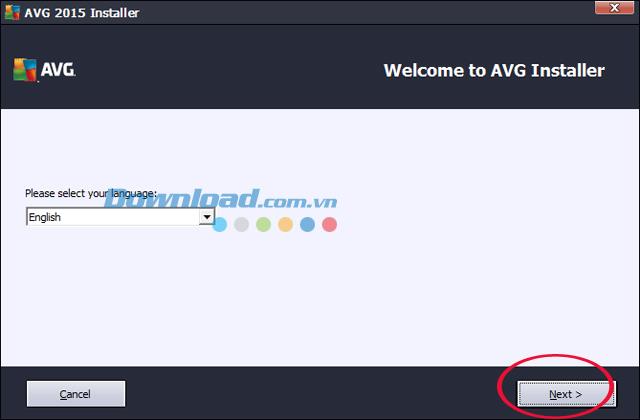
Step 2: A new window appears that allows you to select the language, select the language that suits you and click Next to continue.
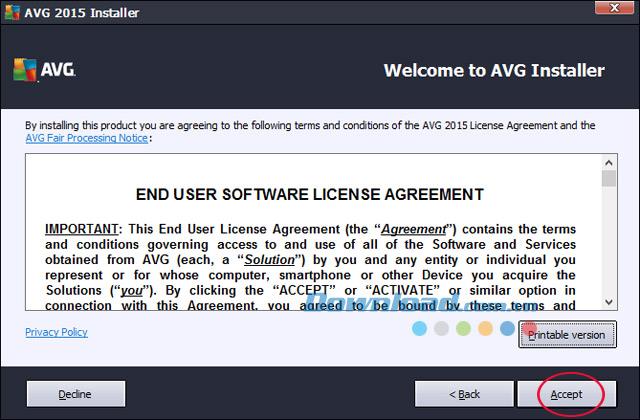
Step 3: The next window shows the terms of use that the manufacturer offers. After reading, click Accept if agreeing to the terms of use.
Step 4: The Select your product window appears, asking you to select the installation version:
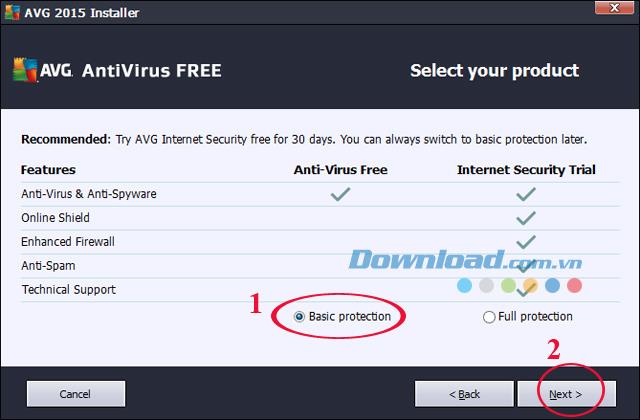
Here we choose Basic protection.
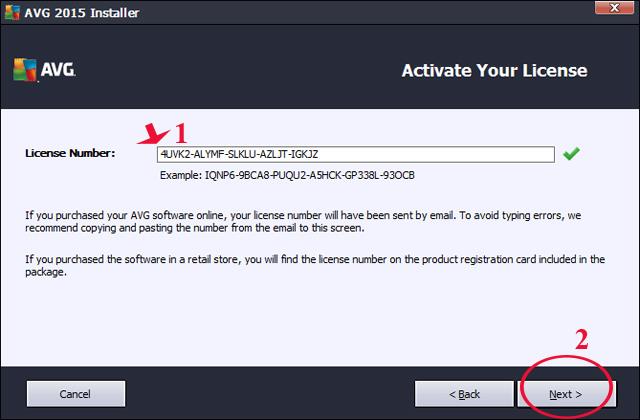
Step 5: The system will automatically display the registration number (only applicable to AVG AntiVirus Free 2015), click Next to continue.
Step 6: Next, select the installation mode:
After making your selection, click Next to continue.
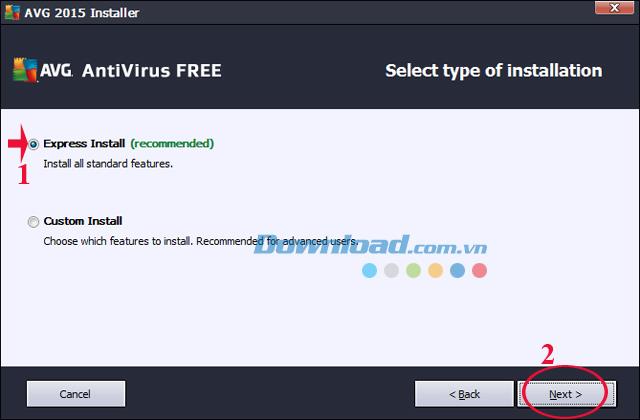
Here we choose Express Install
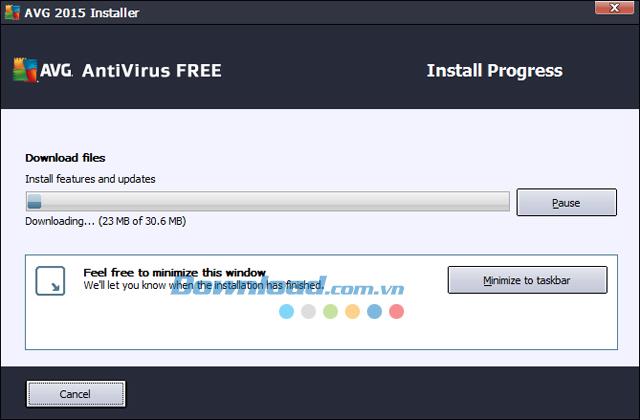
Step 7: The installation process of AVG AntiVirus Free begins. The installation speed depends on your configuration.
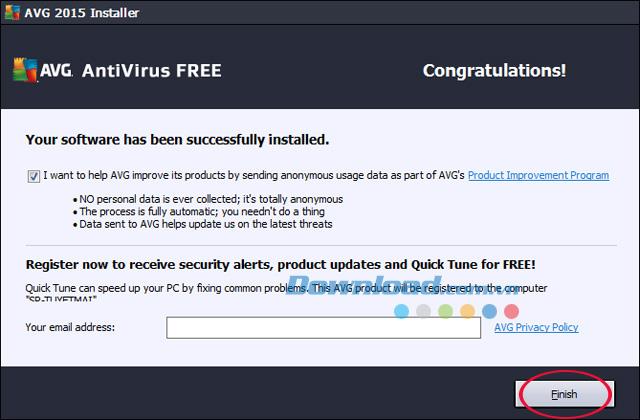
Step 8: Click Finish to finish the installation process.
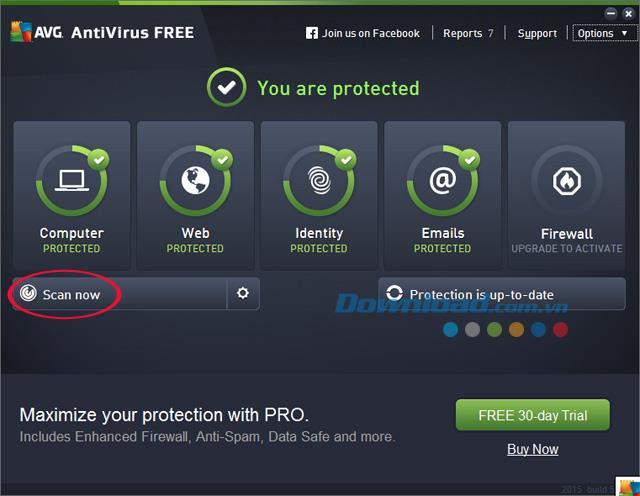
Step 1: Open AVG AntiVirus Free, on the main interface click Scan now to scan the entire system.
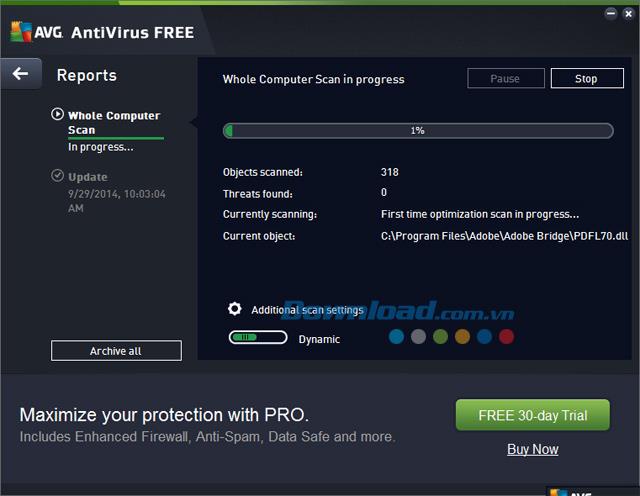
Virus scanning process takes place, when the scan is 100%, it will end and show you notifications.
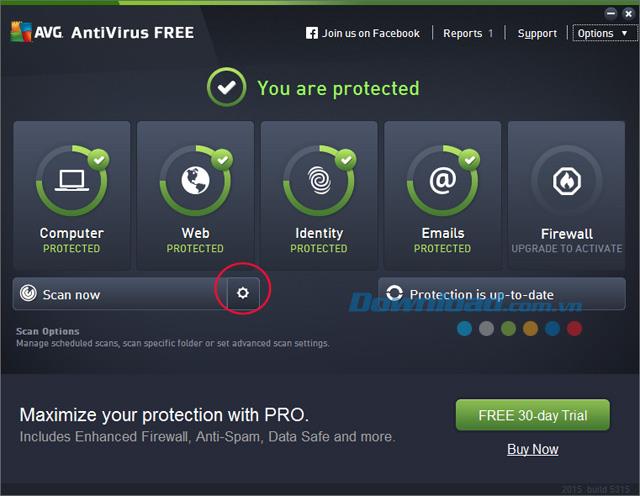
Step 2: If you want to scan a specific drive, file or folder alone, click the gear icon to perform a drive scan, any folder on your computer.
Step 3: Then the Scan Options window appears allowing you to choose:
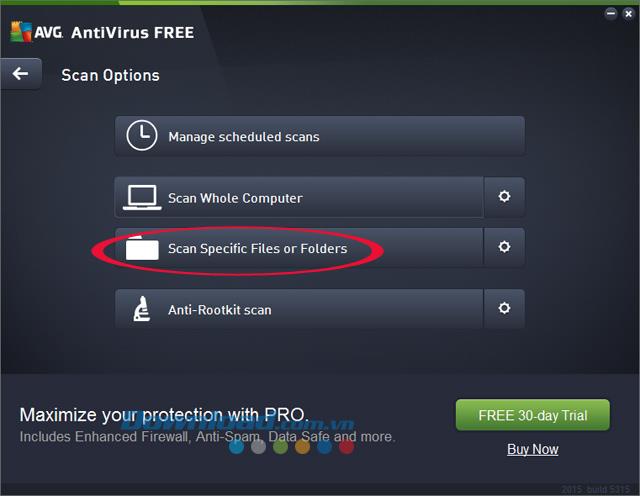
Here we choose Scan Specific Files or Folders.
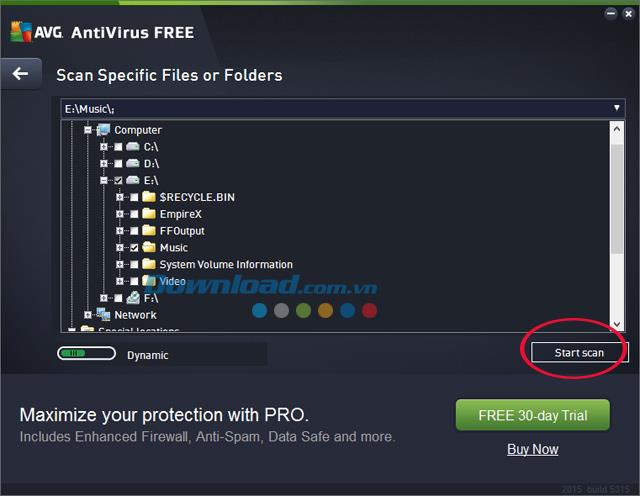
Step 4: Scan Specific Files or Folders window appears, select the folder you want to scan, then click Start Scan to start scanning for viruses.
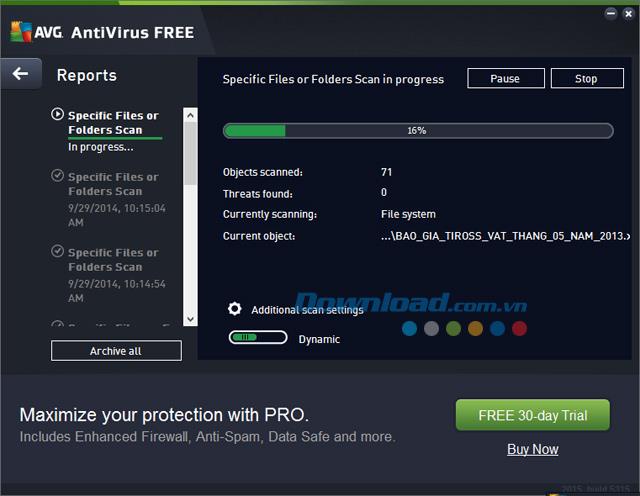
Step 5: Virus scanning takes place:
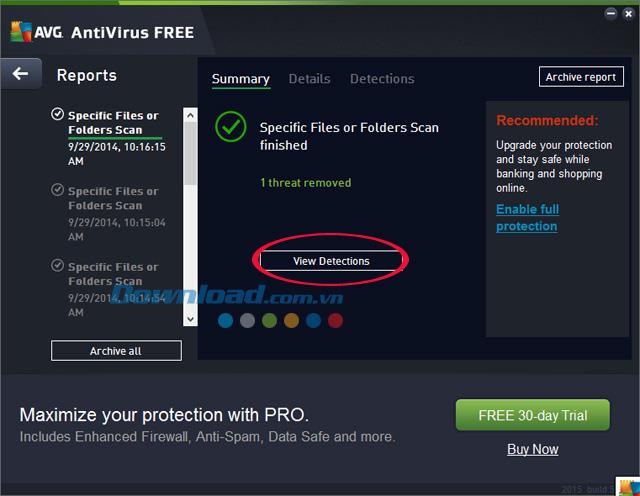
Step 6: After the scan is complete, a message appears, click View Detections to see what viruses this tool has detected.
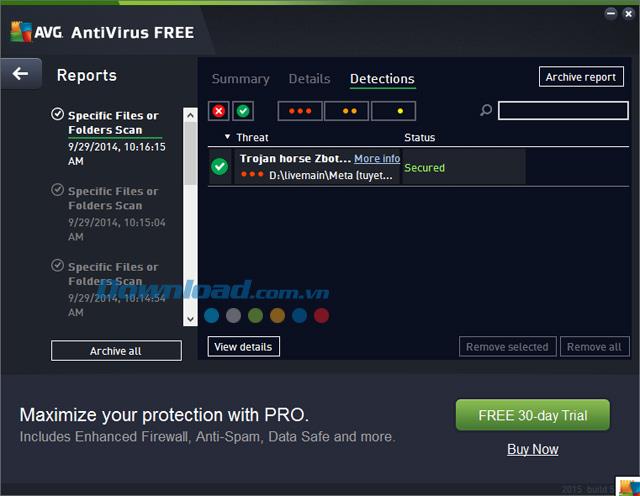
Display specific reports for each virus detected by this tool.
Or you can perform a quick scan by: Right-clicking the file or folder to scan and select Scan with AVG:
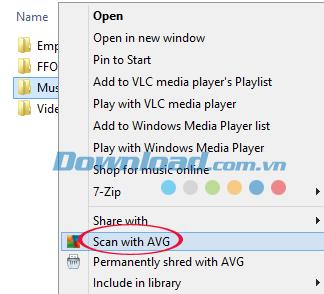
Additionally, you can refer to the instructions for installing and using Avira Free AntiVirus here .
I wish you successful implementation!
In the fast-moving digital landscape of the modern world, businesses can no longer afford to rely on systems that are only strong in one area.
Looking to create engaging product demos in minutes? Look no further! This guide will introduce you to the best tool for the job.
Discover the latest updates in Zooper Widget for Android. Zooper Widget is a compact, highly customizable, and battery-friendly widget with endless possibilities.
Lipp for iOS, alongside Dubsmash and Musical.ly, provides iPhone and iPad users with a new platform to create lip sync videos and dub videos readily.
Learn how to share audio using TeamViewer, including the latest updates for 2024 and 2025, making remote communication more effective.
Learn the latest tips on how to pet a cat in Adorable Home for optimal gameplay in 2024 and 2025. Discover what positions give you hearts.
Explore the latest features of OrangeHRM Open Source, a free HR management system tailored to meet evolving business needs in 2024 and 2025.
Fix IDM not catching file download links. Discover solutions for downloading videos, music, and more with the latest IDM updates in 2024 and 2025.
Discover the latest version of The File Converter for Android, an application that converts various file formats efficiently.
Explore the latest features of Zalo Web, allowing users to chat and connect seamlessly on various browsers without installation.
PDF Password Remover is a powerful tool for removing passwords and restrictions from PDF files. Download the latest version for 2024 to experience enhanced features.
Step-by-step instructions to completely remove Internet Download Manager (IDM) from your system in 2024 and 2025. Learn to uninstall IDM effectively and cleanly.
Discover Mindjet MindManager, an innovative software that helps individuals and teams streamline their work processes through effective mind mapping and project management.
Su DoKu 2.0.0 is an advanced Sudoku game design software that captivates enthusiasts with its simplicity and functionality. Download now and challenge yourself with Sudoku puzzles.
Discover the new features of Google Photos for Android in 2024 and 2025, including faster backup and advanced search capabilities.


