Today we want to tell you about acrylic colors and how easy and beautiful it is to use them to create truly spectacular nail art in a few simple steps.
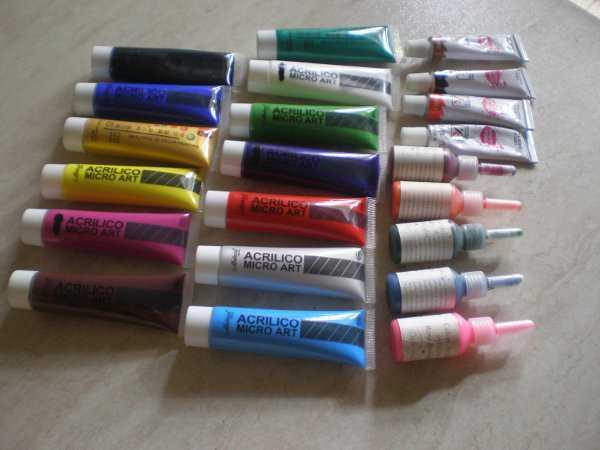
The acrylic paint is a relatively recently pictorial known technique that allows to create very beautiful designs and particular thanks to the use of paints based powders highly pigmented combined with acrylic resins.
After presenting this particular type of very useful material for our most fashionable nail decorations with a dedicated article (which we recommend you read to have a theoretical basis ), today we decided to show you acrylic colors at work.
How to create a nail art with acrylic paints? Let's learn step by step how to make decorations on nails with these special products!
 NAIL ART BRUSHES
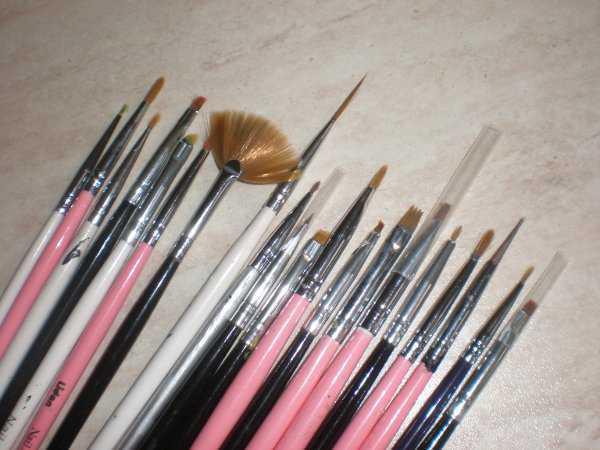
As we have already explained to you, acrylic colors are fantastic for their ease of application and for the variety of colors, but to use them in the best way it is necessary to have good specific nail art brushes . These brushes are generally small and have different shapes, useful for creating precise works in the two most famous pictorial forms in this field: micro-painting and one stroke.
Here are some of my favorite nail art brushes :
DIY NAIL ART WITH ACRYLIC COLORS
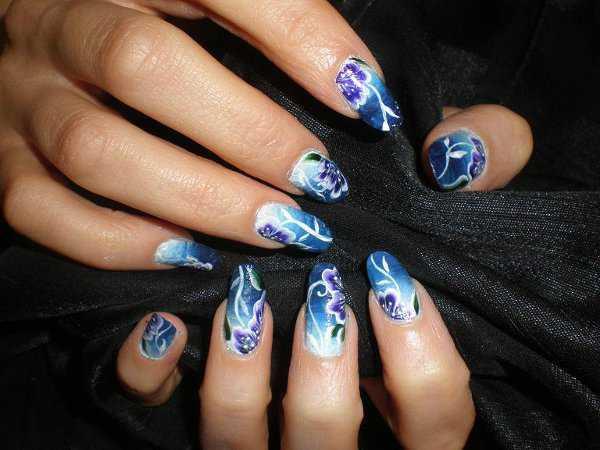
To give you an idea of the properties and ease of use, I thought of presenting a tutorial in which I show you the creation of a nail art created with acrylic colors.
YOU NEED
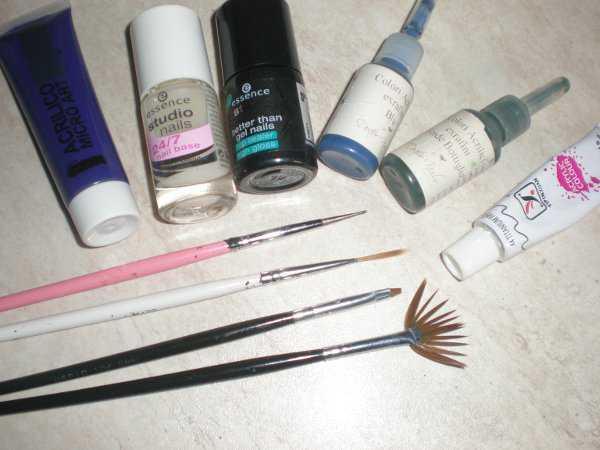
Here is what we will use to create this Nail Art:
- Essence base 24/7 ;
- white, blue, purple, green nail art acrylics ;
- fan brush , carrè brush and detail brush;
- dotter ;
- Essence top coat .
PROCEDURE
Here are the steps to follow for the realization of the Nail Art with acrylic colors:
FIRST STEP: spread the Essence 24/7 matte nail polish base to protect your nails.
SECOND STEP: with the fan brush pick up a little white and a little blue.
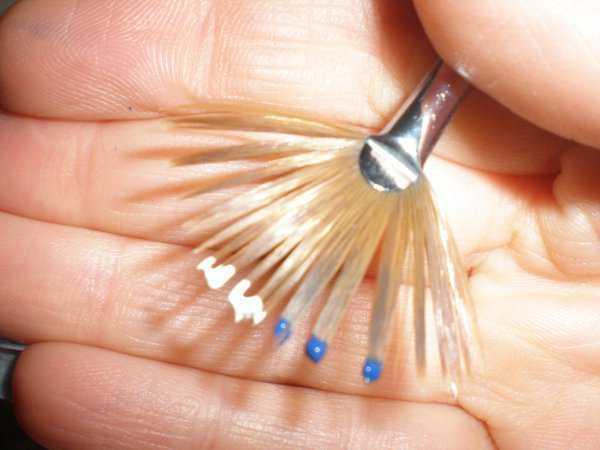
THIRD STEP: with fast and horizontal movements cover the nail.
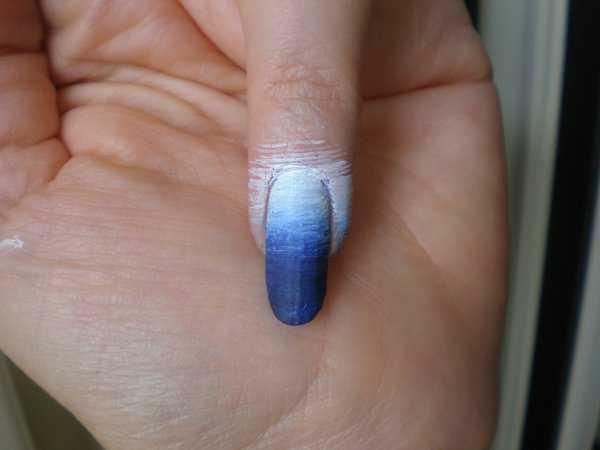
FOURTH STEP: clean the cuticles well with a brush soaked in water.
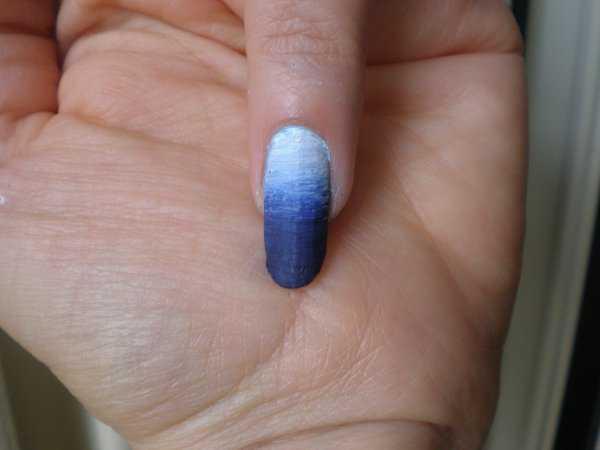
FIFTH STEP: with the carrè brush, very small and with a flat tip , pick up the white and purple acrylic color.
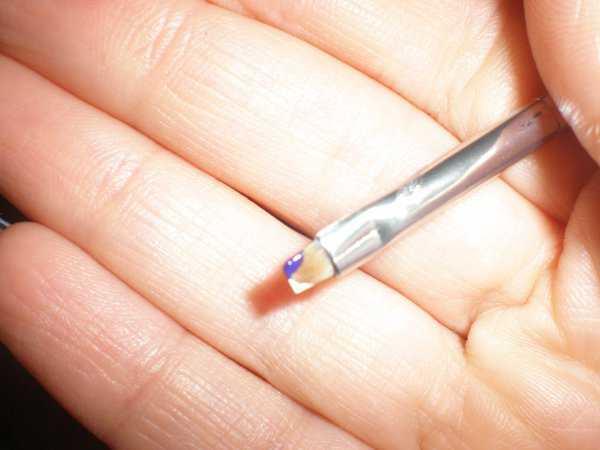
SIXTH STEP: create the first petal and immediately after the second, with repeated circular movements.
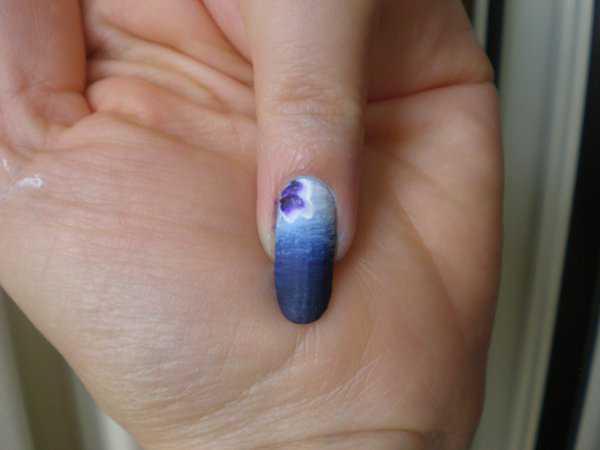
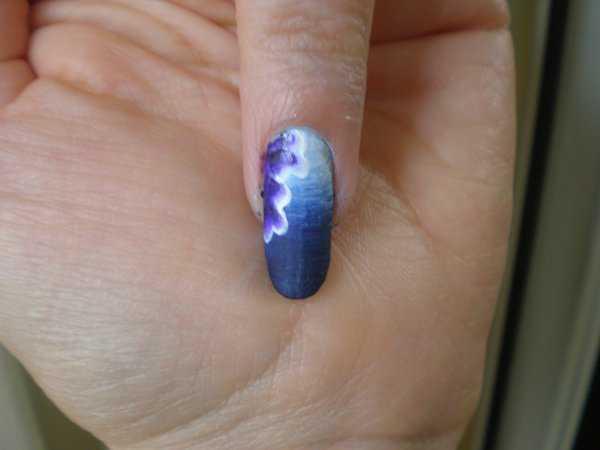
SEVENTH STEP: with the same brush pick up the white and green colors and make a leaf.
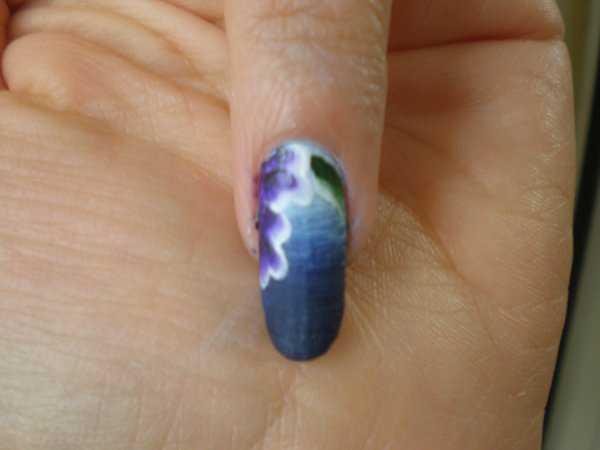
EIGHT STEP: with the detail brush pick up a little white and make some light streaks inside the flower, a stem and a few leaves. With the dotter complete by making dots inside the flower.
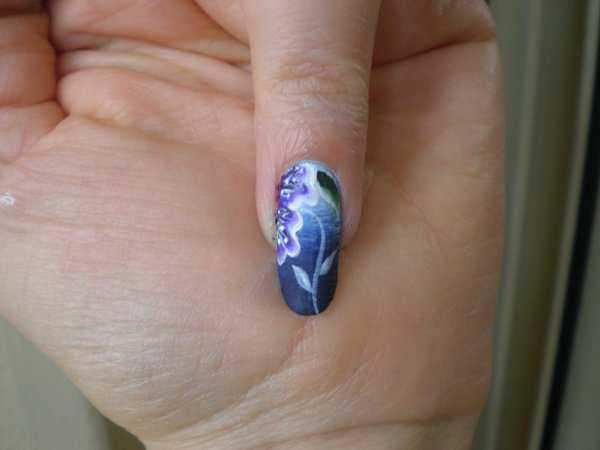
NINTH STEP: repeat the same procedure on all the nails, changing only the position of the flowers. You can also decide to make the decoration only on some nails (example on the ring finger and thumb)
TENTH STEP: finish everything with a coat of Essence top coat.
And here is our Nail Art made with acrylic colors!
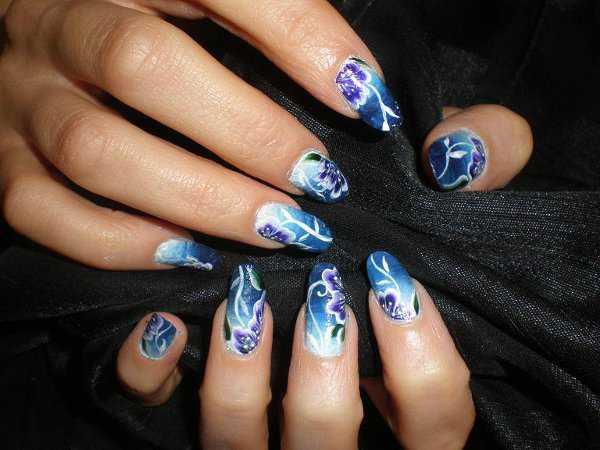
Of course this Nail Art is the result of a lot of practice and technique, but we are sure that with a bit of tests you will be able to reproduce this work and create new ones following your imagination!
What do you think? We hope you liked this Nail Art with aryl colors : if you reproduce it send us a photo with the result, I will be happy to see them! See you soon with a new tutorial!

 NAIL ART BRUSHES


