Instructions for creating green ticks for Facebook

Step-by-step guide on how to create a green tick for Facebook. Learn how to verify your account and gain credibility with the green verification mark.
How to color code Video Star ? This article will guide you how to layer video colors when using Video Star .
Video editing applications on iPhone are currently quite diverse and rich. You have a lot of options. But what is the best tool? The answer to this question depends on your intended use.
Video Star is the leading video editing application today. It helps users create interesting lip-sync music videos. The app offers thousands of effects for coloring, animating, enhancing, combining, and re-timing. Video Star includes a ton of features for free, or get an All Access Pass to unlock everything, including impressive editing skills.
Color layering is an essential step for any video editing, and Video Star makes it easy for you. It helps create atmosphere for your edited work. You can rely on the Custom Coloring task to do this, but there are many other methods to use.
How to adjust color on Video Star without Custom Coloring
If you're looking for a quick and easy way to add color or if you're new to video editing, the Re-Effect filter is a great choice for you. Some of them are free, some prompt you to buy a specific package before you can use them. The Pro Subscription plan gives you access to all Video Star features.
From the main playback window, tap New and select Re-Effect . Click the + icon right below and make sure you have selected the brush icon below. You can now scroll through all the filters. Each filter has a density bar right below the clip.



The Magic filter is the perfect suggestion, providing you with a series of other color change suggestions.

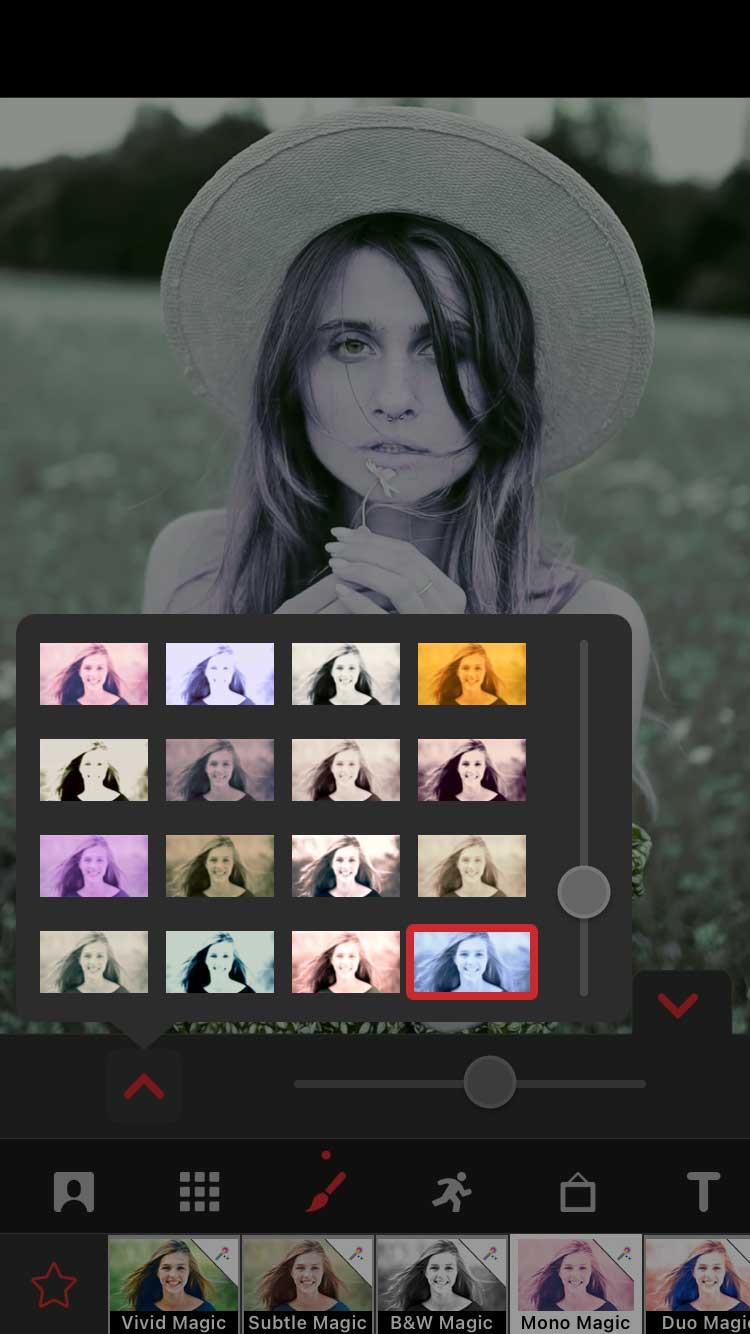
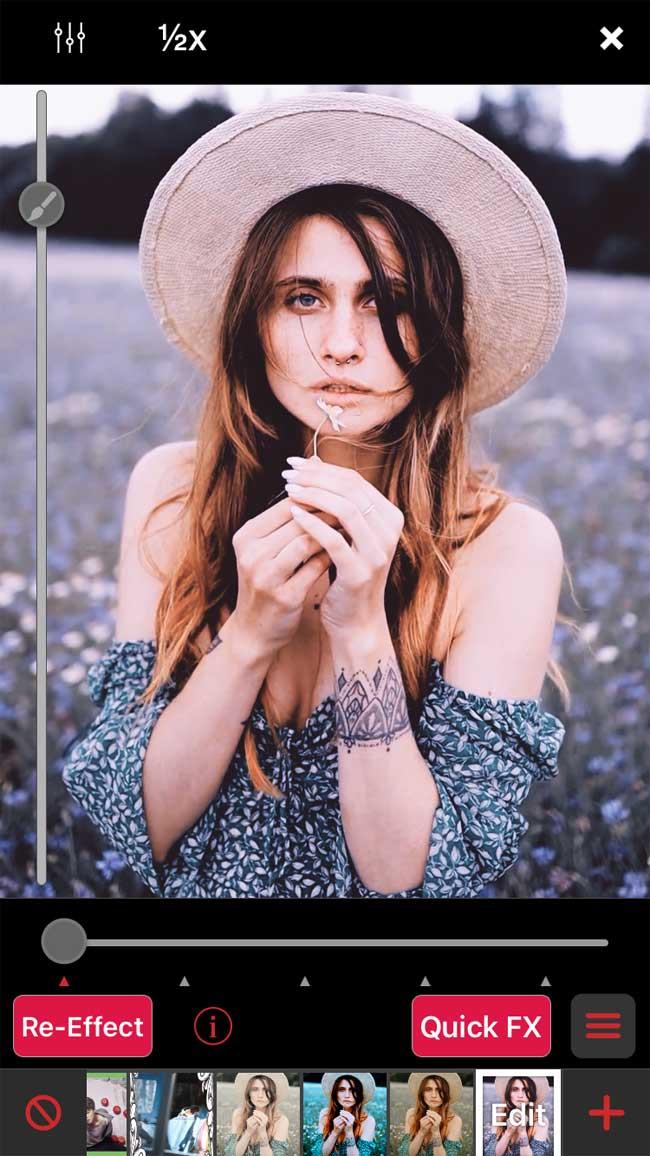
When you've selected a filter, tap the down arrow to return to the Re-Effects window. See the results across the entire clip by dragging the playback slider at the bottom, and pressing the red Re-Effect button.
This trick is simple and gives great results. Before continuing, you will need to purchase a Multi-Layer plan or a Pro Subscription. You can buy it from the home screen by tapping the lightning icon.
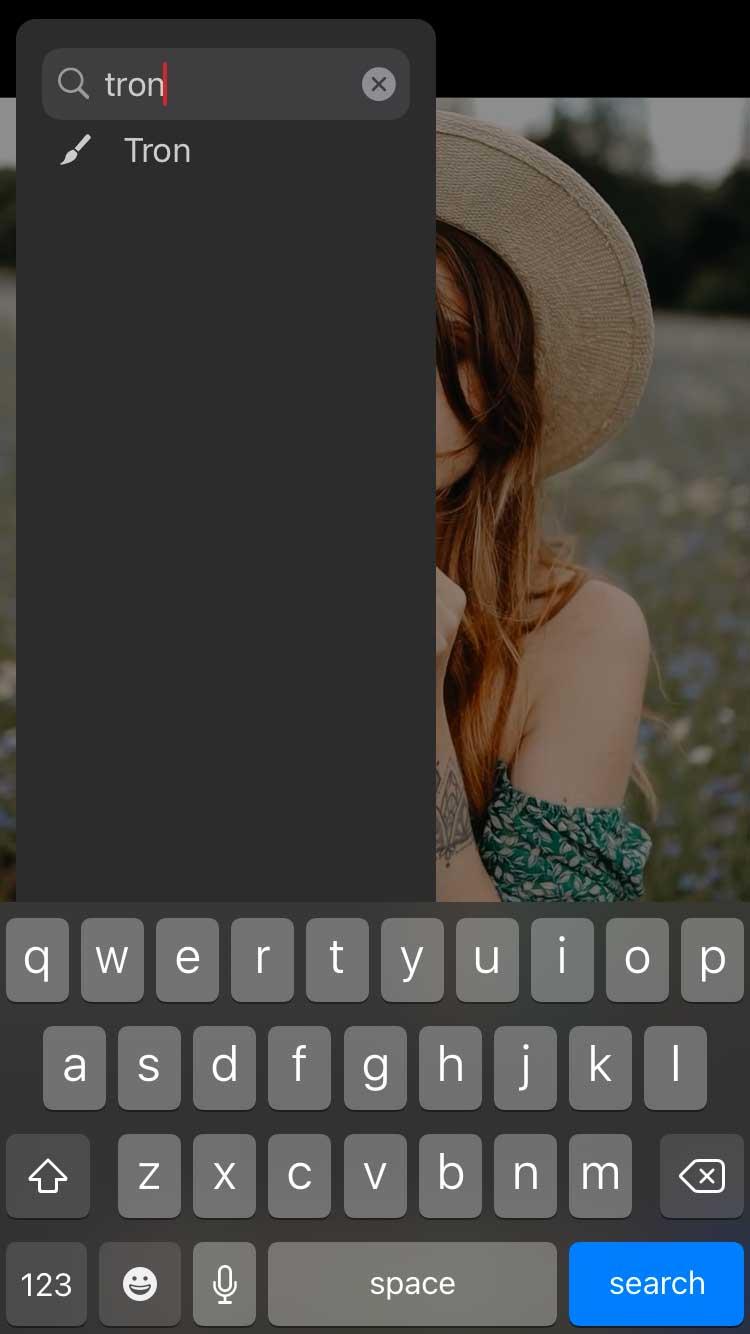
Open the clip in Re-Effect and find the Tron effect via the magnifying glass icon. Apply it to your clip. At first glance, it seems a bit silly but the result will be very interesting.
You'll then open the newly created clip in Re-Effect again. Now look for Monochrome . Choose a color by dragging the slider and apply it to the clip.
The second step is optional and you need to purchase the Cinema Pro package if you want a better end result. Open the clip you just created in Re-Effect again, find Pro Blur , reduce the intensity a bit, and then apply it.
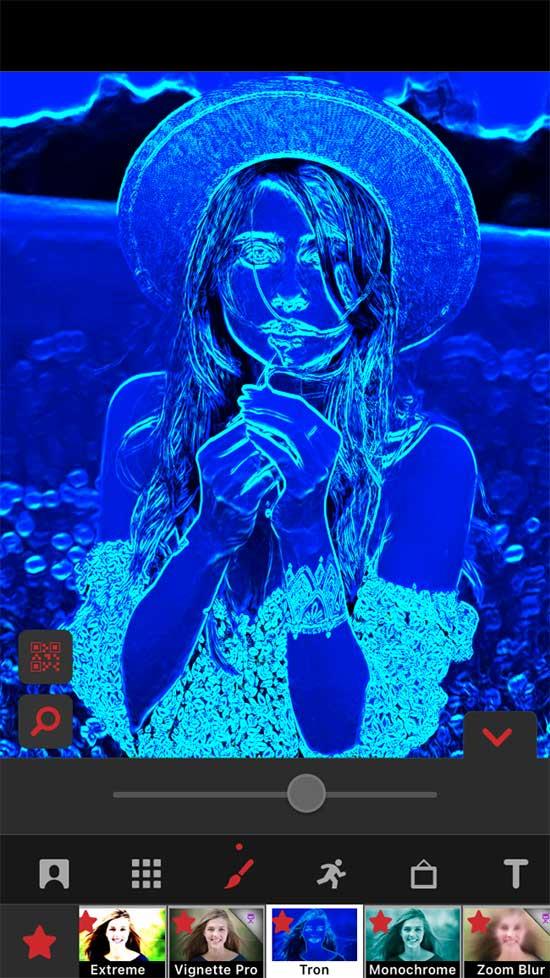
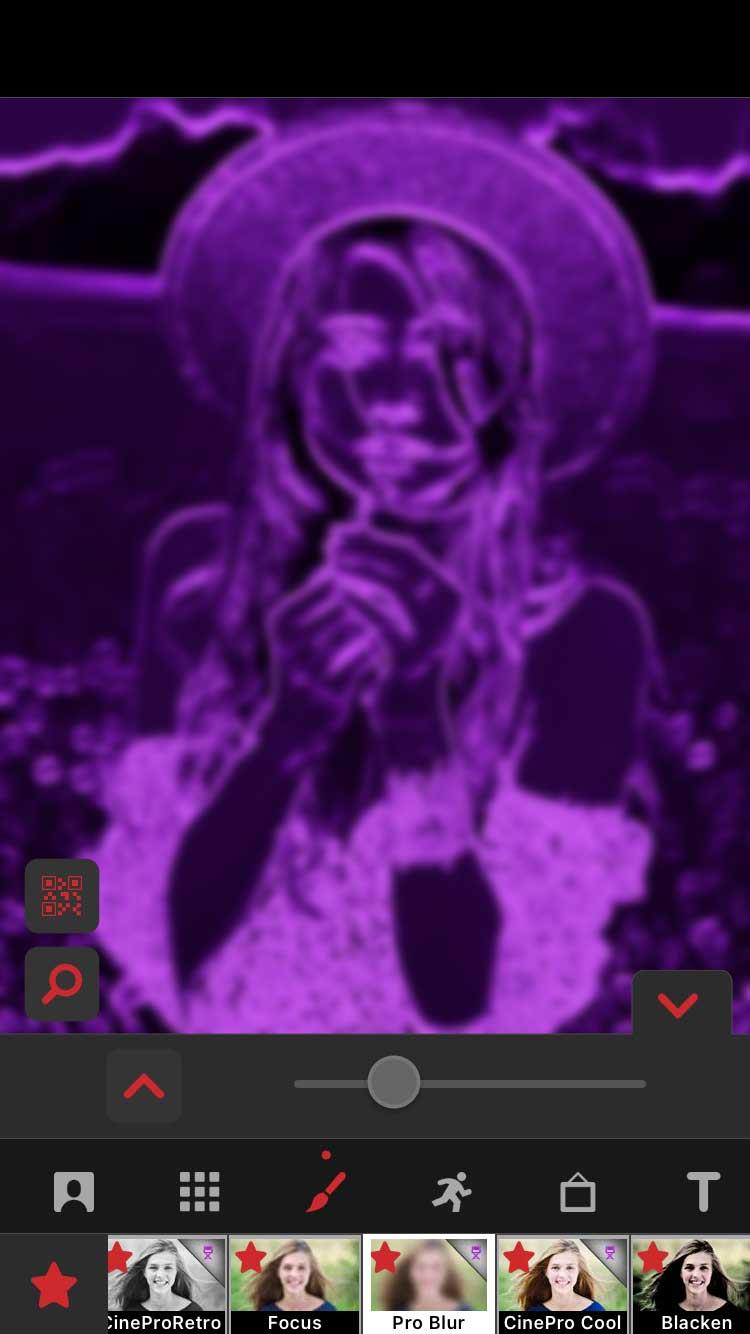
Now we'll use the final result as a filter by blending it with the original clip. From the main window, tap New , then select Multi-Layer . Tap the first box on the left labeled 1 and select the original clip. Then tap 2 and tap the last clip you created.
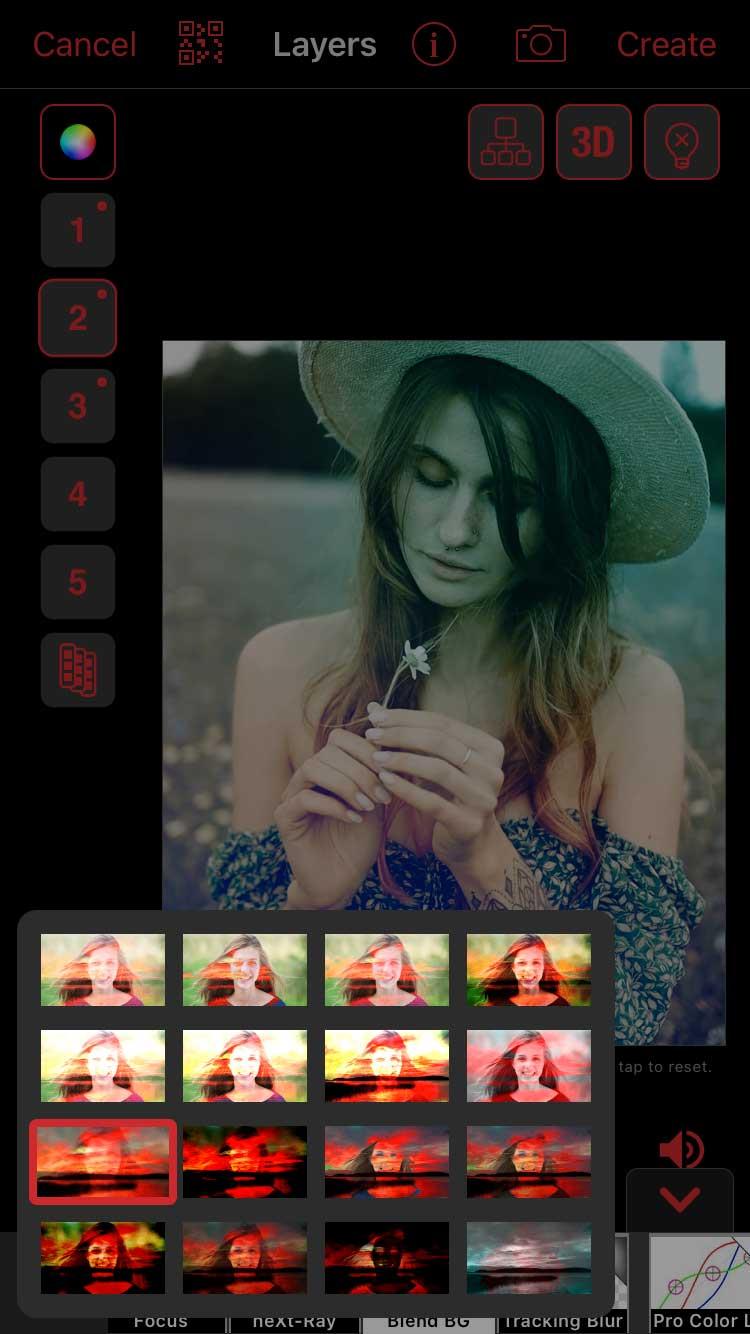
Make sure you have the second layer selected (box 2 ), tap Color below and find Blend BG . The arrow points up to the left, giving you some blending options. In this example, the first option on the left works best.
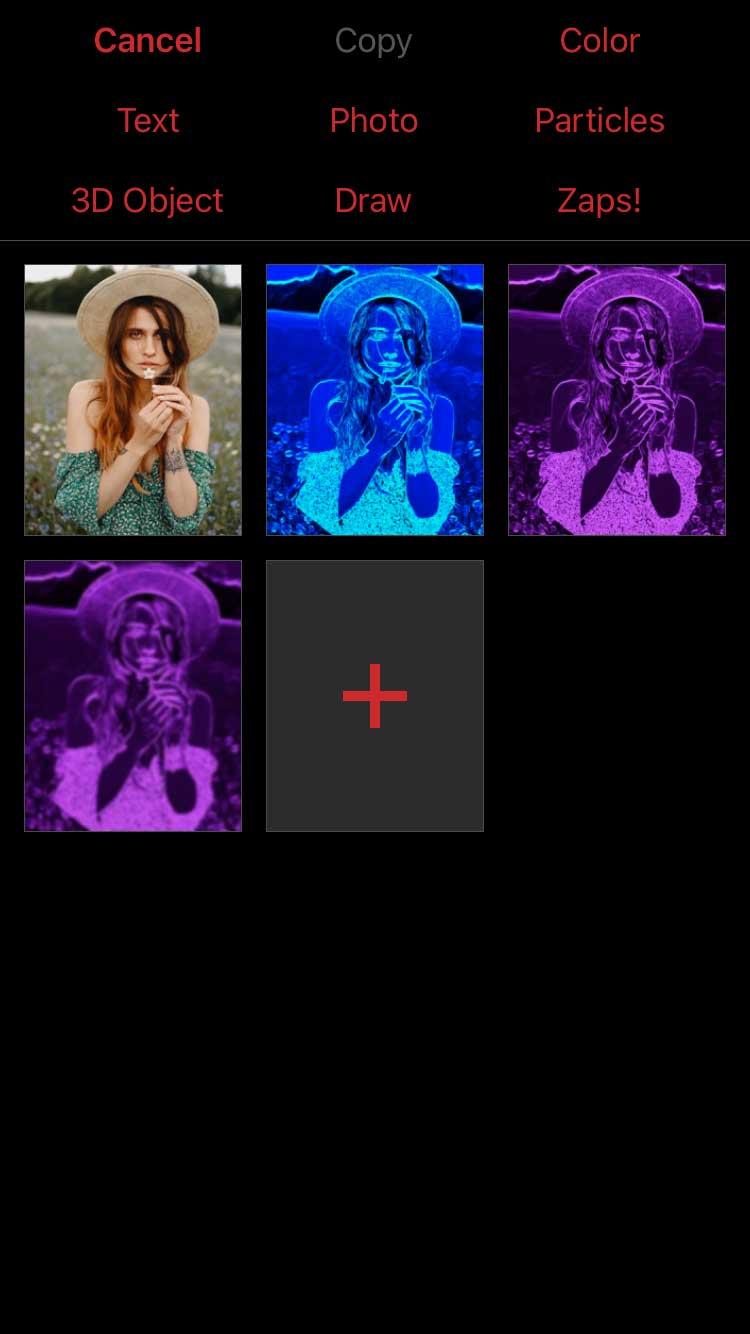
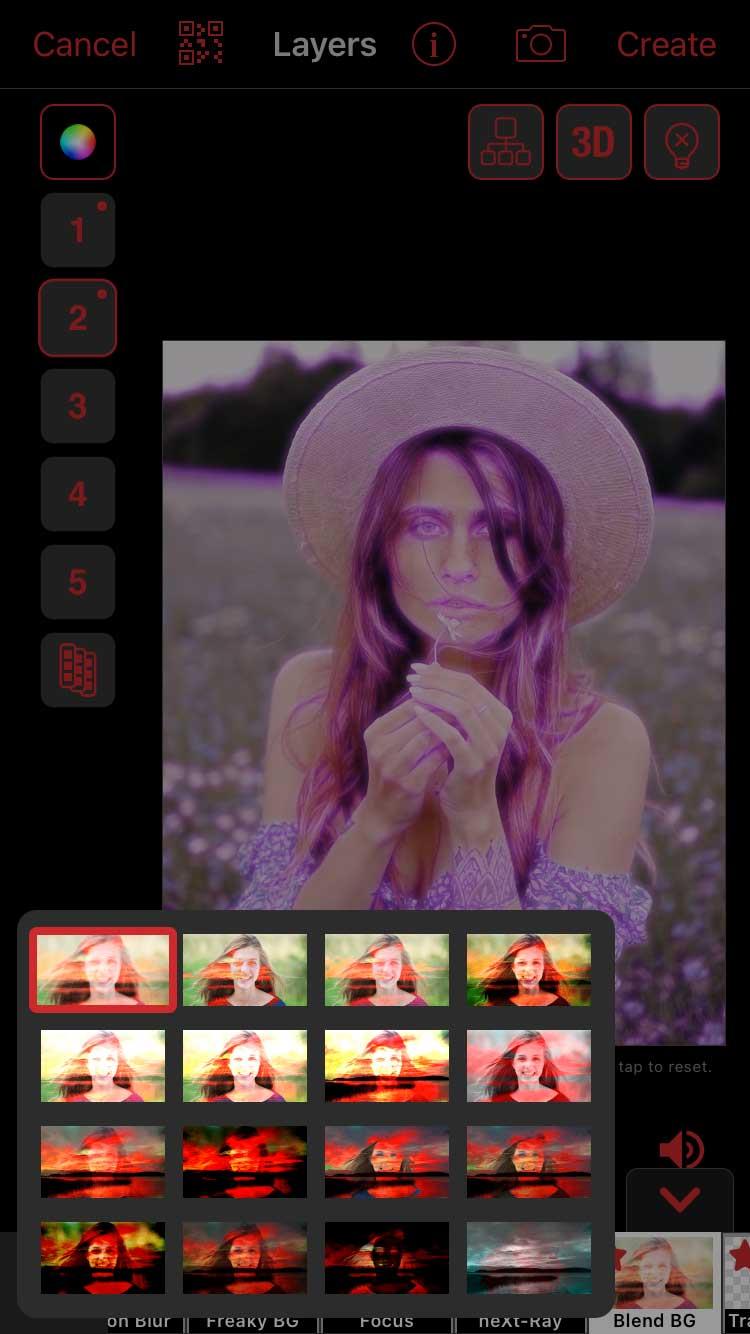
If the color is too dark, you can reduce the opacity. Touch box 2 and select Edit Keyframes . To see what the first clip looks like after blending, tap Options in the upper right, select Show Other Layers , and select the first layer ( 1 ).
Now reduce the Opacity in the bottom left and press Back when you're satisfied with the result. Make sure the playback cursor is dragged all the way to the left. Meanwhile, Opacity will create an additional keyframe and change as it plays.
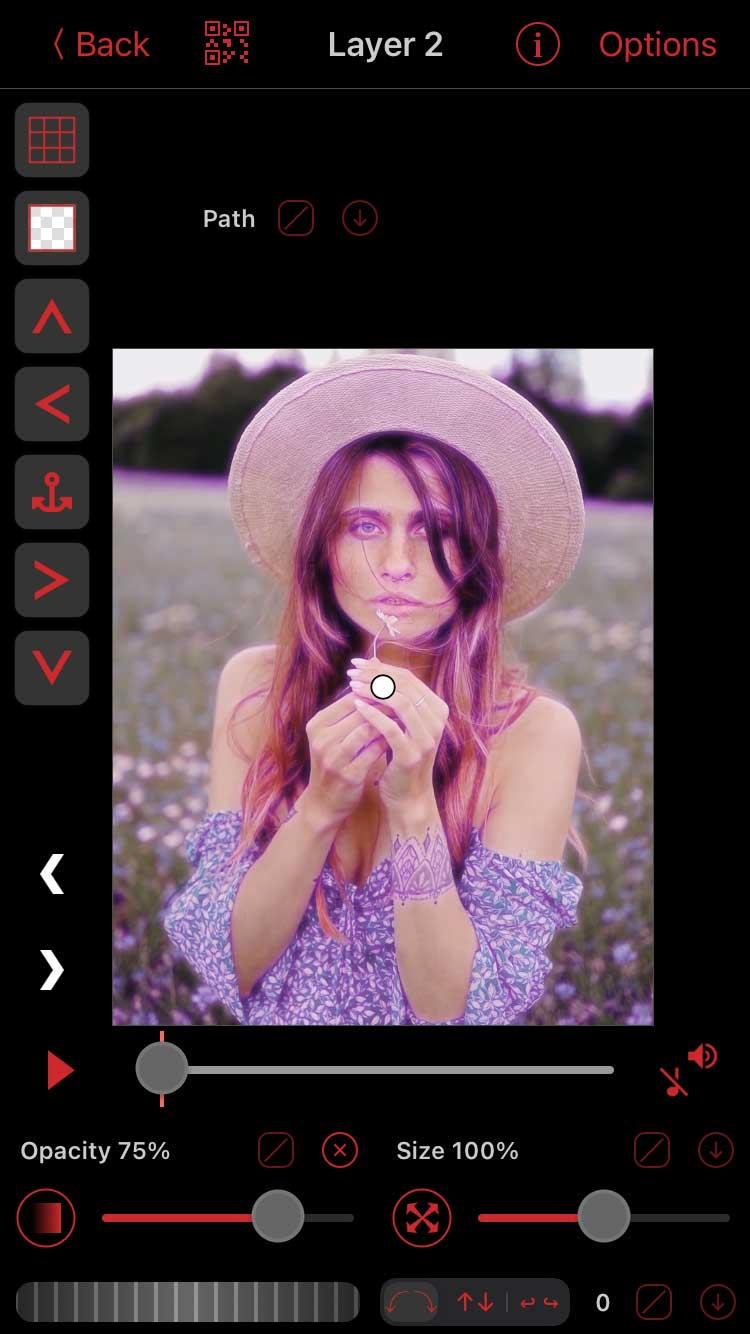
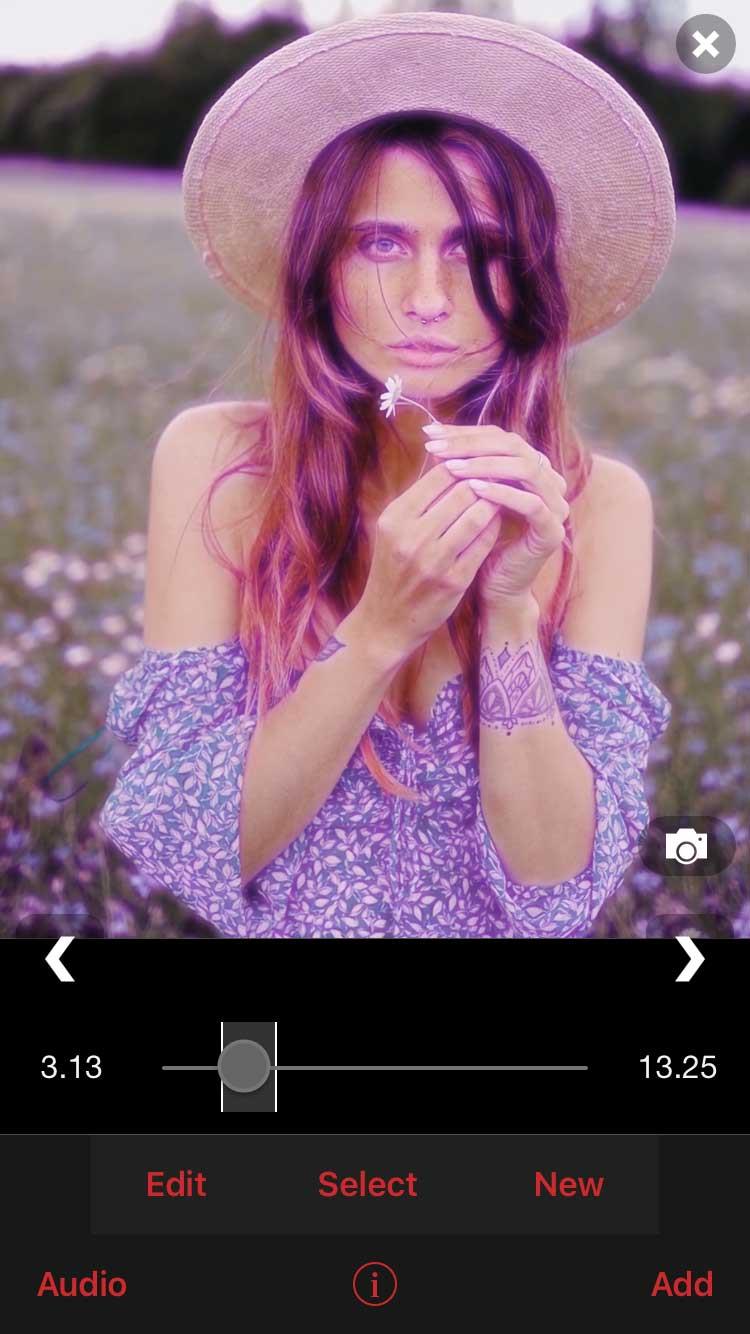
Open the clip in the Multi-Layer window and press Create on the top right. The final result will be as shown above.
This method is a bit more complicated but worth a try because it allows you to create many unique works. You will need to purchase a Multi-Layer package or sign up for a Pro Subscription to use this feature.
Tap New > Multi-Layer and select the unedited clip for layer 1. You can add a filter if you want. This example selects Vibrance and reduces its intensity.
On layer 2, you will select Color and choose a color from the color palette. You can add as many layers of color as you want.
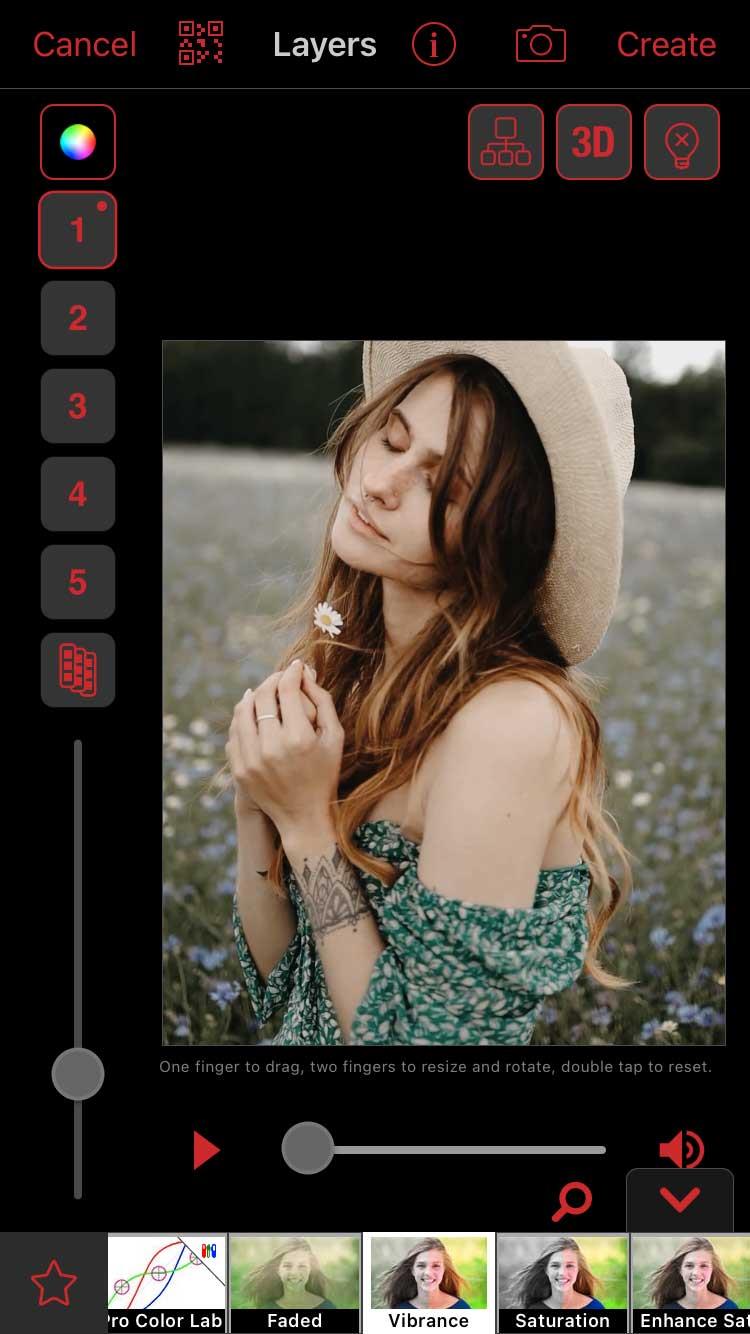
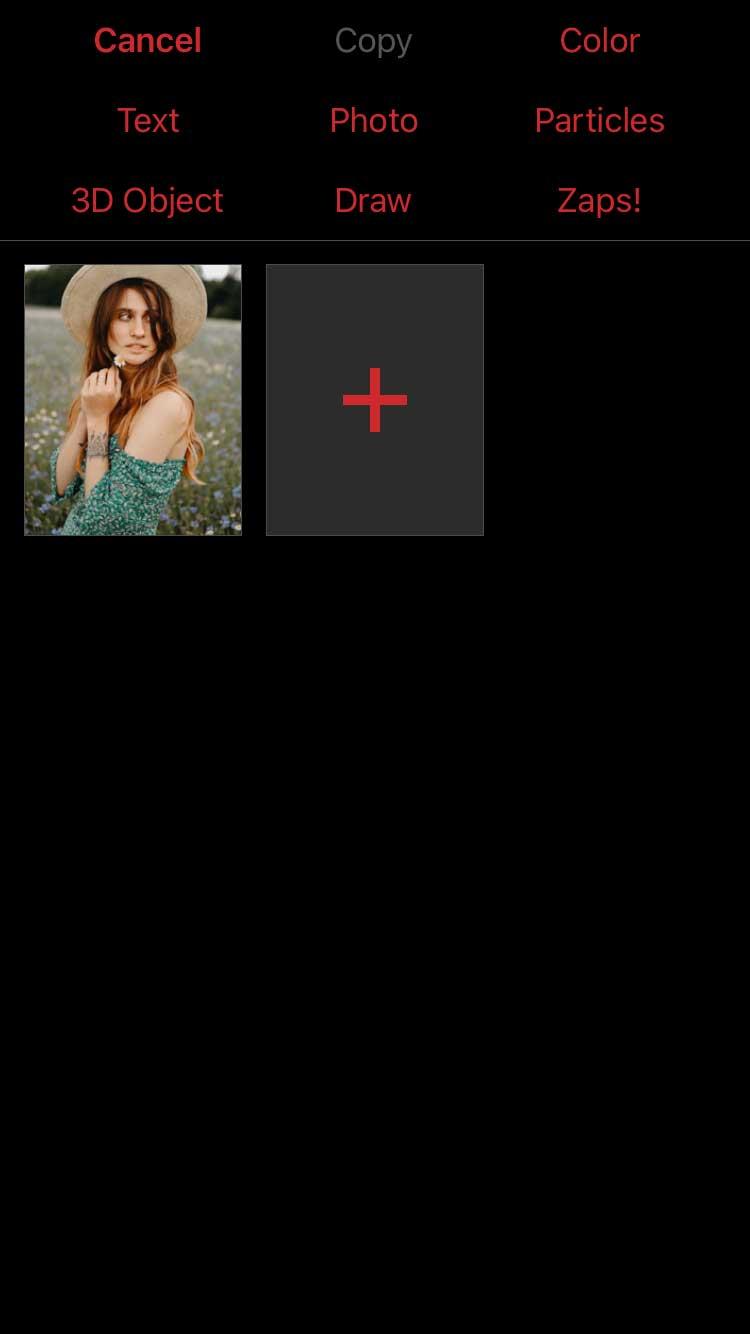
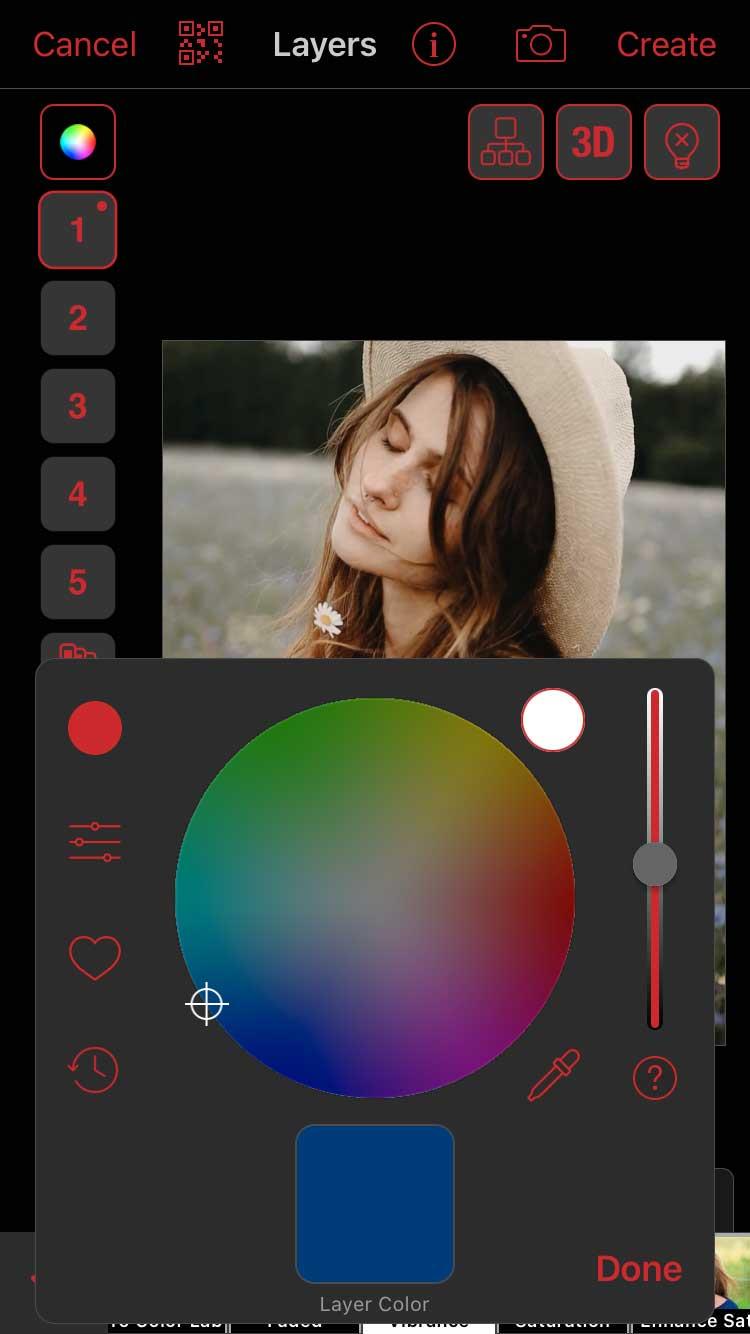
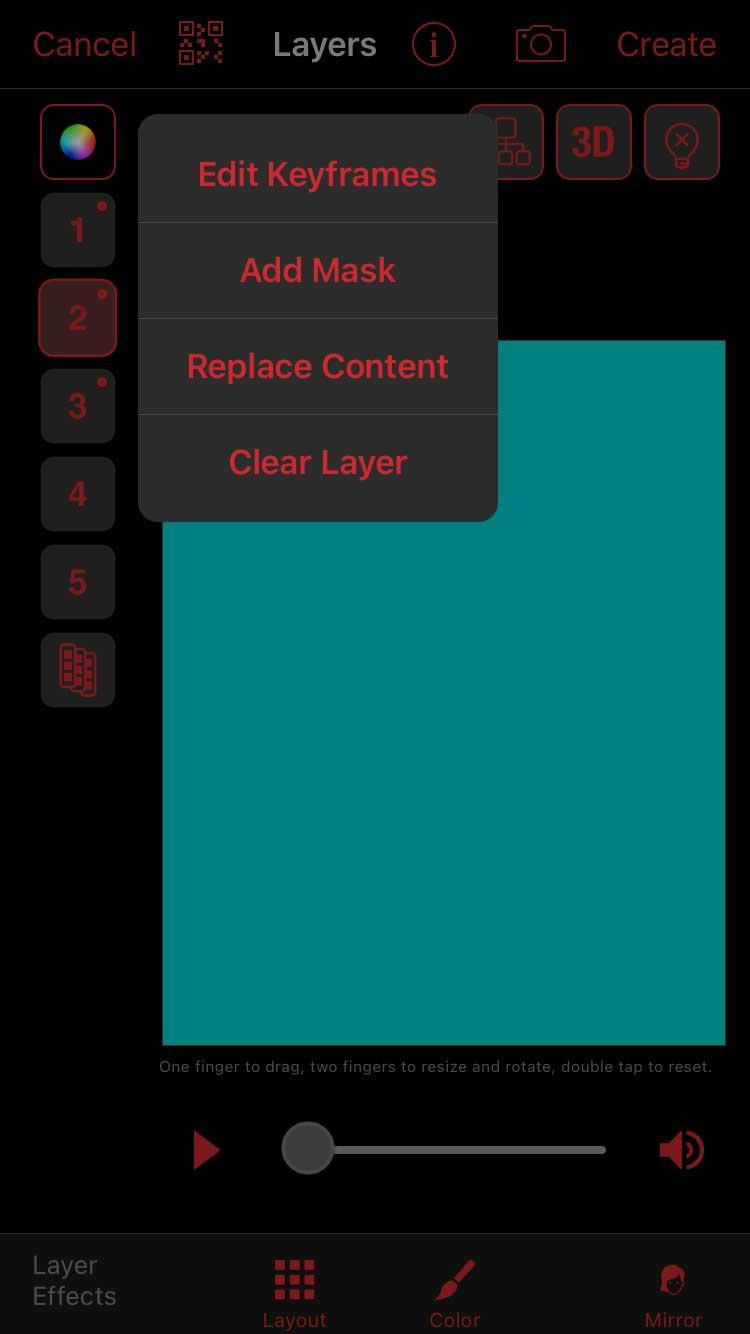
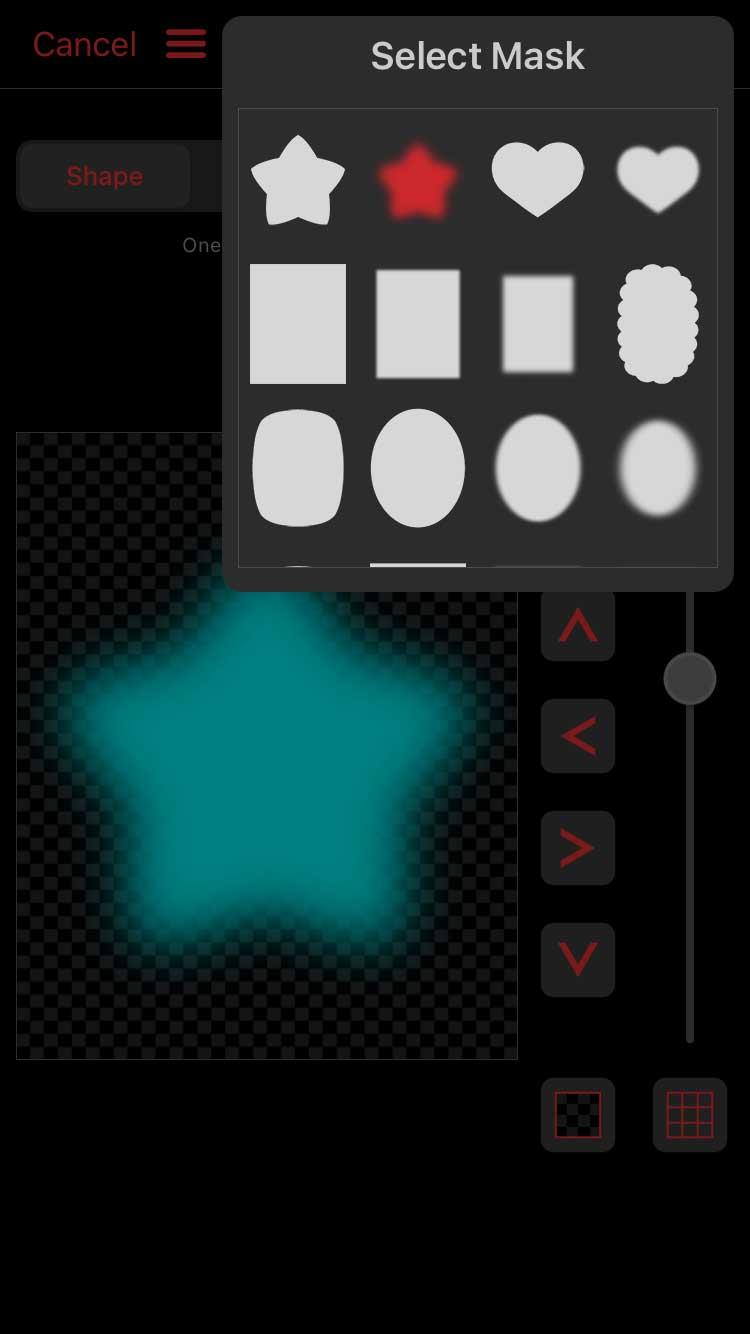
Tap on the numbered block of the first color and choose Add Mask . Make sure you have Shape selected at the top, tap the 3 stripes icon on the top right and choose a mask with blurred edges. Stars are always a good choice.
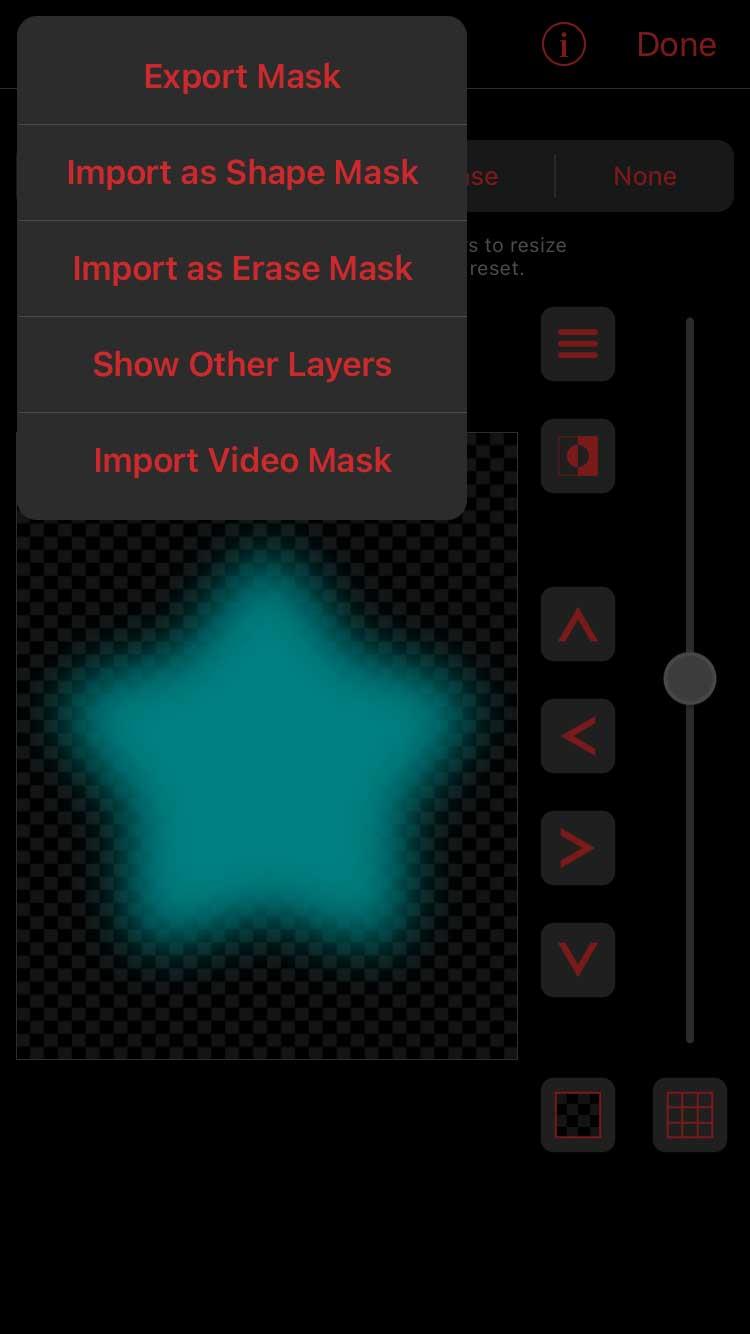
First, tap the 3-strip icon on the top left, select Show Other Layers and select layer 1. This will help you know where to place the overlay better. Now, use two fingers to “zoom in” the star mask to expand it and move it to an area of the frame. Click Done when satisfied.
Repeat this step with all colored layers. Remember to show other layers when adding a new mask. This way, you will avoid overlapping the layers too much.
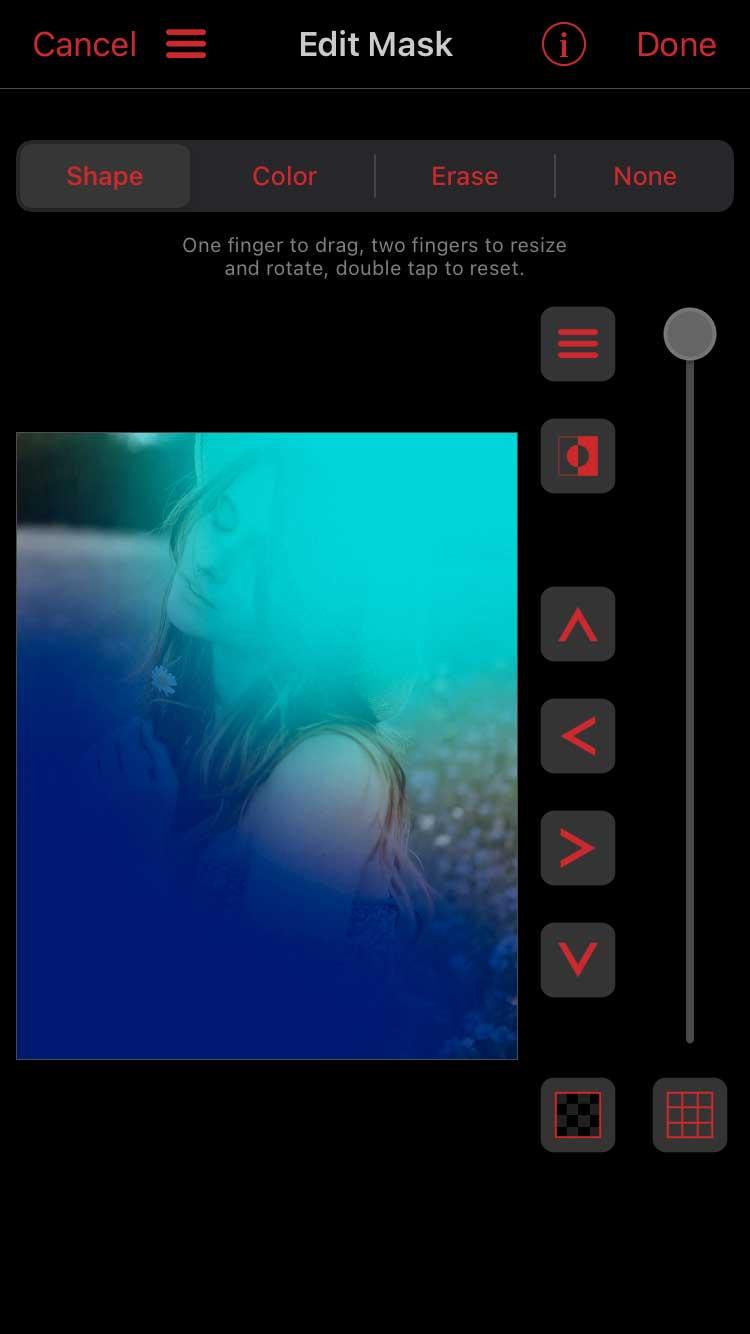
Now from the main Multi-Layer window , add Blend BG via the Color icon to each colored layer and select the blend type. You can also edit the opacity in the keyframe editor.
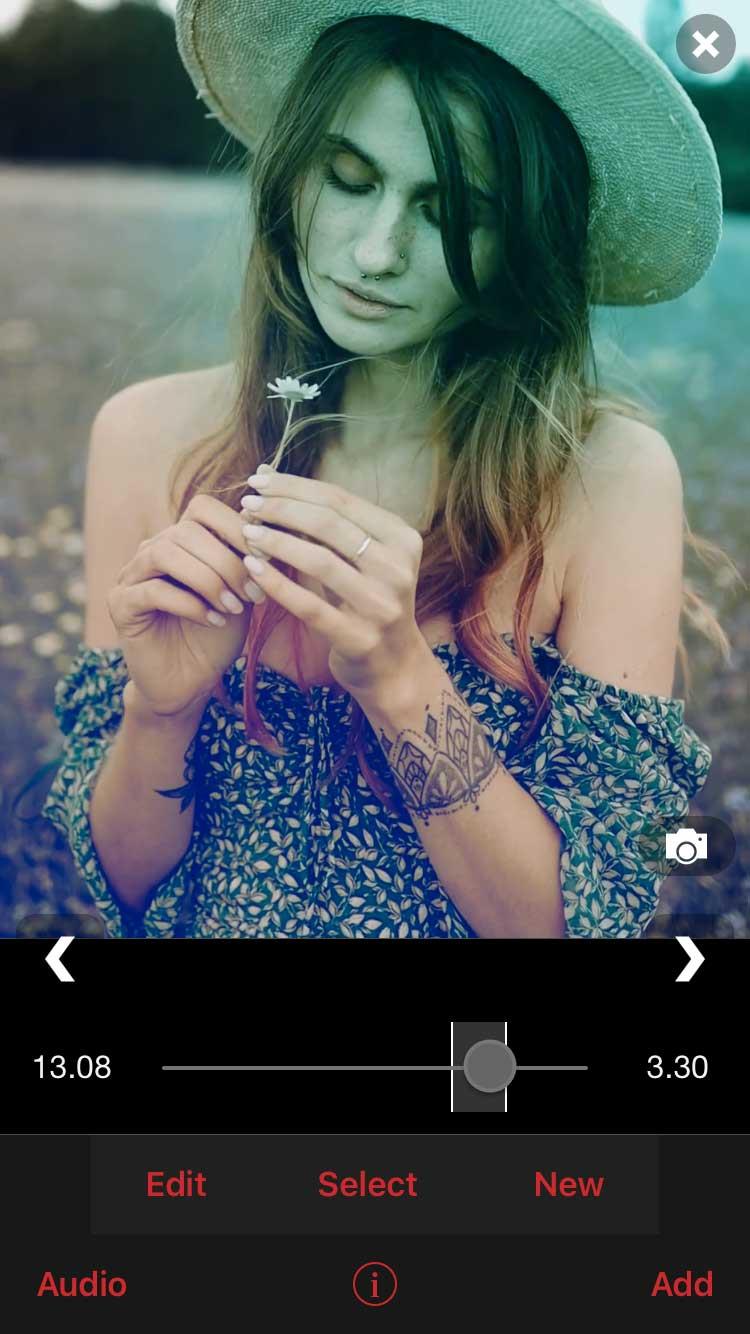
Click Create on the top right when you are satisfied with the result.
Above is how to adjust colors on Video Star without using the Custom Coloring tool . Hope the article is useful to you.
Step-by-step guide on how to create a green tick for Facebook. Learn how to verify your account and gain credibility with the green verification mark.
Learn how to download torrent files directly using the Firefox web browser with the Torrent Tornado add-on. Simple steps for effective torrent downloading.
Learn how to view someone else’s TikTok followers, both on public and private accounts. Discover effective methods to access follower counts and improve your TikTok strategy.
Learn how to login to Facebook using your email, phone number, or even QR Code authentication without entering a password.
Learn how to stop echo during your Parsec streaming sessions with effective solutions. Echo is a common issue that disrupts communication in games, and we provide proven methods to eliminate it.
Discover how to change your avatar and cover photo on Zalo to express your personality. Follow our easy guide and optimize your Zalo profile image.
Learn how to manage your relationships on Zalo by marking close friends, similar to Instagram. This feature allows easy access to frequently contacted individuals.
Learn how to send screenshots via Viber quickly and without saving them. This guide provides step-by-step instructions to enhance your messaging experience.
Learn how to easily restore deleted messages on Zalo with our step-by-step instructions. Quickly recover your important chats on this popular messaging app.
Discover how to easily add background music to your personal Zalo page with our comprehensive guide on using Zalo for Android and iOS devices.
If you’ve ever found yourself at the end of a Minecraft raid, searching for the last raider to eliminate, you’re not alone. Many players have faced this challenge.
Learn how to uninstall Coc Coc browser completely from your computer, ensuring all data is removed. Follow these simple steps for an effective uninstallation.
Discover how to effectively use the Toshiba AW-A800SV washing machine control panel with our detailed guide!
Discover how to effectively use emergency features on Samsung Galaxy Watch and other smartwatches, including SOS alerts, fall detection, and health records.
Discover how to effectively <strong>share QR code on Zalo</strong>. QR codes enhance connectivity, enabling easy friend requests and more on Zalo.


