Adobe Photoshop or Photoshop Elements is the right software for you?
Adobe offers a variety of tools, Photoshop and Photoshop Elements are two options that have very similar features.
Shadows are a common problem when taking photos. How to delete them the easiest way? Join us to find out how to remove the shady shadow image effect offline!
If you take a lot of photos under natural light, you will know the cause of this problem. When it is cloudy, shady, your photo may look boring. When the sun rises, the sun shines brightly, ugly shadows appear all over your photo.
Fortunately, this problem is not difficult to overcome. You can remove shadows in Adobe Photoshop or through simpler editing applications. Join us to find out how to remove shadows from photos!
Shadows are a common problem when you are photographing under high light contrast conditions, especially on bright sunny days. Because it is difficult to recover details from overexposed areas, you should capture the brightest parts, such as the sky.
Adobe Photoshop CC Adobe Photoshop CC for Mac

This action usually causes images to have dark shadows in the foreground, but fixing them is easy through Photoshop.
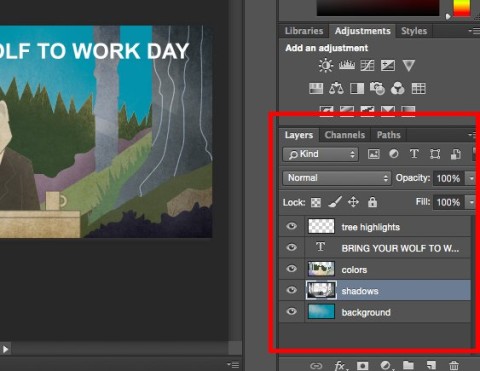
First, press Ctrl+ Jon Windows or Cmd+ Jon a Mac to make a copy of the image in a new layer, allowing you to remove changes as needed, simply by deleting this layer.

Go to Image> Adjustment> Shadows / Highlights . You can see the default settings help to get this job done right away. If not, click Show More Options to refine them.
First of all, in the Shadows , adjust the Amount slider . Move it to the right to brighten the shadow, to the left to make them darker.
Move the Tone slider to the left to reduce the range of shadow areas you can adjust and vice versa, to the right to increase the level. For example, setting Tone to 10 will only see the darkest area of the image being changed. If set to 90, some of the average shadow areas are lighter.
When satisfied, click OK to save the changes.

You do not need expensive software to remove shadows in high-contrast images because you can do this with GIMP - a free photo editing application. Just go to Colors> Shadows-Highlights and drag the Shadows slider to the left or right to make the changes you want.
GIMP GIMP Portable GIMP for Mac GIMP for Linux

Google Photos usually automatically corrects the contrast in photos. If not, you can do this manually: Go to Edit> Basic adjustments> Light , then use the Shadows slider .
In Apple Photos, you can make the same adjustments using Edit> Light> Options> Shadows .
In fact, most basic photo editing applications can overcome this simple photography error. Basically, wherever you see the Shadows slider supports image beautification, it works the same way as described above.
Shading on a person's face or at the wall behind an object is often harder to fix. This problem occurs when you are shooting in high light conditions such as bright sunlight or turning on the flash.
It is difficult to completely eliminate such shadows but you can reduce them to a less noticeable level on the image. The article will use the Mask tool in Photoshop to select some shadow areas.

Upload your photo to Photoshop. In the Adjustments panel , click Levels . This will create a new editing layer on your image.

Click on the middle tab, under the Levels graph, and drag it to the left until the shadow reaches the level of brightness you're looking for. Don't worry if the other parts of the image are too bright because it's only temporary.
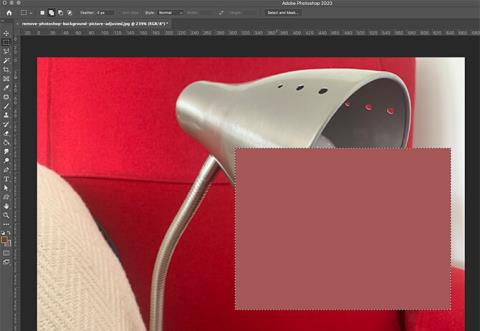
Now, with the Levels layer selected, click the Mask button . Reverse the mask by pressing Ctrl+ Ion Windows, Cmd+ Ion Mac. The image will return to the original dark level.
Pick the Brush tool , choose white. In the Options bar at the top, set the Hardness of the Brush to a lower number, about 5 to 10%. Alternatively, set the Opacity to about 30 to 50%. Don't be afraid to experiment with different brush sizes when you create your work.

Now start moving the brush over the shadow area in the image. Where you place the brush, the shadow area will be brighter. The remaining regions remain the same.
This example sets the opacity to quite low so the effect will be more magical. Move the brush several times over the same area to create an effect.

If you accidentally lighten the area you want to darken, change the brush to white and paint over the area again.
Instead of trying to fix unwanted shadows in the image, you should avoid this problem in the first place. The art of exposure is one of the most important photography factors. Doing this is not easy because you do not always have control over the photography light. However, you can try a few tips below:
If the photo is still dark, not as you like, try 5 ways to adjust low light photos simply in Photoshop . This guide contains all the information you need.
Above are the most simple and effective ways to remove shadows on photos. Hope the article is helpful to you.
Adobe offers a variety of tools, Photoshop and Photoshop Elements are two options that have very similar features.
When you first open Photoshop, you may be confused for a few seconds and then, you will contact Freelancer - freelance design specialist to learn how to use it. But rest assured, you will not have to do this alone because I am here.
Explore the features of Adobe Photoshop Express, a free photo editing tool that allows users to enhance their images easily and effectively. Discover tips for photo editing with Adobe Photoshop Express today!
Instructions for using Photoshop filters for beginners, Each filter in Photoshop has its own algorithm and uses. Below are instructions for using the internal filter
How to change screen mode in Photoshop, You can change the Adobe Photoshop interface according to working style or screen size. And switch screen mode
3 ways to edit sunset in Photoshop, Sunset is always a scene that every photographer wants to capture. However, taking sunset photos is not easy. Wear
You can insert links into images or text in Adobe Photoshop or Illustrator with the simple steps following the instructions in the following article.
The word "Glyph" comes from the Greek word, "carved", outside the basic alphabet. Glyph can be currency symbols, copyright marks, & ... You are free to create them in Adobe Photoshop CC.
Sometimes you may get the error message “No Audio Output Device Is Installed” when hovering over the sound icon. This error occurs when Windows does not detect your connected audio devices.
How to completely disable Windows Defender on Windows 10? There are several ways to disable Windows Defender on Windows 10, please see the detailed instructions below.
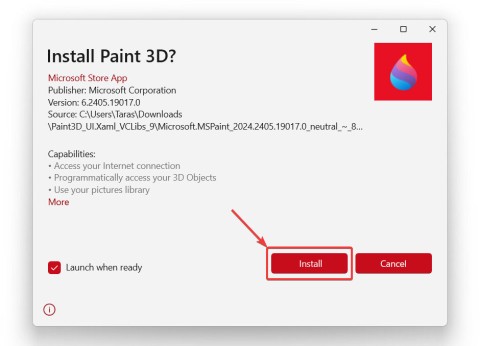
Paint 3D is no longer available in the Microsoft Store, but that doesn't mean you won't have another chance to try it out.
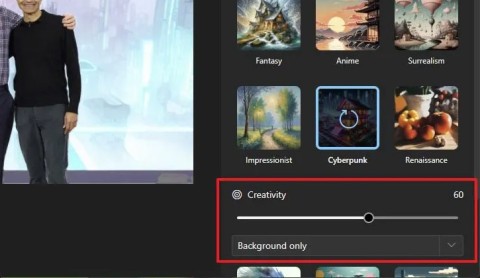
In the Windows 11 Photos app, Restyle Image is an AI feature that lets you transform photos into various artistic styles with just a quick click.
By checking the MD5, SHA-1, or SHA-256 checksum of a file, you can verify the integrity of the file and ensure that it has not been corrupted or changed.
Locking your Windows PC is the best way to protect your computer when you're away. Here are 10 ways you can quickly lock your computer when you're in a hurry to leave it alone!
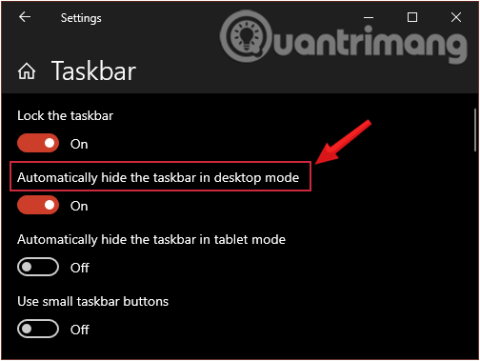
When you move the mouse to the Taskbar, it displays all the functions as default when you have not set it up, but if you move the mouse elsewhere, the Taskbar will automatically hide.
There are still ways to bypass a Microsoft account when setting up Windows 11 with a local account during the Out-of-box Experience (OOBE).
After successfully installing the Google Gemini application, you can use it as usual. Below are instructions for installing the Google Gemini application on your computer.
Setting a computer password will help secure your computer better. In addition to setting a new password for your computer, Quantrimang.com will also guide you on how to change your Windows 10 computer password. Please follow along.
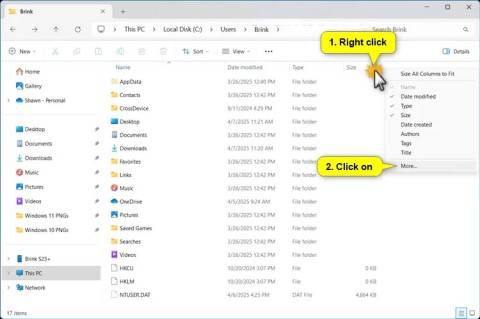
This tutorial will show you how to rearrange columns for a folder (directory) when in details view in File Explorer for a personal account in Windows 11 and Windows 10.
AirPlay isn't just for Apple devices. Windows users can easily get in on the fun of screen sharing and streaming media from their iOS devices to their PCs.
On Local Group Policy Editor, you can set up to delete notification history, set up account lock to limit the number of logins, etc. In the article below, Quantrimang.com will introduce you to some ways to open Local Group Policy Editor on Windows.
In 2023, Windows 11 officially supported USB4 40Gbps, which was later expanded to support data transfer speeds up to 80 and 120Gbps.
Microsoft recently raised the price of its Microsoft 365 subscription, justifying the change by adding more AI experiences to the service.
