Instructions for creating green ticks for Facebook

Step-by-step guide on how to create a green tick for Facebook. Learn how to verify your account and gain credibility with the green verification mark.
7.1 sound is no longer a strange concept to users, as more and more headsets support this feature. In the following article, WebTech360 will guide you to install and experience an extremely good 7.1 sound emulation software from Razer called: Razer 7.1 Surround .
Instructions for emulating 7.1 sound for headphones with Razer Surround
First, download Razer 7.1 Surround software at the website: https://www.razer.com/71-surround-sound. Note, this software only supports Windows 10 64bit OS .
After downloading, open the installation file and select the Install button .
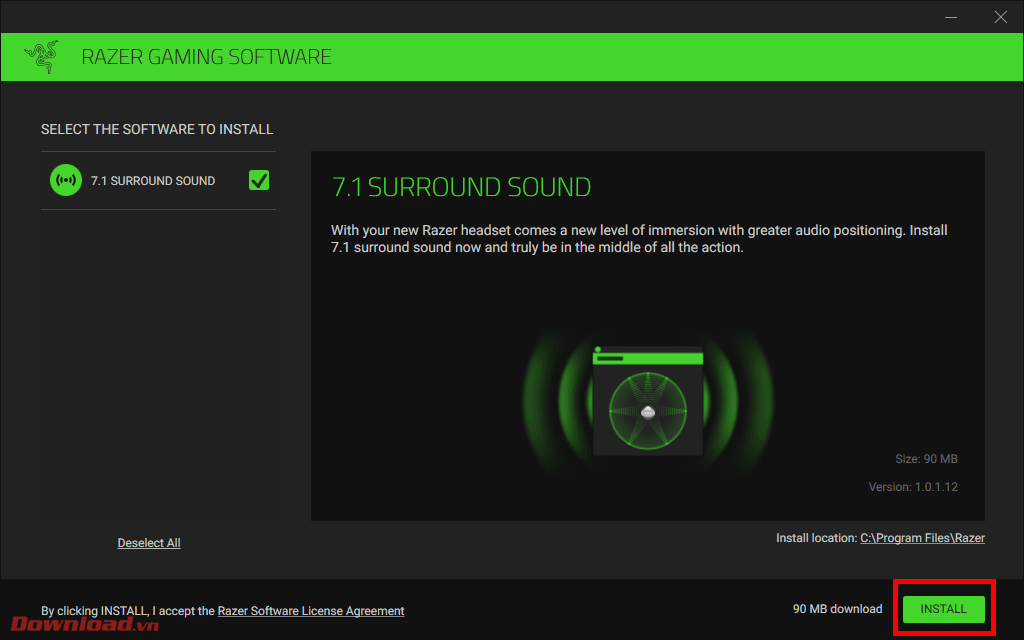
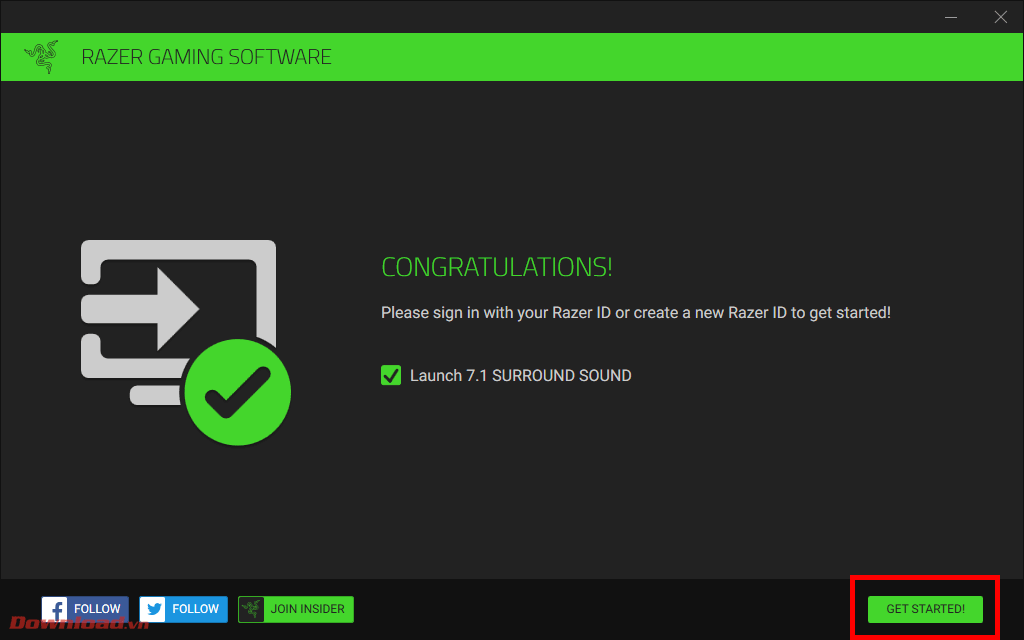
Wait a moment for the software to automatically install, then click Get Started . Remember to check the Launch 7.1 Surround sound box first.
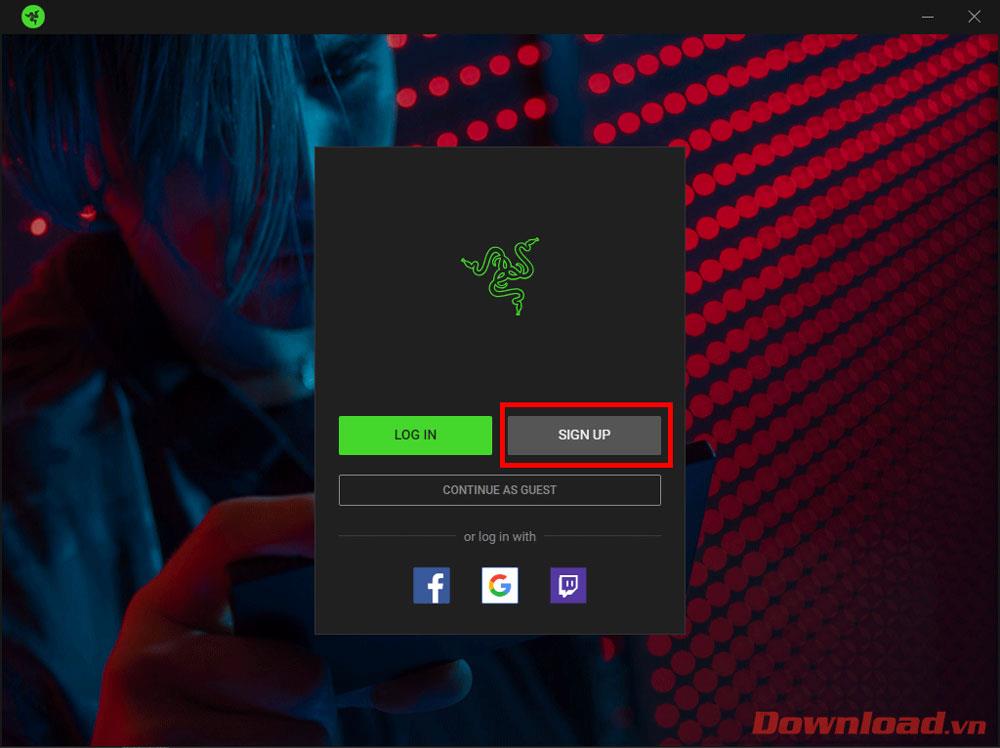
The software will automatically open with the login window. To use Razer surround, you must log in with a Razer account. If you already have an account, click Log in and log in normally. If not, click Sign up .
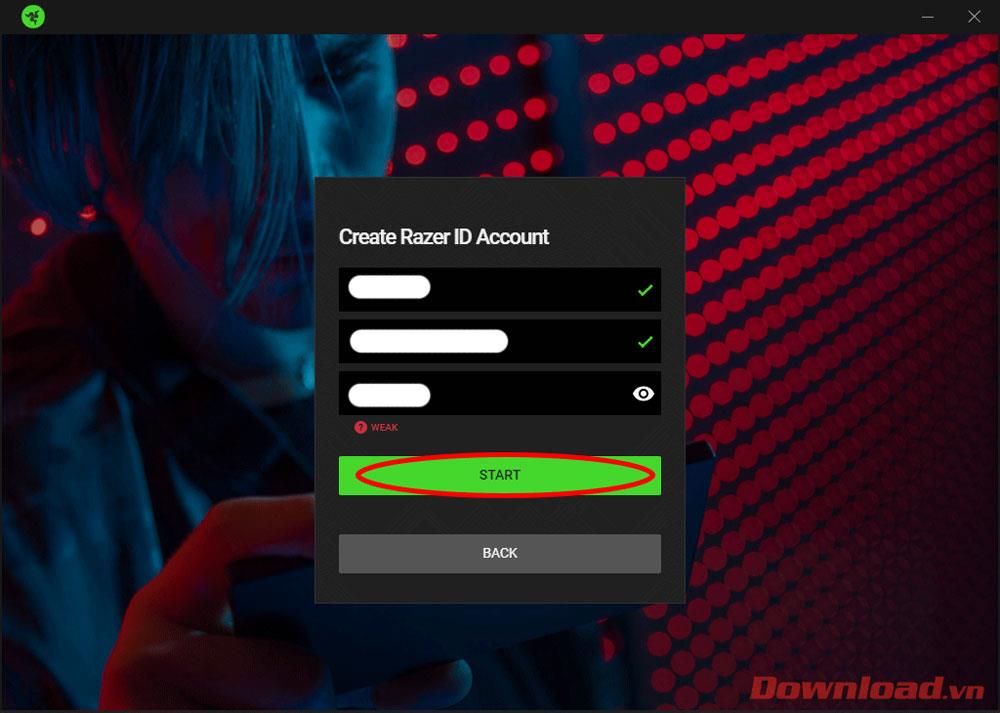
The registration dialog box appears, enter your name, email address and password into the 3 blank boxes then press the Start button .
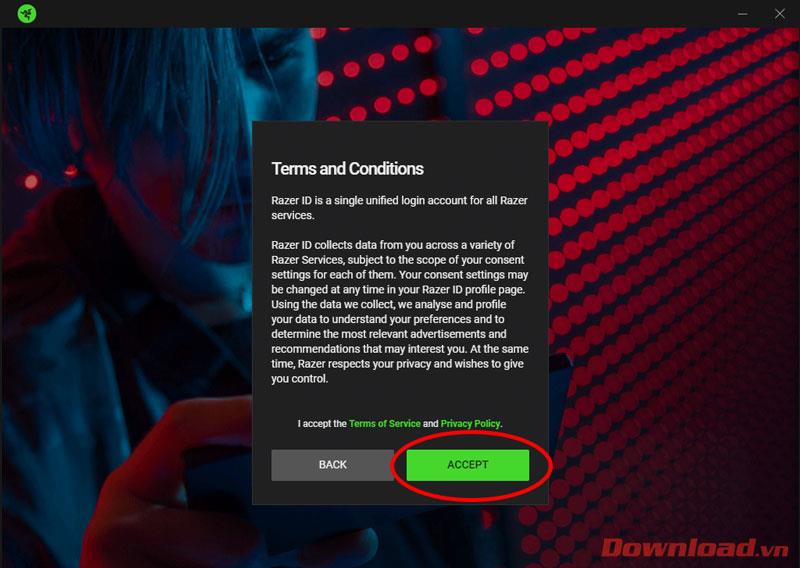
Continue pressing the Accept button .
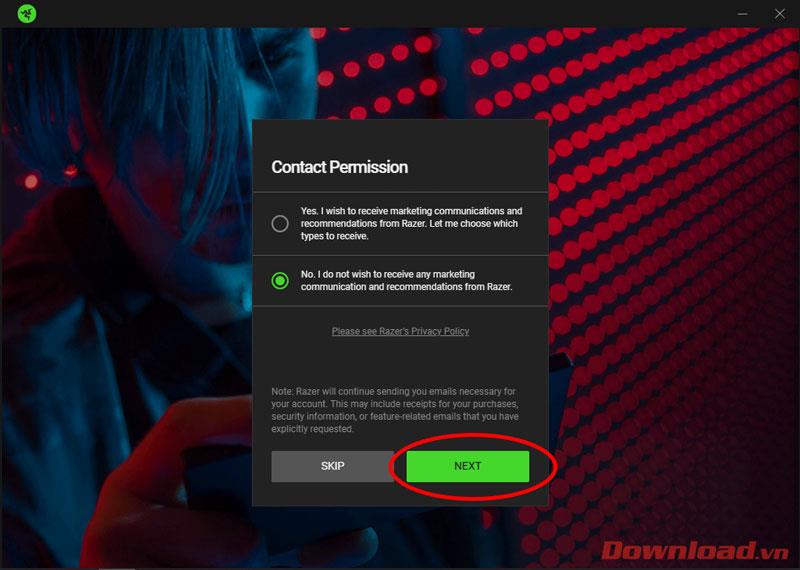
The Contact Permission dialog box appears asking if you want to connect to Razer's online services and notifications, select one of the two lines Yes or No then click Next .
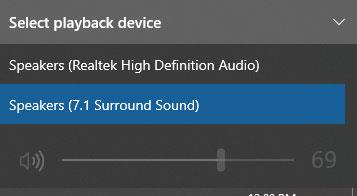
Now, you need to log in again at the first login step. After successfully logging in, the software will automatically create a virtual sound card driver named 7.1 Surround Sound. You can check by clicking on the speaker button below the clock bar. We can also easily switch back and forth between the default and 7.1 sound systems.
That's it, you can enjoy music or games with vivid 7.1 sound without having to own an expensive headset with Razer Surround Sound.
Wishing you success!
Step-by-step guide on how to create a green tick for Facebook. Learn how to verify your account and gain credibility with the green verification mark.
Learn how to download torrent files directly using the Firefox web browser with the Torrent Tornado add-on. Simple steps for effective torrent downloading.
Learn how to view someone else’s TikTok followers, both on public and private accounts. Discover effective methods to access follower counts and improve your TikTok strategy.
Learn how to login to Facebook using your email, phone number, or even QR Code authentication without entering a password.
Learn how to stop echo during your Parsec streaming sessions with effective solutions. Echo is a common issue that disrupts communication in games, and we provide proven methods to eliminate it.
Discover how to change your avatar and cover photo on Zalo to express your personality. Follow our easy guide and optimize your Zalo profile image.
Learn how to manage your relationships on Zalo by marking close friends, similar to Instagram. This feature allows easy access to frequently contacted individuals.
Learn how to send screenshots via Viber quickly and without saving them. This guide provides step-by-step instructions to enhance your messaging experience.
Learn how to easily restore deleted messages on Zalo with our step-by-step instructions. Quickly recover your important chats on this popular messaging app.
Discover how to easily add background music to your personal Zalo page with our comprehensive guide on using Zalo for Android and iOS devices.
If you’ve ever found yourself at the end of a Minecraft raid, searching for the last raider to eliminate, you’re not alone. Many players have faced this challenge.
Learn how to uninstall Coc Coc browser completely from your computer, ensuring all data is removed. Follow these simple steps for an effective uninstallation.
Discover how to effectively use the Toshiba AW-A800SV washing machine control panel with our detailed guide!
Discover how to effectively use emergency features on Samsung Galaxy Watch and other smartwatches, including SOS alerts, fall detection, and health records.
Discover how to effectively <strong>share QR code on Zalo</strong>. QR codes enhance connectivity, enabling easy friend requests and more on Zalo.


