How to turn off firewall on Windows
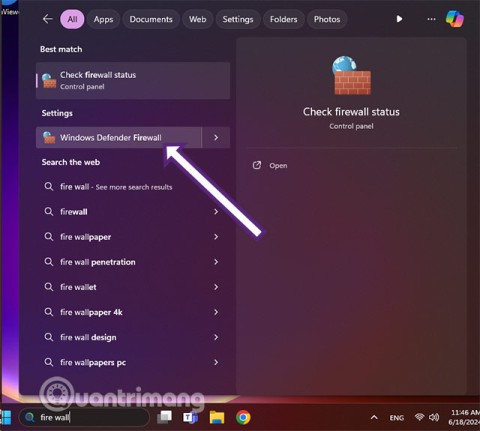
Windows Firewall, also known as firewall, is a network security system that is built into Windows.
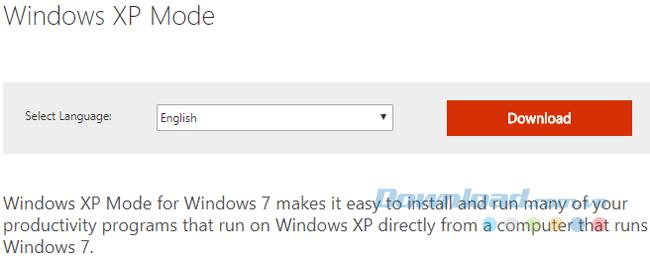
Years have passed, and Windows XP is now an outdated and no longer supported operating system (OS). However, nostalgia for this classic OS still exists, and developers often need to test their applications in various environments. Fortunately, Microsoft offers a Windows XP Mode that allows users to run a full version of Windows XP from their Windows 7 environment.
Before you begin, you need to download and install the latest version of VirtualBox. Additionally, a file decompression tool like 7-Zip or PeaZip is required.
Follow these steps to download the necessary files:
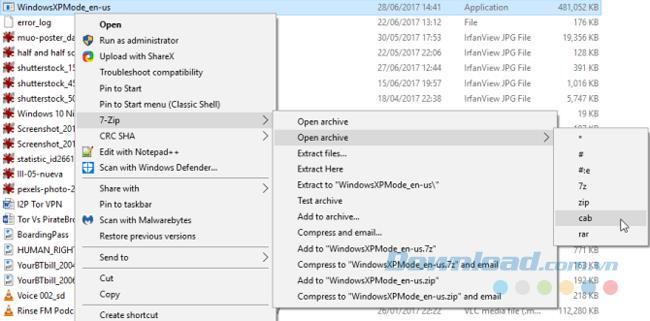
Once the download is complete, do not install it yet. Instead, navigate to the executable file, right-click, and choose 7-Zip > Open archive > cab.
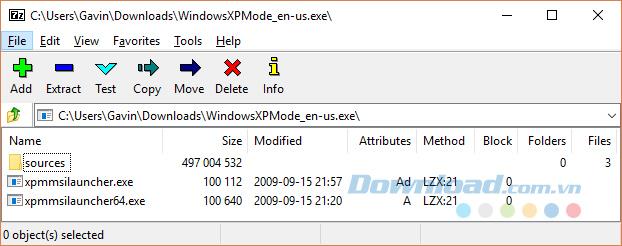
In the 7-Zip window, you will find three files. Double-click on the xpm file, which is the virtual hard disk directory of XP Mode.
Then extract these files to a new folder. Right-click and select Extract, then choose the location for the new folder.
To set up the Windows XP Mode hard drive in VirtualBox, follow these steps:
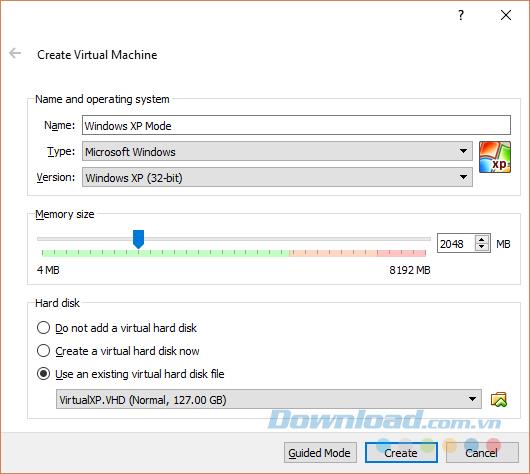
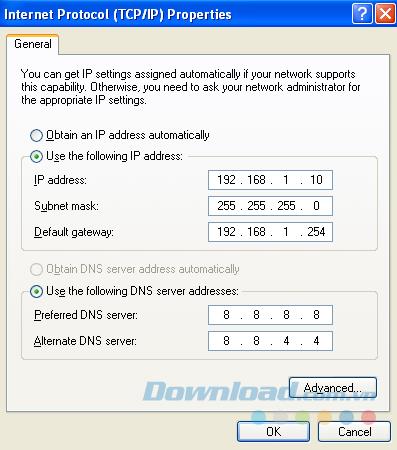
Before starting your Windows XP virtual machine, you need to configure some settings:
Optional: If NAT does not work, consider setting the network adapter to Host-only Adapter.
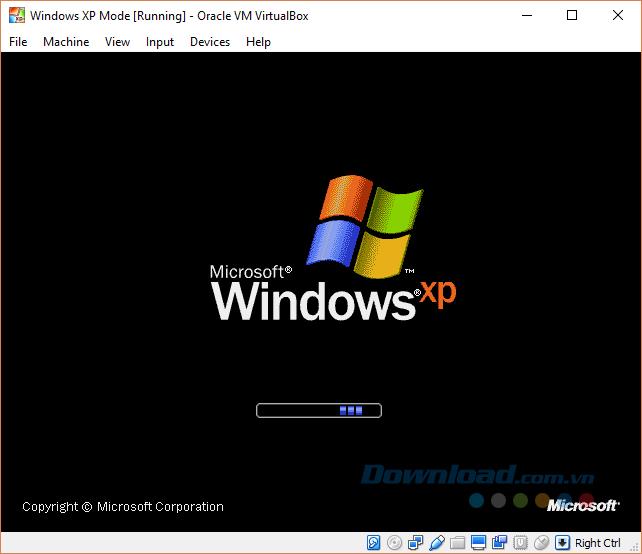
After completing the setup, you can now start the Windows XP Mode virtual machine by double-clicking it in the VirtualBox window.
Note that upon first launch, your mouse might not be responsive until the necessary drivers are installed. Navigate using the keyboard until the guest additions are installed.
With the combination of VirtualBox and Windows XP Mode from Microsoft, you can relive the nostalgic experience of Windows XP while ensuring compatibility for testing purposes. Remember that this installation may require a valid Windows XP license key after 30 days to remain functional.
Windows Firewall, also known as firewall, is a network security system that is built into Windows.
Sometimes, it is better to assign an IP address to a computer than to let the router automatically assign an IP address. Read this article to learn how to assign a static IP address in Windows.
You are using Windows 10 and want to go back to using Windows XP, try the following 4 ways to get a genuine Windows XP experience.
If you are not familiar with the interface of Windows 10 and prefer the interface of previous operating systems, you can completely turn the Windows 10 interface into Windows XP, Windows 7 or Windows 8.1 that you are used to using. .
Learn how to play Zephys - A powerful fighter/assassin in Lien Quan Mobile
On Windows 11 when pairing a Bluetooth device, the device appears with the default name given by the manufacturer. If you have to rename a Bluetooth device on Windows 11, follow the article below.
Instead of sharing notes on iPhone, we can also send a copy of notes on iPhone to others with simple and easy operations.
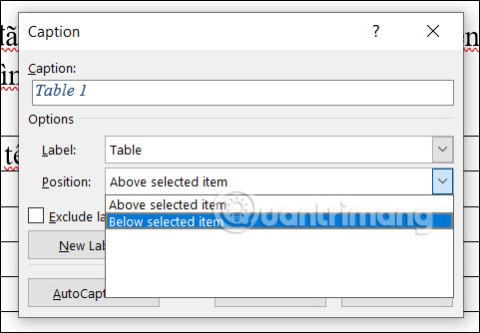
Similar to other content in Word, you can insert captions for tables to explain the content of the table or simply enter a name for the table to make it easier for followers.
TelAnnas is one of the easiest marksman champions to play in Lien Quan. If you don't know how to use this champion in the season, read this article now.
To increase the number of followers of your TikTok channel, we can create a unique intro or outro video with a call to action or some content that impresses viewers.
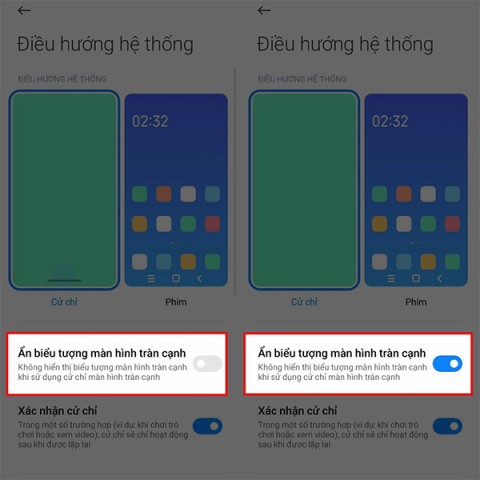
The navigation bar will cover the content so many people do not like to use the navigation bar. If so, you can hide the navigation bar on Xiaomi phones so as not to cover the content on the screen.
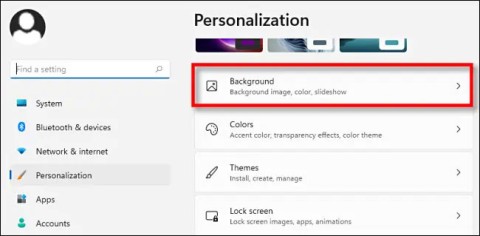
With the default wallpapers on Windows sometimes make us bored. So instead of using those default wallpapers, refresh and change them to bring newness to work and affirm your own personality through the wallpaper of this computer.
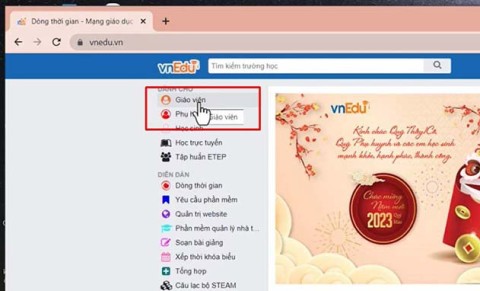
VnEdu is an education management system, connecting families and schools. And all student information is updated by teachers in VnEdu so that parents can easily look up scores on VnEdu.
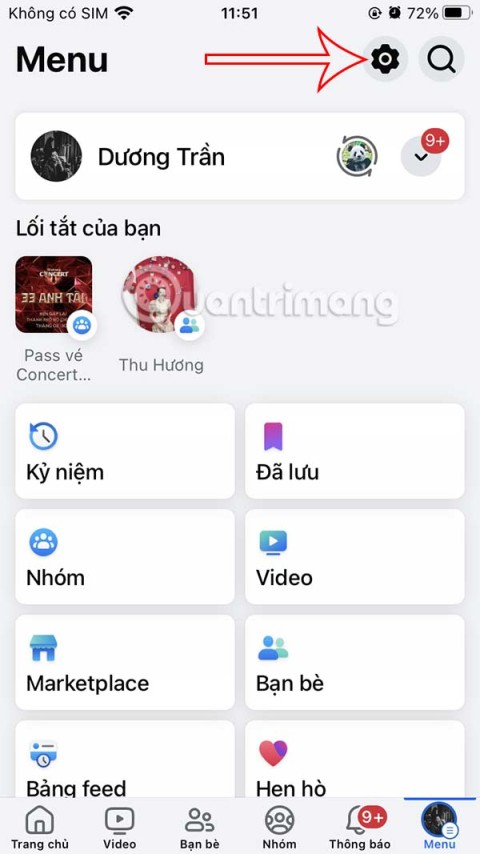
Changing your Facebook name helps you get a Facebook account name that matches your name, to avoid having your Facebook account locked for no reason.
If you like the transparent Tik Tok avatar style, you can follow the instructions below to create your own transparent Tik Tok avatar and change your Tik Tok avatar to your liking.
In addition to multiple choice content, you can design a maze game in ScratchJR. In this first lesson, students will learn how to create a simple moving space for the cat character in a maze game.
In this post, the maze game in ScratchJR will be further enhanced by building a maze to navigate.
Google is rolling out sound emojis to Google Phones. Users can play emoji sound effects like laughter and drums while making phone calls.
Oppo phones allow you to view WiFi passwords when we access them on the phone to check and share with others, in case you cannot share Android WiFi via QR code.





William T. -
Is it possible to dual-boot Windows XP with Windows 10? I’d love to explore both worlds
Tommy 123 -
I was a huge fan of XP’s interface! It’s still one of the best ever made. Just needs a touch-up for modern compatibility!
Kevin 6789 -
I remember how excited I was to have Windows XP. It’s great that they're offering it legally
Holly P. -
Will be checking this out! I have fond memories of using Windows XP during high school
Sophie J. -
Came here just to express my love for Windows XP. It was so elegant! Who else agrees
Kate H. -
Thanks for sharing! Hoping it downloads quickly. I’ve wanted to try loading my old software again
Daisy K. -
This feels like a trip down memory lane. I also hope Microsoft keeps providing support, even just for nostalgia
Lisa Baker -
This is amazing! I still have my old copy of XP but it’s good to have a legal digital version now
Alex T. -
Is there a way to get support for Windows XP if I run into issues? Would love to work with it again!
Lucas G. -
I remember the old “Start” button! Windows XP has such a nostalgic place in my heart
Buzz Cat -
This is the best news ever! Windows XP was so smooth. Can I also get a copy that runs on newer hardware?
James Smith -
Wow! I can’t believe Microsoft is allowing us to download Windows XP for free legally! I remember using this OS back in the day, it was so user-friendly and stable
Sam G. -
Wow! Just downloaded Windows XP. Can’t wait to browse the old interface again. Memories
Emily Q. -
I’m surprised how many people loved XP! It truly reminds me of simpler times. Thanks for the post
Sarah Johnson -
Finally, a chance to revisit my childhood memories! I’ve been searching everywhere for a legal way to download Windows XP. Thank you for sharing this
Lainey CAT -
I can’t believe I found this! Windows XP was my go-to. I hope it runs well!
Tyler R. -
Windows XP is still relevant in my opinion! If only they’d keep updating it.
Jessie C. -
Just finished downloading it! I’m planning to set it up on a virtual machine. Fingers crossed for smooth performance
Mark IT -
Can I use XP for programming? I prefer older environments sometimes for coding challenges
Paul K. -
I appreciate the effort from Microsoft! I hope they continue to honor the legacy of such an iconic OS.
Oliver B. -
Windows XP forever! My first computer was running on this. Really excited to have it back!
Chloe W. -
This is seriously awesome! I might even dust off my old computer just to run XP again!
Hannah L. -
Does anyone know if there’s a way to install modern applications on Windows XP? I’d love to make it more functional
Judy M. -
Does anyone have tips for getting the best performance out of Windows XP on newer hardware? Would love to hear experiences!
Linda Mew -
I used to love Windows XP! So many great memories from when I was in school. Glad to see it available again!
Emma S. -
I’ve been looking for a legal way to download Windows XP for a while! This makes me so happy
Chris W. -
Downloading it right now! I hope it works smoothly on my old laptop. I’ve been wanting a retro setup
Mike Roberts -
Hey, does this version come with all the security updates? I’m a bit wary about using an old OS in today’s world.
Jess L. -
Who would have thought we’d see Windows XP again? I remember skipping school to play games on it!
Ben F. -
This post is a treasure! I appreciate all the nostalgia and the opportunity to experience XP again
David Lee -
Thank you for this info! I’ve missed using Windows XP, and now it’s back. Can’t wait to relive those days
Nina J. -
I am excited to install this. XP has been my favorite for so long