Microsoft has long left Windows XP , an operating system launched a decade and a half ago. Although Windows 10 is now the latest and greatest version of the operating system, for many people Windows XP is unbeatable. Therefore, in this article, Download.com.vn will guide you how to revive Windows XP on Windows 10.
1. Run the XP software
Software and games designed to be compatible with specific operating systems. It's great if the program is newer or still up to date, but the problem if there's something built for XP you want to use. It could be a legacy business software or a retro game.
Windows is pretty good with backward compatibility, but you may still need to do some work to get Windows XP to work. Simply right-click on a program and select Run as administrator.
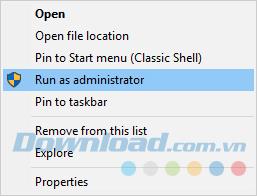
On Windows XP, users are usually administrators by default, so such an option is not necessary. Windows 10 has more stringent security measures, so you'll find this easy action will make the program run.
If not, right-click the program again and select Properties . In the window that opens, click on the Compatibility tab and select Run compatibility troubleshooter . This will try to automatically detect and resolve the issue.
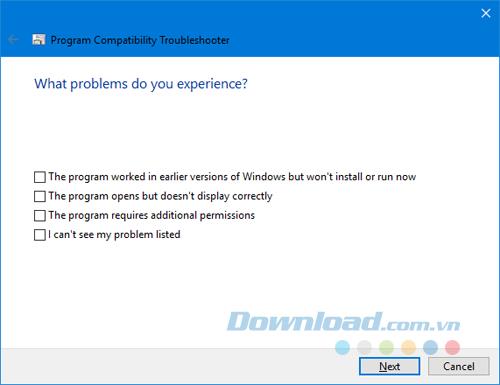
Select Try recommend settings and then Test the program ... to see if the program launches properly. The troubleshooter will ask if the fix is successful, select Yes, save these settings for this program and close the troubleshooter if it is successful. Select No, try again using different settings to work through their series of questions and suggested solutions.
If this still doesn't work, go back to the Compatibility tab and check Run this program in compatibility mode for and select the relevant version of Windows XP from the drop-down menu.
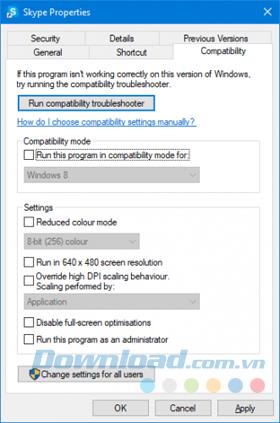
You can then use the Settings section below to try out other options like reducing color mode, lower resolution or adjusting DPI ratio.
2. Get the XP interface
Anyone who remembers Windows XP will probably think of the famous blue design. We can bring this back by using a program called Classic Shell . Visit the website, download and launch the installer. When prompted, choose to install Classic Start Menu .
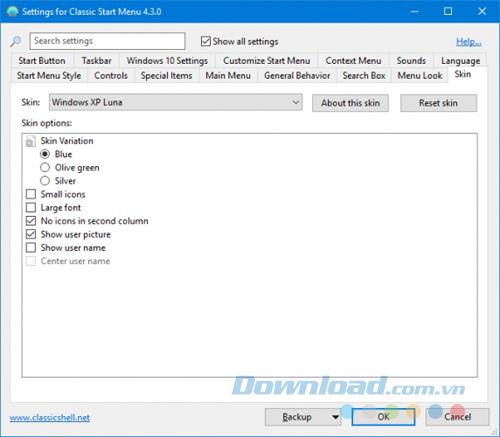
After installation, open Classic Shell and go to Start Menu Style tab . Choose Classic style or Classic with two columns , depending on your preference. Then click on Select skin ... below.
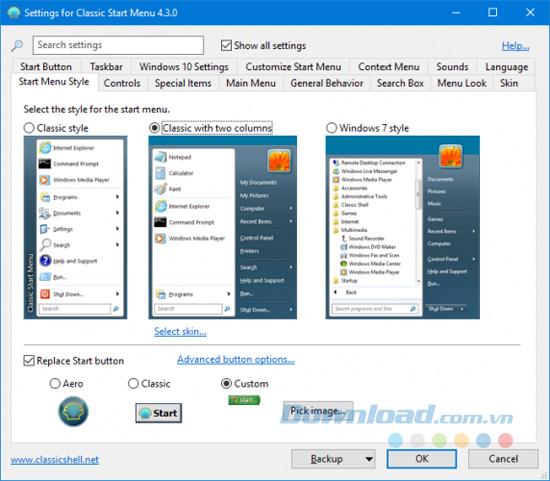
From the Skin menu, choose Windows XP Luna . You can also use the options below to customize the skin, such as switching between color choices, icons and font sizes, and displaying the user's image.
However, you can make more changes using the Classic Shell XP suite . This is a zip file containing some images for further customization. After downloading the file successfully, extract it.
Back in Classic Shell , go to the Start Menu Style tab and check the Replace start button . Select Custom> Pick image ... , browse to XPButton from the extracted zip file and double click on it. If the Start button is in the following size then click Advanced button options ...> Button size and enter 0 .
Next, select Show all settings and go to the Taskbar tab . Tick Customize the taskbar and click on the 3-dot icon ( ... ) next to the Taskbar texture . Browse to the extracted xp_bg file and double click on it. Under Hoziztonal streching , select Tile . Note that this particular tweak may not work perfectly on newer versions of Windows 10.

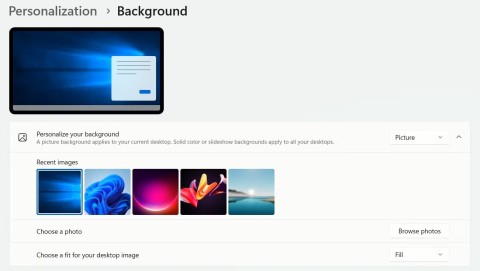
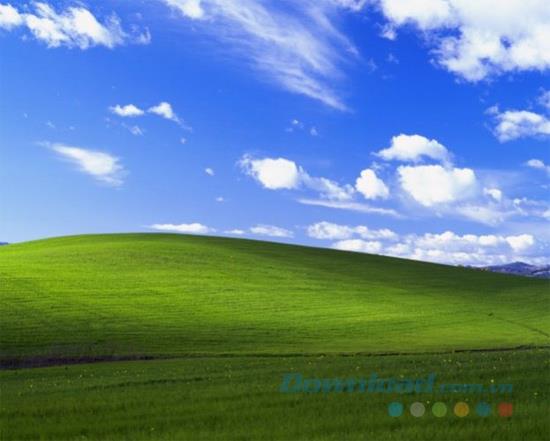
Finally, open the extracted zip folder and right click on the bliss file and Set as desktop background . It is done! You are running Windows XP but with all the features of Windows 10.
3. Revive the features of XP
Remember the Quick Launch toolbar on the taskbar? It was a major Windows feature from 95 to XP and seems to have disappeared by then. But you can really bring it back in Windows 10.
To do so, right-click on the taskbar, go to Toolbars , then click on the New toolbar .... Enter the following path into the folder and press return twice.
% userprofile% \ AppData \ Roaming \ Microsoft \ Internet Explorer \ Quick Launch
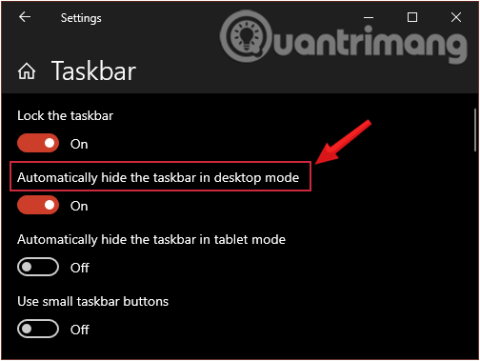
Next, right-click on the taskbar and uncheck Lock the taskbar . Now, you can left click and drag Quick Launch and uncheck Show Text and Show title to make it look similar to XP.
Finally, to customize the icon on the Quick Launch bar , press Win + R , enter the directory path above and press return . You can add shortcuts to files, folders and programs here to make them appear on the taskbar.
4. Run a virtual machine
There are many reasons to run a virtual machine and if you are looking for a true Windows XP experience, this is the best way to choose. Virtualization is when you take computer resources and split them into sections to be read as separate systems.
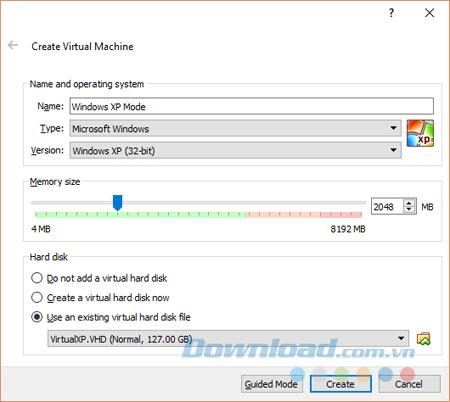
So, even though you are actually running Windows 10, you can create a virtual machine to run Windows XP. Not only will it give you a genuine and full XP experience, it will also not affect the primary installation of Windows 10. Everything you do in virtualization will stay there.
