As a Minecraft player, you may have seen custom paintings made by other players and wondered how you can make your own unique paintings.
Fortunately, doing so is relatively easy. By following several simple steps, you can create your own custom painting to bring into your Minecraft world.
Let’s take a look at how to add your own custom paintings to the game in a few easy steps. Read on and learn how to make your Minecraft home unique and unforgettable.
How to Make Custom Paintings in Minecraft
Before we get to the how-to part, we have to explain what you have to do.
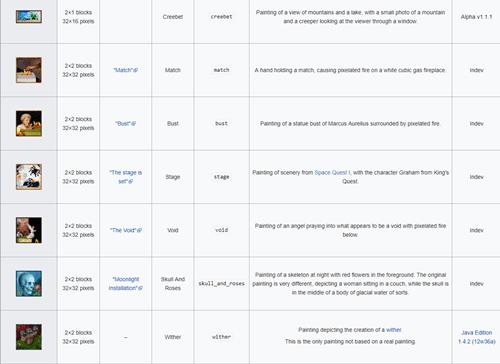
Minecraft has 26 available paintings you can use to decorate your buildings in the game. The smallest ones are 16×16 pixels, covering only one block, while the largest ones are 64×64 pixels, covering 4×4 blocks.
If you want to add a custom painting to your Minecraft server, you will have to replace one or all of the original paintings with your new images. The process requires you to find the app folder on your PC and replace the art before you enter the game. Once you do that, you will be able to select and use the newly uploaded paintings the next time you open the game.
You will need extraction software like WinRAR as well as the photo editing software of your choice. You can add any image or photo you want, and you can also create images in the game and then screenshot them as photos to add later.
Find the Right Folder
To start the process, you will first have to find a folder named “%appdata%.” From there, find the Minecraft app and select the folder with the pre-designed art available in the game.
Follow these steps to do so:
- Press the Win+R.
- Enter %appdata% into the box and hit Enter.
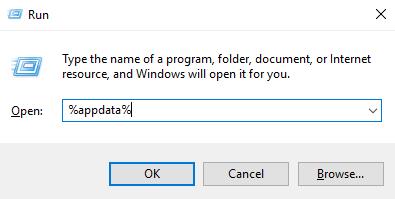
- Your AppData folder will now open. Select the folder called Roaming. (The folder could be located somewhere else, so you can type “Roaming” into the Run window to navigate to it directly.)
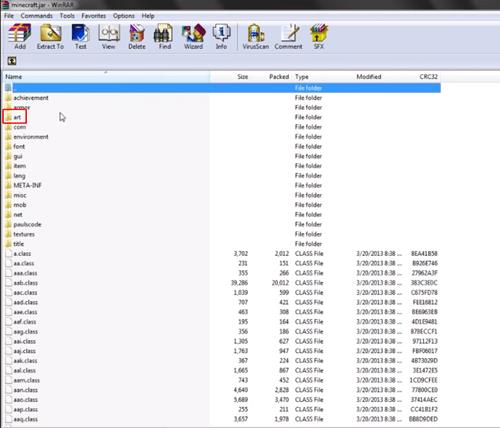
- Open the folder and select the minecrarft.jar folder. Right-click on it, select Open with, then choose WinRAR or other unzipping software.

- Find and select the art folder. There, you will find a single file called kz.png.
- Copy the file to your desktop.
- Open the copied file in a photo editing program.
- You will see a file with pink cubes that represent the cubes in the game. Grab the image you want to add and place it over any of the existing images in the file itself. Resize the image until it’s the same size as the original painting you want to replace.
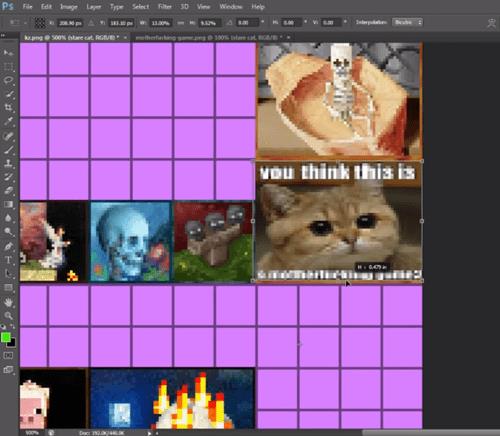
- Save the new kz.png image you have created and replace the original file in the art folder from the previous steps.
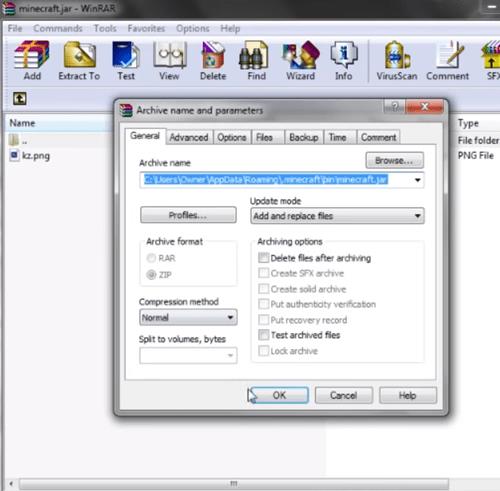
- Re-open the new kz.png file to see if the image is still replaced.
- Run Minecraft and place the image you’ve added in the game.
You can repeat the same process for all of the images to replace the original art with your own photos, pictures, or drawings.
Create Custom In-Game Images
If you want, you can create screenshots in the game and use them as new art.
You can create objects in the game, take screenshots, and add them to the original “kz.png” file as a replacement for the stock images.
The process is the same as the one above, but instead of adding images from the internet or your own photos, you have to find the “screenshots” folder in your game file and add the images from there. The possibilities are endless, so you can show the world how creative you are.
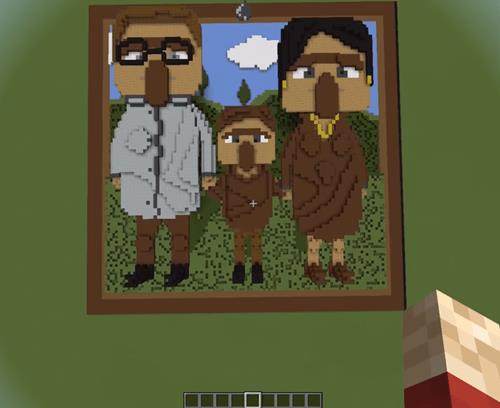
It takes time to build a custom scenario you can take a screenshot of later, but the reward will be worth it.
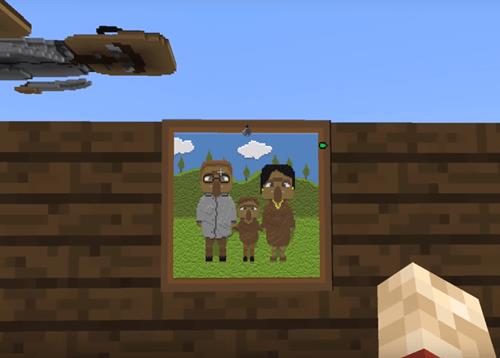
Make Your Minecraft World Unique
Paintings were introduced a few years after the game release, and the demand for custom paintings appeared almost instantly.
The customization feature became available soon after. You can upload any photo to make your in-game creation fun and exciting. Recent updates made it possible to add videos as well. Try the process yourself and create some cool environments for other players to discover.
Have you ever tried adding your own images to Minecraft? Tell us about it in the comment section below.
