How to group layers in Canva
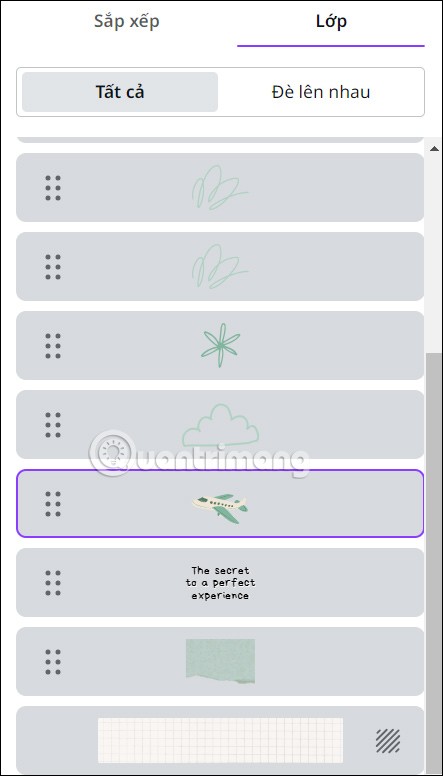
Grouping layers in Canva makes your design more professional and also makes it easier to edit and work with your design.
What tool do you usually use to sync data on your computer? Currently, there are many data synchronization software such as Dropbox , Onedrive , etc. that can synchronize continuously during working process. However, there is one more outstanding tool developed by Microsoft that many people overlooked is SyncToy.
SyncToy is a data synchronization tool that has been around for a long time. Below we will show you how to use SyncToy to synchronize and backup computer data extremely effectively, along with sharing files with other computers and creating backup copies of files and mail. the item.
Step 1:
Click to download the SyncToy software to the download link above or go directly to the website: https://download.com.vn/ to search for the SyncToy keyword to download.

Note: The website will provide 2 links including download link for 32bit and 64bit versions, so please select the appropriate Windows operating system that you are using.
Step 2:
After finishing downloading the SyncToy installation file to your computer, right-click the file and select Open or you can double-click the .exe file to proceed with the setup.

Step 3:
A new window will appear shortly, read the agreement about configuring Microsoft Sync Framework 2.0 and click the Accept button to continue.

Step 4:
Windows will proceed to install Microsoft Sync Framework 2.0 please wait a few minutes.

Step 5:
Next, click Accept to understand the warnings that Microsoft issued as well as agree with the developer agreement.
Step 6:
Select the folder where you want to install SyncToy, then confirm the installation to complete all operations.

The system will notify after your installation is completed.
Step 1:
Open the SyncToy software installed above, in the main interface of SyncToy, click Create New Folder to create data synchronization folder.

Step 2:
A new window of Create New Folder appears, click the Browse button of both Left Folder and Right Folder to select the folder on the computer. After choosing, click Next .
Note:

Step 3:
A new window allows you to select the synchronization method:

Step 4:
Enter a name for the 2 directories then click the Finish button .
Step 5:
Next you can Preview to see the files are synchronized and have changes as you like. If everything is correct click Run to run.

Step 6:
After a successful directory synchronization created by SyncToy Windows 10 you can see the detailed report displayed on the screen.

Above we have shown you how to synchronize data of Microsoft SyncToy tool computer. Hopefully the article will help you quickly back up the data to achieve the desired effect.
You may be interested in:
Grouping layers in Canva makes your design more professional and also makes it easier to edit and work with your design.
Safe Communication will blur sensitive images received on your child's iPhone via Messages, AirDrop. Here's how to use Safe Communication on iPhone.
Marksmen return in TFT season 14 and are still a powerful class with outstanding long-range physical damage.
Some computers after upgrading to Windows 10 version have the problem of losing sound. We can check the audio device connections to the computer, or adjust the sound settings on the operating system.
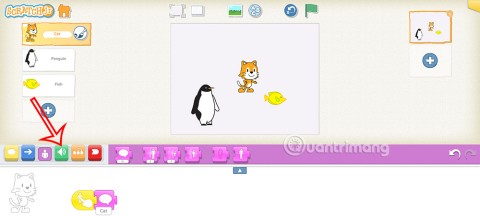
In this article students will learn how to add sounds and use sounds in ScratchJR for each of their characters.
ScratchJR helps students create command-based programs for characters, and you can use it to build a foreign language learning program on ScratchJR.
The iPhone iMessage group chat feature helps us text and chat more easily with many people, instead of sending individual messages.
TikTok has an option to set a nickname for your friends' accounts to choose a name that is easier to remember in your friend list. This article will guide you to set a nickname for your friends' accounts on TikTok.
Search and service improvement is a setting in Microsoft Edge that lets the company use your web search data to improve your search and web experience.
Weibo accounts also have options to edit the account, such as changing the Weibo password. Here are instructions for changing the Weibo password.
Claude AI now allows you to choose from a variety of text writing styles so users get the text they need.
There are several ways to recover deleted messages on iPhone, using iCloud, using iTunes, and using third-party apps.
For notes with a lot of content and many topics, the option to collapse the note content on iOS 18 helps you observe the content more easily.
After supporting you to chat by voice on ChatGPT, this AI tool has also updated the option to read responses with many supported languages.
Instead of “bombarding” your friends' messages with dozens of screenshots, you can take a scrolling screenshot and send it.
