Close Matrix Sign-Ups or Require Invite Tokens on Synapse
Stop open account creation on a self-hosted Synapse server, or keep sign-ups invite-only with limited-use registration tokens.
DistributedCOM Error 10016 does not affect system performance, but you should still fix it to operate on a more stable computer.
DistributedCOM Error 10016 is a common Windows error found in almost every version from Windows XP and above. This error does not immediately cause a system crash. You are not suddenly subjected to the blue screen of death. And in fact, the DCOM Error 10016 error is not cause for concern.
However, that does not mean you should leave it that way. Here's how to fix DistributedCOM Error 10016 on Windows 10 systems .
First, we need to know what DistributedCOM is and why it fails. Distributed Component Object Model (DCOM) is an integral part of network communication on Windows computers. It is a proprietary technology from Microsoft that works every time the application connects to the Internet. A traditional COM can only access information on the same machine; conversely, DCOM is capable of accessing data on the remote server.
For example, many websites and services use scripts to access a remote server. When your system conducts a query in a script or in another way, COM forwards the query to a specific script object. Based on the frequency of current applications that use the Internet and computer in general, you can see the frequency of using DCOM.
A DCOM error always occurs when an application or service tries to use DCOM but does not have appropriate permissions. In most cases, the DCOM error does not affect the system other than clogging Event Viewer. The DCOM error is not cause for concern, so most users do not check the Event Viewer regularly. But is an error-free system always better? The following are easy methods to fix DCOM Error 10016 .
A simple registry tweak can sometimes fix DCOM Error 10016 immediately. Before editing it, you should create a backup of your data.
Type the registry into the Start Menu search bar and choose Best Match. Go to File> Export , switch Export Range to All , and then save the Windows Registry to an accessible location. The following fix will not harm the computer, but it is best to back it up to restore in case of unexpected errors.
Now, we begin to fix the error as follows:
1. Type registry in the Start Menu search bar and select Best Match .
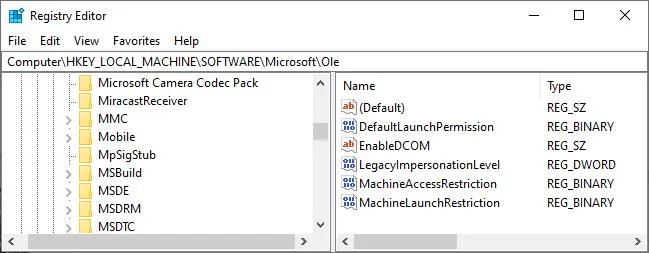
2. Navigate to HKEY_LOCAL_MACHINE \ SOFTWARE \ Microsoft \ Ole . You can copy and paste it into the address bar of Registry Editor.
3. Delete the following 4 registry keys:
DefaultAccessPermission
DefaultLaunchPermission
MachineAccessRestriction
MachineLaunchRestriction
4. Close Windows Registry Editor , then restart the system.
Your Windows 10 will now no longer have the DCOM Error 10016 error.
If this doesn't work, you have another viable but time-consuming solution. However, if a few individual applications fail DCOM, the following process will take a little longer because you have to repeat most of the operations for each error.
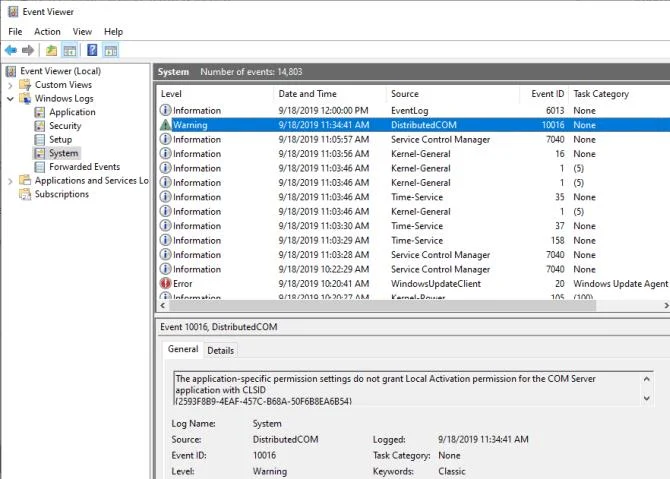
The error message DCOM Error 10016 in Event Viewer contains information related to a certain application or process that generated the error.
Here's how to locate the service in Registry Editor. First, type CLSID in the Event Viewer, then press CTRL+ Cto copy. Then open Registry Editor . Search the following registry:
HKEY_CLASSES_ROOT \ CLSID \ {Paste CLSID here}
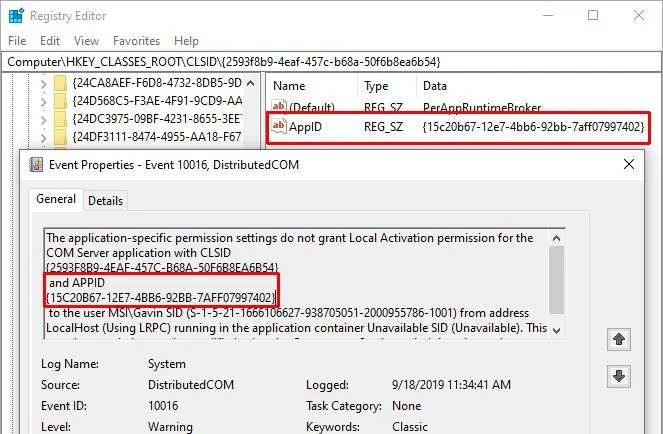
In this example, it looks like: HKEY_CLASSES_ROOT \ CLSID \ {2593F8B9-4EAF-457C-B68A-50F6B8EA6B54} .
Remember, you can copy and paste it into the Registry Editor address bar. When the CLSID search is completed, you can cross-reference APPID from the error message with the AppID listed in CLSID.
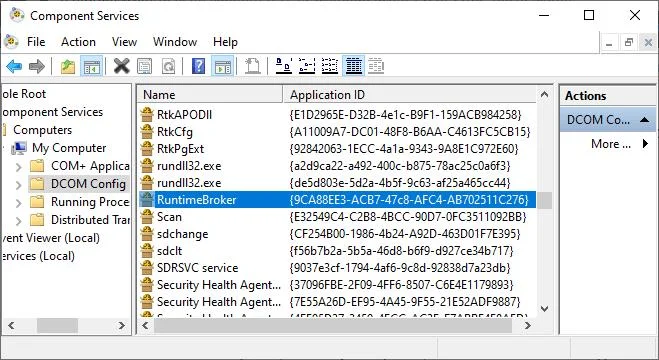
In this example, DCOM Error 10016 comes from Runtime Broker, one of the most common causes of this error.
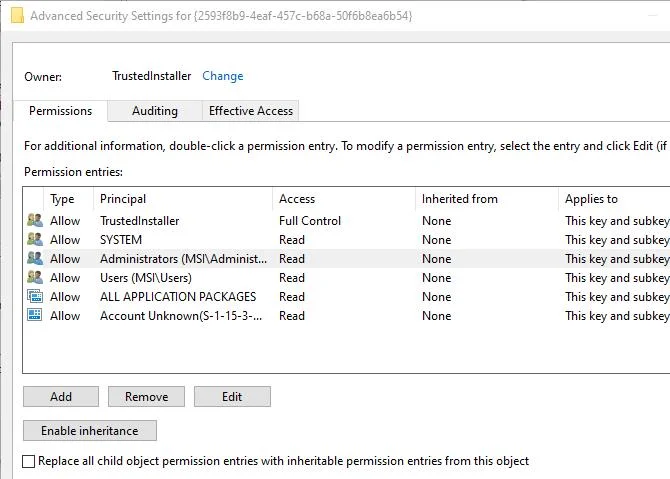
In the list to the left of the registry entries, right-click the CLSID to the right of this error, then select Permission> Advanced . Here, you can edit the permissions of this service. Changing file access can fix a variety of other Windows 10 errors.
Highlight Administrators > select Edit . Switch Basic Permissions to Full Control , then click OK> Apply> OK .
Now, reboot the system. When the process is complete, enter Component Services into the Start Menu search bar, then select Best Match. Go to Computers> My Computer> DCOM Config .
You will see a long list of services using DCOM in a few ways. Locate the service by name and APPID, right click and select Properties> Security .
In Launch and Activation Permissions , select Edit> Add> Add a Local Service> Apply . Check Local Activation box , click OK and reboot the system again. It's done!
Note : If there are multiple causes of error 10016, you must perform this procedure for each CSLID / APPID combination.
Hopefully the article helps you fix Distributed COM 10016 error on Windows 10 effectively. If you encounter other problems, refer to how to fix common errors on Windows 10 that may be helpful to you.
Stop open account creation on a self-hosted Synapse server, or keep sign-ups invite-only with limited-use registration tokens.
Clear Element's unverified-session warning using a trusted device or recovery key, with checks that protect your encrypted chat history.
Distinguish database lock contention from expired WebDAV locks, then choose and configure the right ownCloud 10 fix.
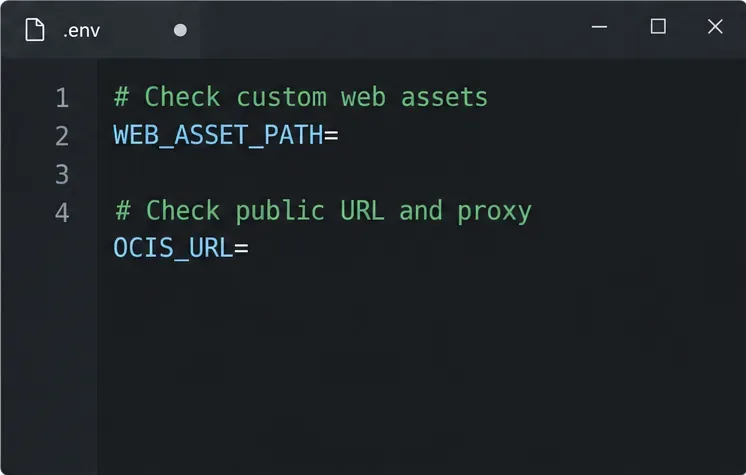
Trace a blank ownCloud Web screen to browser cache, missing web assets, service errors, or reverse-proxy URL settings with targeted checks.
Set ownCloud’s web PHP memory limit, restart the matching service, and verify the active value without confusing it with CLI settings or upload limits.
Find out whether MySQL, PHP, socket settings, or database permissions are blocking ownCloud 10, then verify a safe fix.
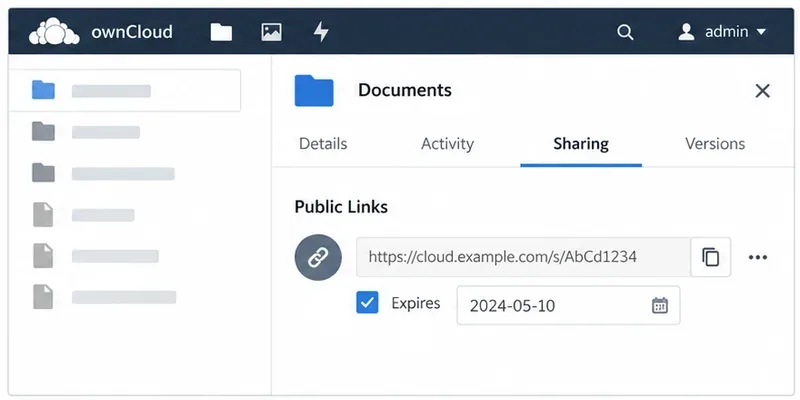
Make public link expiration mandatory in ownCloud Classic, set a maximum lifetime, and check existing shares that may need separate cleanup.
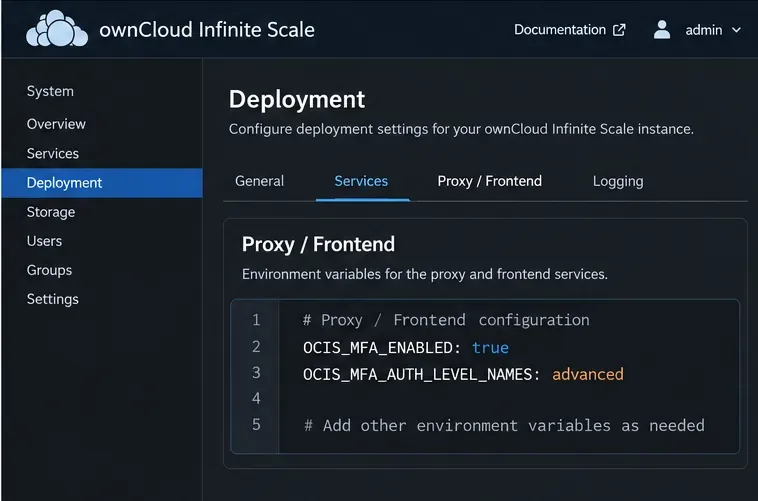
Enable TOTP through Keycloak, enroll users safely, and understand when Infinite Scale’s route-level MFA settings apply.
Check whether the issue is an OC10 and 7.x compatibility break or a damaged CSync journal, then apply the right fix without deleting synced files.
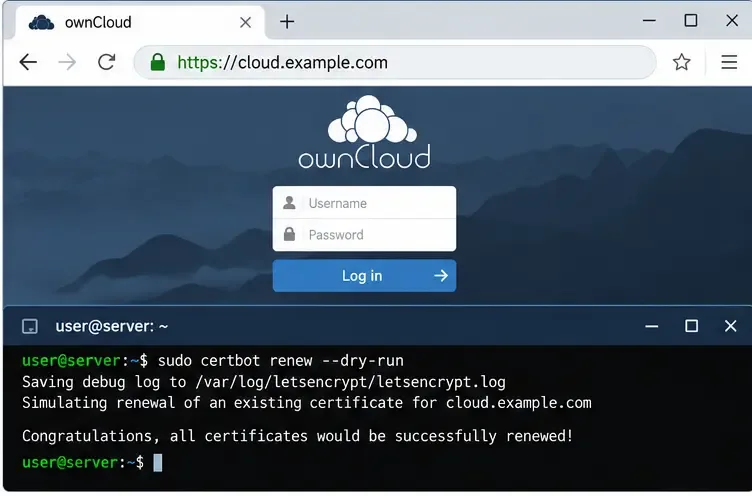
Choose HTTP-01 or DNS-01, configure an ownCloud reverse proxy, and verify Certbot renews HTTPS certificates automatically.