Hyper-V helps you run virtual machines on Windows. However, after turning on Hyper-V , you cannot log in to Windows 11 ? Here's how to fix it.
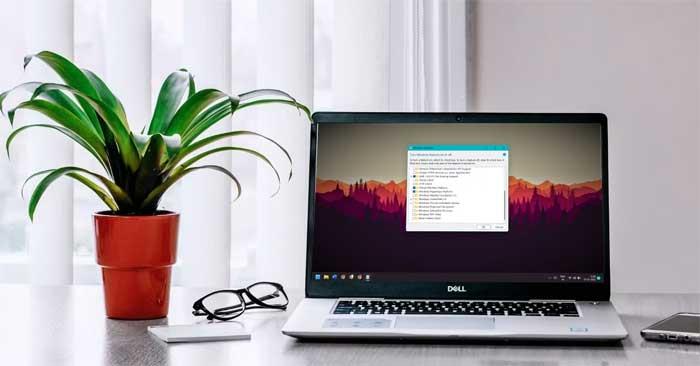
The main reason why you cannot start Windows 11 after enabling Hyper-V
How to fix the error of not being able to log in to Windows 11 after turning on Hyper-V
Because you cannot boot to the desktop, you need to use the Windows 11 Repair tool. You must create bootable installation media of Win 11 on a flash drive. Additionally, you need to use another system for this process.
Uninstall conflicting applications
IBM Trusteer Rapport is a famous app that causes problems when enabling virtualization. Many people like Trusteer Rapport to protect their systems from phishing and malware attacks. However, you will have to uninstall it for Windows 11 to boot normally after activating Hyper-V.
To remove conflicting applications, follow these steps:
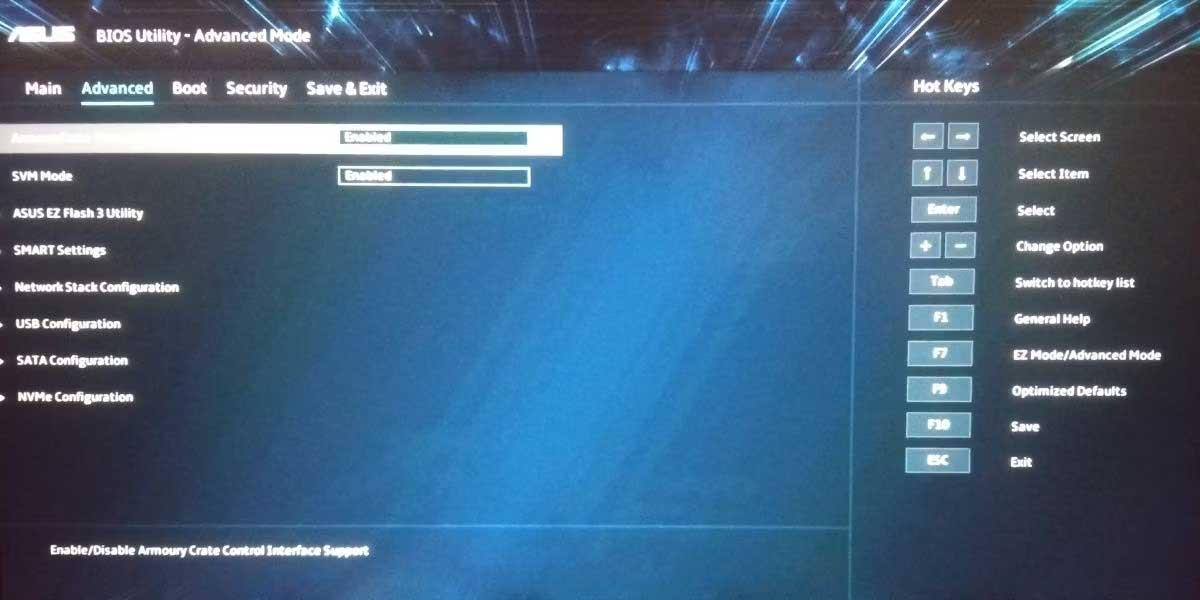
1. Insert Windows 11 boot media into the computer. Boot the system and press the assigned key to enter the BIOS Setup screen . It is usually the F12 key , but can vary, depending on the system.
2.Now press the tab key to go to Advanced Settings . Find the Virtualization setting and enable it. Press F10 to save changes, then reboot the system.
3. After successfully booting the system to the desktop, press the Win key and find Control Panel .
4. Click the first search result and open the control panel. Find Uninstall a Program in Programs and Features .
5. Then, find the IBM Trusteer Rapport app in the list of installed programs.
6. Right click on it, then click Uninstall/Change . UAC will appear and confirm your changes.
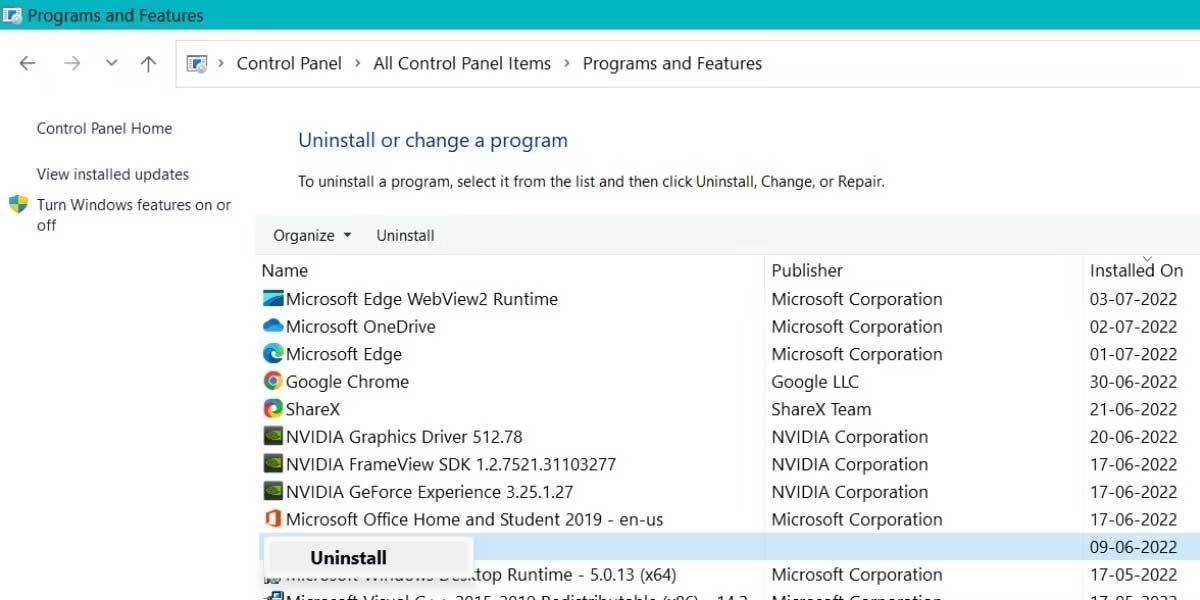
7. Click OK , then continue uninstallation. Follow the onscreen instructions to completely remove this program from your computer.
8. Restart the system and press F12 or enter BIOS Setup key . Re-enable virtualization settings and save changes by pressing the F10 key .
9. Now restart the system, you will be able to access the Win 11 lock screen as usual.
Tweak startup settings
Using the command prompt, you need to disable an important flag in BCD. It often causes Boot Repair Loop problem. After that, booting the system will no longer have problems.
To fine-tune startup settings, follow these steps:
1. Restart the system and press the F key to enter the Boot menu. Boot with the installation media, then click Repair your computer .
2. Then select Troubleshoot on the next page. Click Startup Settings in Advanced Settings .

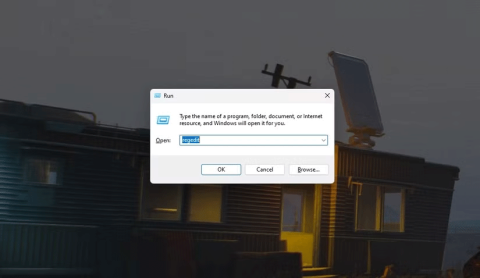
3. After restarting the system, press F5 to enter Safe Mode with Networking . Then, press Win+R to open the Run command dialog box and type cmd.
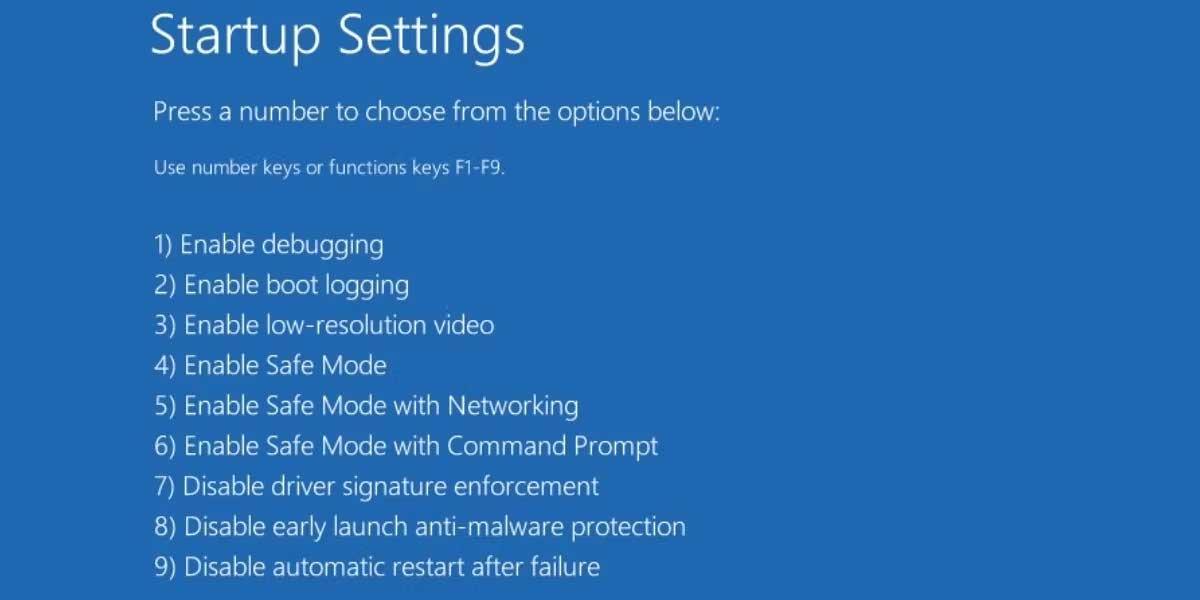
4. Press Enter and enter the following command in the command prompt window: BCDedit /set hypervisorlaunchtype Off
5. Press Enter . Close the CMD window after executing this command successfully.
6. Then, reboot the system to check if the boot loop error has disappeared or not.
Return to the old system restore point
If turning off hypervisorlaunchtype in BCD doesn't fix the Windows 11 login error when Hyper-V is enabled, try System Restore. This feature allows you to restore Windows to the point where it operates normally. Remember that your system must have one or more restore points to perform System Restore.
To perform System Restore, repeat these steps:
1. Power on the system and press the F key to open the boot menu. Select the Windows 11 installation media and press Enter .
2. Click the Next button in the Windows 11 setup window. Then, click repair your computer .
3. Select Troubleshoot > click the System Restore icon on the Advanced Settings page .
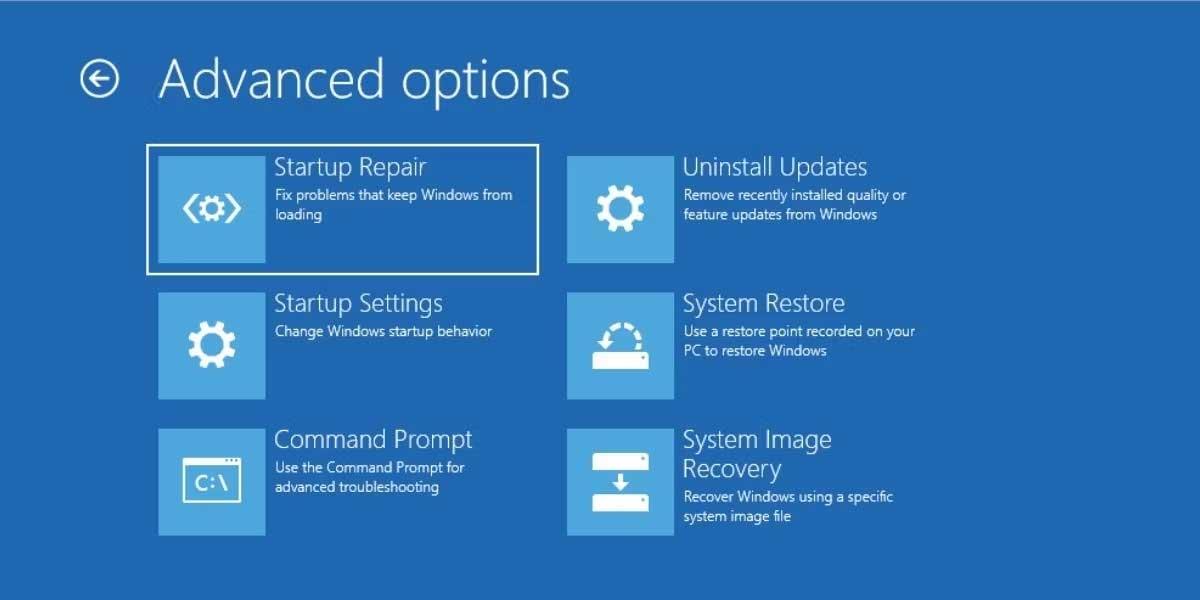
4. The System Restore window will open. You'll see a message if there are no restore points on the system.
5. If there is a restore point, you will see a Next button at the bottom. Click on it and select the nearest restore point in the list.
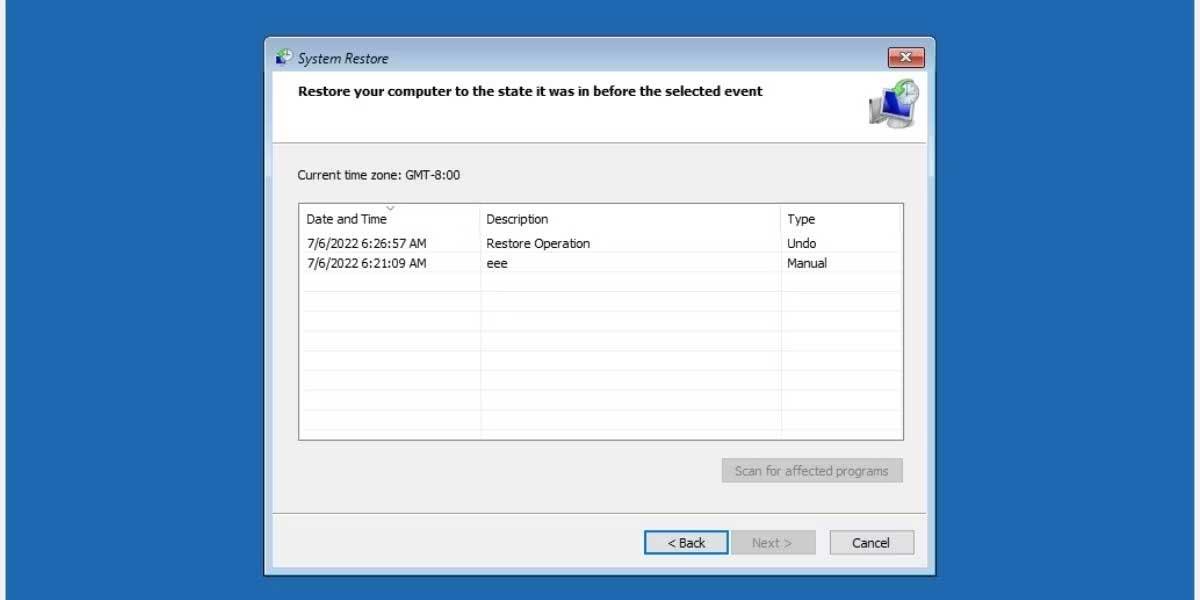
6. Next, click Scan for affected programs . It checks and shows all the programs you will lose if you perform a system restore. Click Close after verifying this list.
7. Click the Next button . System Restore will confirm your decision to roll back to the restore point with details. Click the Finish button to start System Restore.
8. Next, you will see a message that system restore cannot be interrupted. Click Yes to continue.
9. You will see your computer restart automatically and return to the previous restore point.
10. After restarting , your system will start Windows 11.
Reinstall Windows 11
This is how to fix the error of not being able to log in to Windows 11 after turning on Hyper-V . If there are important documents in drive C, select the upgrade installation type. It preserves files, documents and replaces Windows files.
To reinstall Windows 11, do the following:
1. Turn on the computer and press the assigned F key to open the boot menu. Select the Windows 11 installation media and press Enter .
2. Click the Next button in the Win 11 setup window. Then, click the Install Now button .
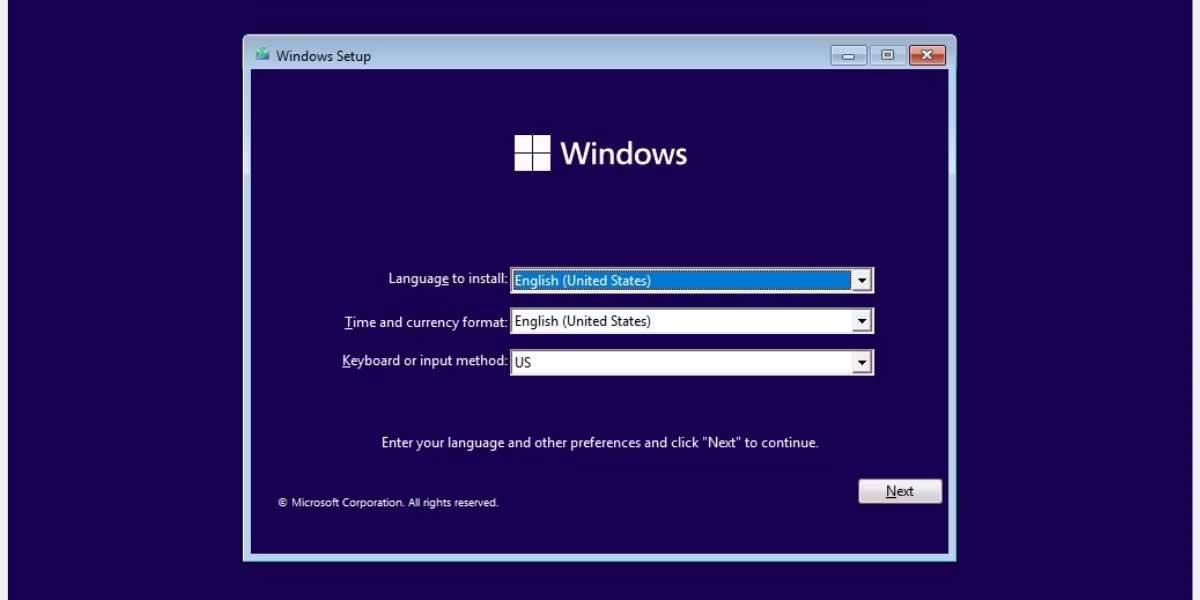
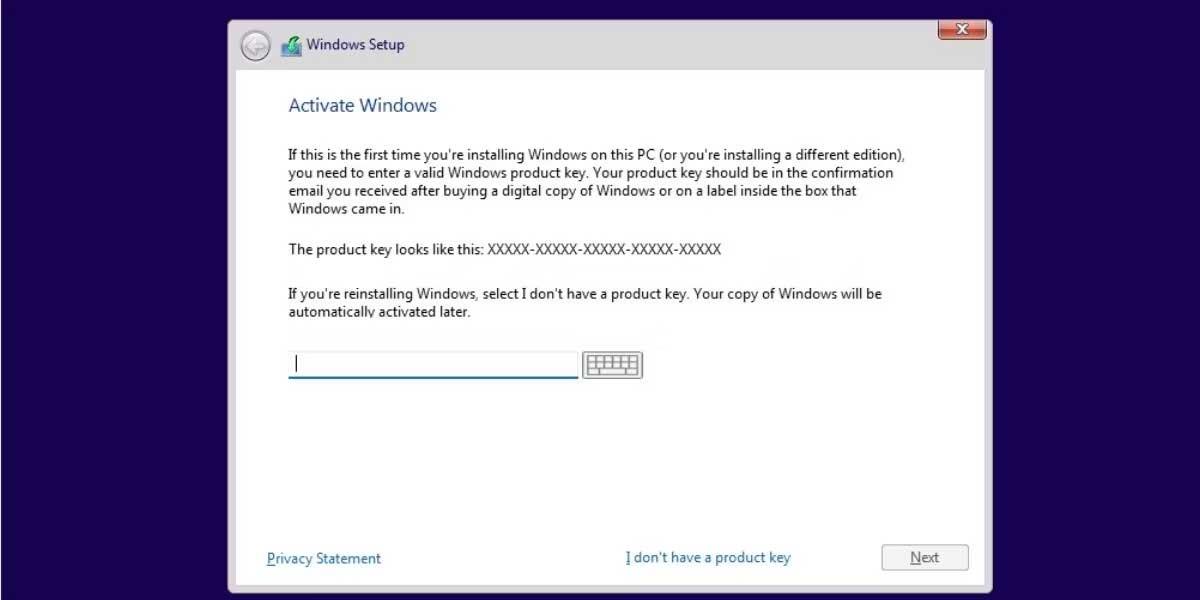
3. Enter the product key if available. If not, click I don't have product key . Then, select the operating system version you are using on your computer (Home, Pro, Enterprise...) and click the Next button .
4. Accept the EULA and click Next . Select Upgrade to save the entire file. Then, format drive C and choose to install Win 11.
5. Wait for the installation to complete. Your system will reboot several times. Then, follow the on-screen instructions and configure Windows settings. Finally, you can access old systems and files.
Above is how to fix the error of not being able to access Windows 11 after turning on Hyper-V . Hope the article is useful to you.


