How to see which apps use a lot of battery on iPhone

iPhone lists the full battery usage of applications, helping you know which applications use a lot of battery on your iPhone.
Insert shapes - Shapes are a great way to make presentations more interesting. PowerPoint offers users several shapes to choose from. You can customize them to your personal needs, use color palettes, individual settings and much more. While Shapes may not be necessary in every presentation, they add visual appeal to the content.
1. Select the Insert tab , and then click the Shapes command in the Illustrations group . A shape menu will appear.
2. Select the desired Shape .
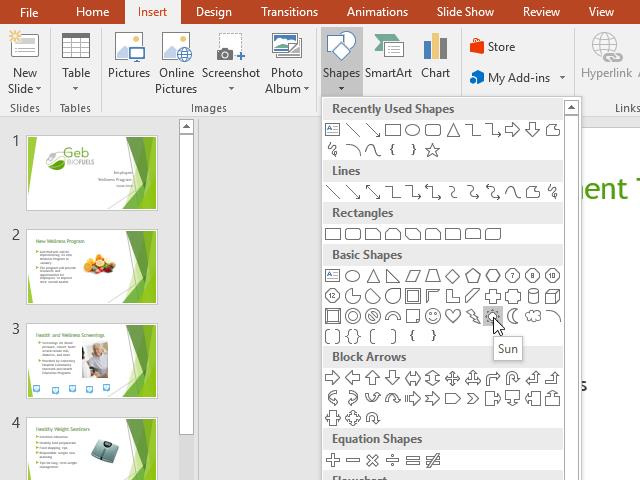
3. Click & drag it to your favorite position to add the shape you want to the slide.

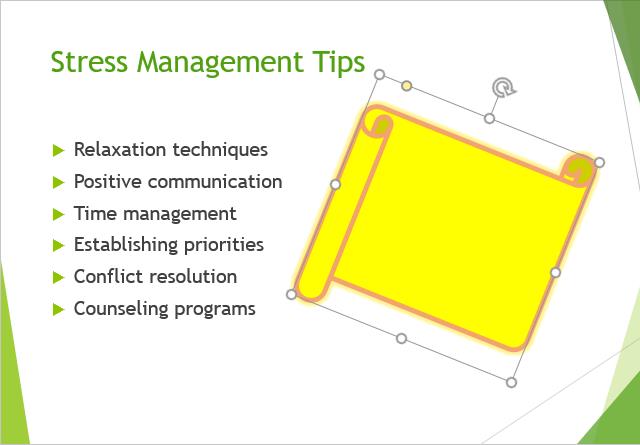
When you click on a shape or text box, handles will appear, allowing you to edit it. There are several types of handles, including:
Handle Sizing : Click & drag them until the shape or text box reaches the desired size. You can use the resizing handles to change the height and width at the same time.
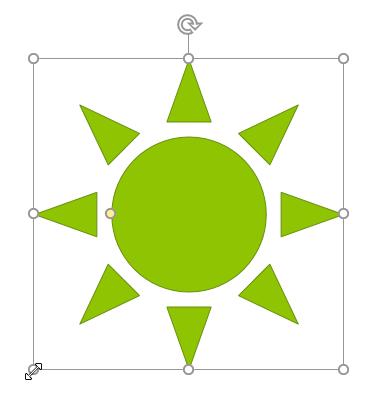
Handle Rotation : Click & drag this handle to rotate the shape.
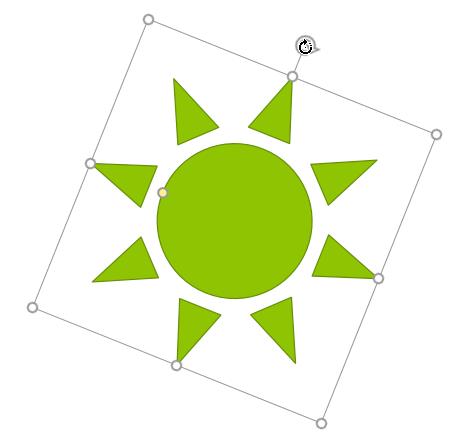
Handle Yellow : Some shapes have more than one yellow handle that can be used to customize the shape. For example, with the sun, you can change its scale.
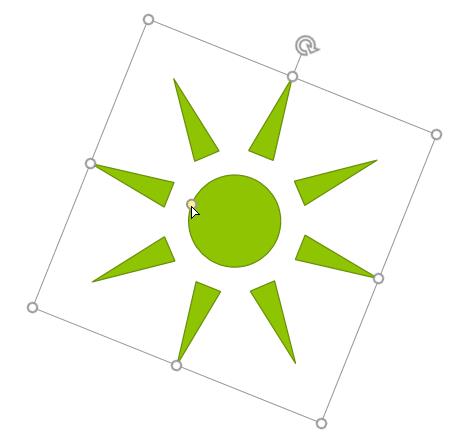
PowerPoint allows you to edit shapes and text boxes in a variety of ways to fit the needs of your project. You can change the shape, text box to different shapes, format style & color, add effects.
1. Select a shape style that allows you to apply preset colors & effects to quickly change the desired shape or textbox.
2. On the Format tab , click the More drop-down arrow in the Shape Styles group .

3. The menu of styles will appear. Select the style you want to use.
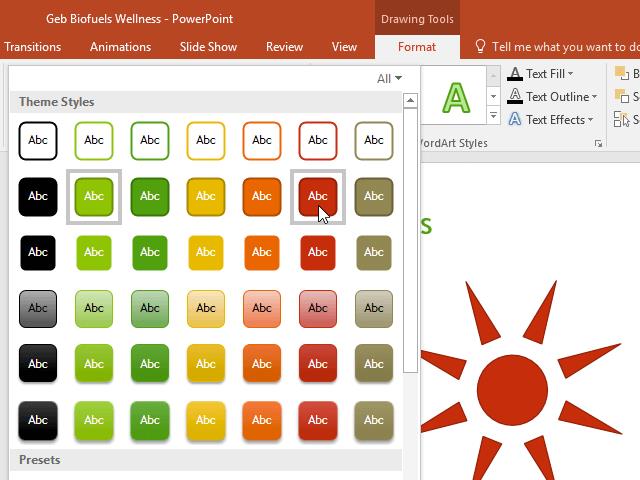
4. The shape or text box will appear as the style you want.
Select the shape or text box you want.
On the Format tab , click the Shape Fill drop-down arrow . The Shape Fill menu will appear
Move the mouse pointer over different colors. Select the color you want to use. To see additional options, select More Fill Colors .
The shape or text box will be filled with the color you want.
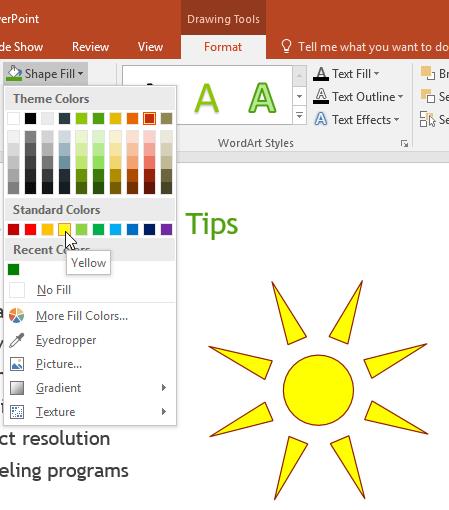
If you want to use a different fill style, choose Gradient or Texture from the drop-down menu. You can also choose No Fill to make it transparent.
Select the shape or text box you want to change.
On the Format tab , click the drop-down arrow next to Shape Outline to open its menu.
Select the color you want to use. If you want to make the border transparent, select No Outline .
The shape or text box will have the border color you want.
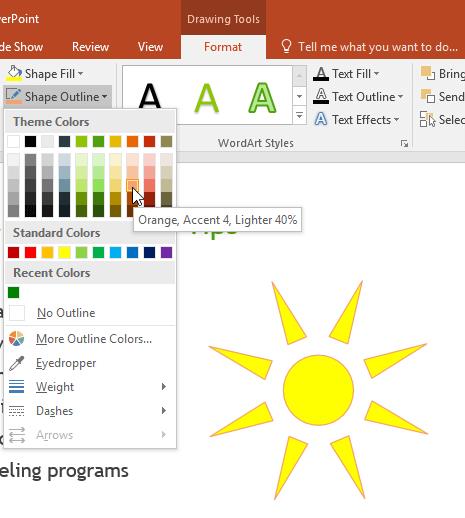
From the drop-down menu, you can change the color and thickness of the border, even if it is a dashed line.
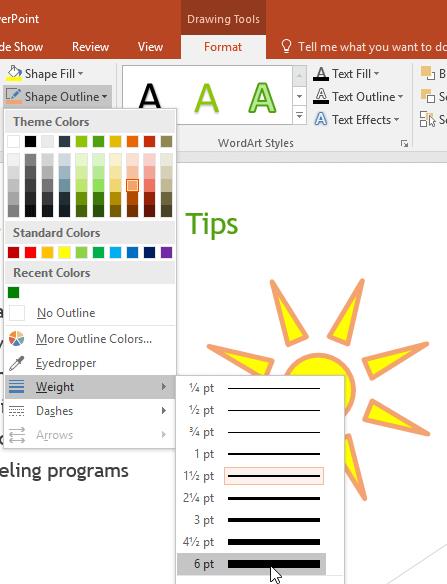
Select the shape or text box you want to change.
On the Format tab , click the Shape Effects drop-down arrow . In the menu that appears, point over the type of effect you want to add, and then select the desired preset effect.
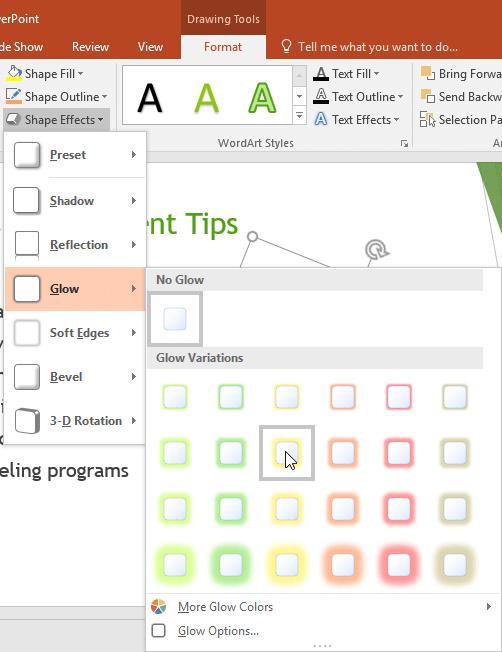
If you want to tweak the effect more deeply, select Options at the bottom of each menu. The Format Shape panel will appear, allowing you to customize the effects.
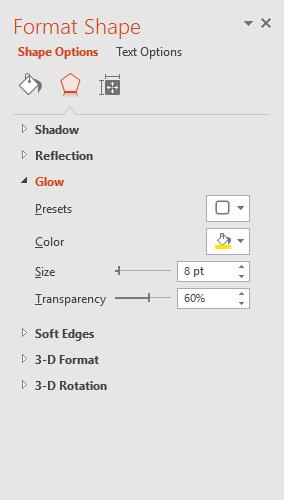
1. Select the shape or text box you want to change. The Format tab will appear.
2. On the Format tab, click the Edit Shape command . In the menu that appears, point to Change Shape and select the desired shape.
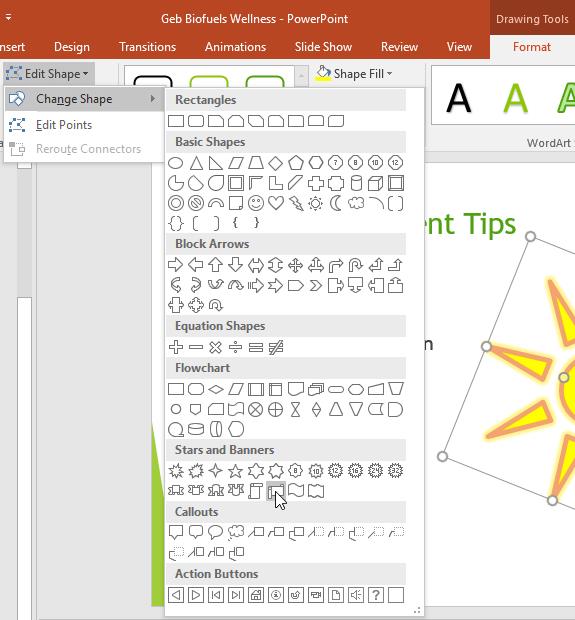
3. This new shape will appear.
Above are instructions for inserting and editing Shapes in PowerPoint . Hope this PowerPoint lesson is useful to you.
iPhone lists the full battery usage of applications, helping you know which applications use a lot of battery on your iPhone.
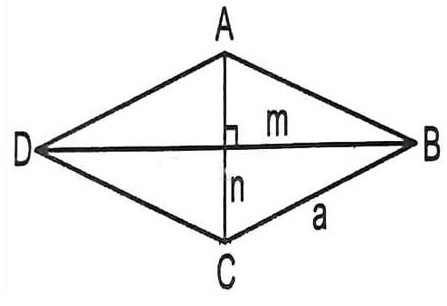
How to calculate the diagonal of a rhombus? Please find the calculation method and examples below to understand the formula for calculating the diagonal of a rhombus.
Kill Monsters to Save Princess, one of the longest named games in Roblox or shortened to Save Your Princess.
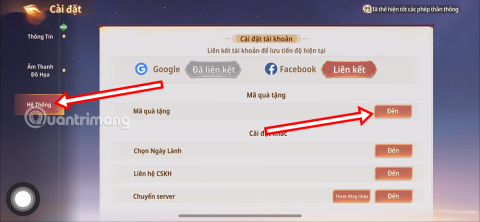
The latest Go Back to the West code will come with attractive items for you to exchange for rewards.
Download Blockman Go on PC to entertain you when your phone capacity is limited and the battery is low while playing.
Your PC ran into a problem and needs to restart and won't start? Here's how to fix it!
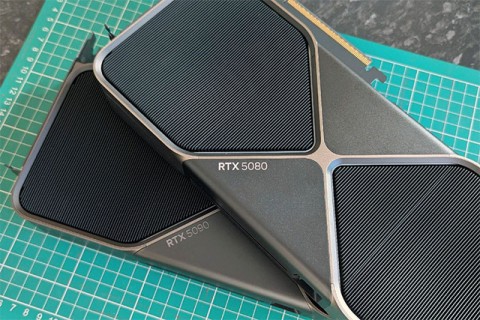
Even though the product has only been released for a short time, Nvidia RTX 5080 and RTX 5090 graphics card owners are complaining about a series of problems.
As a long-term support release, Ubuntu 20.04 LTS (Long-Term Support) will be supported with continuous updates for a total of 5 years, meaning it will reach end-of-life around April 2025.
Meow: Sen Oi Dung So gives gamers a series of codes with events for players to participate and receive rewards.
Code Super Snail gives players a series of attractive rewards, we still recommend players to receive rewards from the beginning of the game to make the time when starting the game easier.
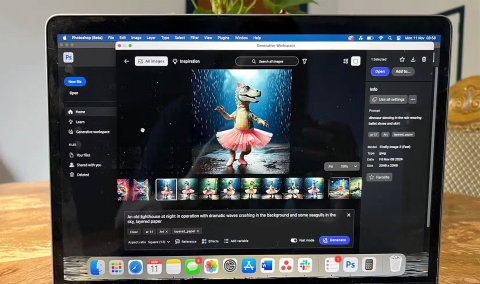
Generative Workspace is one of the top AI features announced at Adobe Max 2024. It will be the new home for your Generative AI images and files.
In fact, many people have thought that wifi password is a math problem with a series of formulas that take up several pages of paper and if you are blind in math, then forget it, you will definitely not be able to use wifi.
Insect eggs come in different shapes and colors. You can find brown insect eggs and more.
The winter solstice — the day marking the beginning of winter — occurs on the shortest day and longest night of the year. Here are some interesting facts about the winter solstice that you may not know.
The Coca-Cola logo is iconic on its own. But if you look a little closer, it contains something dear to the heart of the company—a nod to joy.
