Instructions on how to create animated GIFs with PhotoScape

When you surf the web, you see some very nice animations, but don't know how to create such funny and unique images? So is there a way to create GIF images that are both simple and effective?

So PhotoScape will be the perfect choice for you at the moment, this tool not only helps you edit photos easily, but can also create black and white photos and remove red-eye effect , and a lot of features. Other attractions. So you download PhotoScape and experience the interesting features that this software brings offline.

Today, Download.com.vn will guide you how to create GIFs from many images in the most detailed way with PhotoScape software, so that you can easily design unique GIF images to share with everyone. Please refer to the following article:

Instructions for creating GIF images from multiple images with PhotoScape :

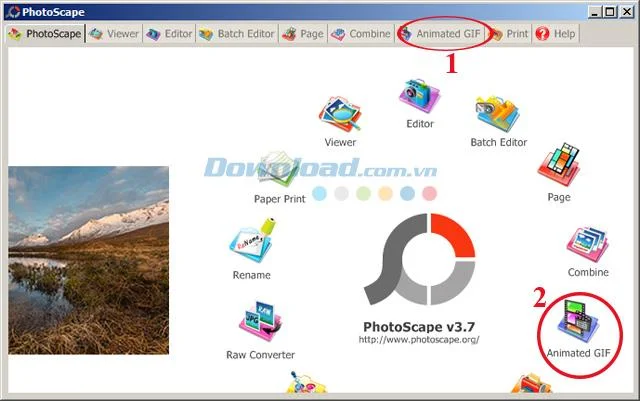
Step 1: Download PhotoScape and install it on your computer. After installation is complete, open PhotoScape , on the main interface of the software, click Animated GIF in the horizontal menu at the top or in the middle of the screen (as shown in the image below) to create an animation.

Instructions on how to create animated GIFs with PhotoScape

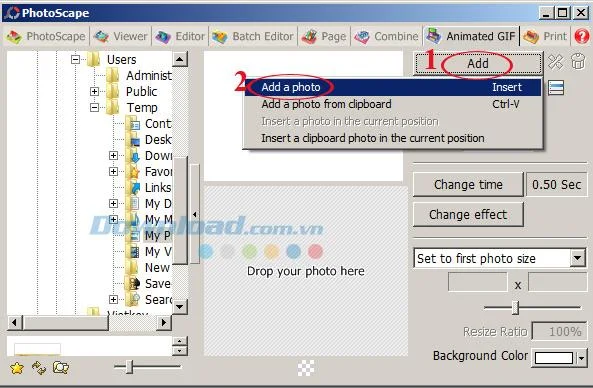
Step 2: Immediately after the animation creation interface appears, click the Add button in the upper right corner of the screen. Then, select Add a photo to add image files to.

Instructions on how to create animated GIFs with PhotoScape

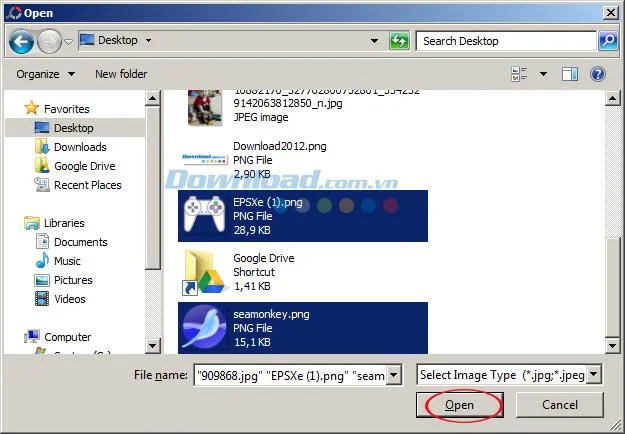
Step 3: Open Open window , navigate to the folder containing the image created earlier, then click Open to open.

Instructions on how to create animated GIFs with PhotoScape

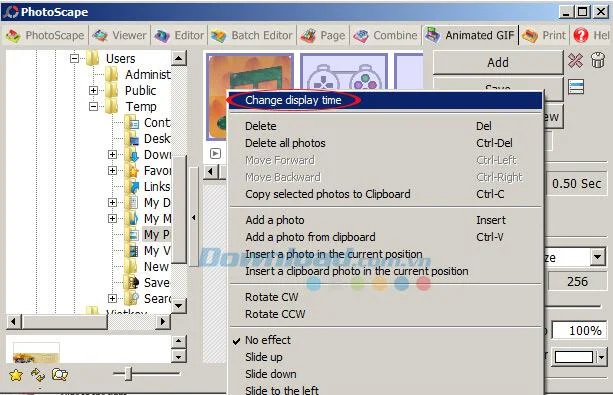
Step 4: Then you proceed to set the speed of displaying GIF images by right-clicking the selected image, and then selecting Change display time.

Instructions on how to create animated GIFs with PhotoScape

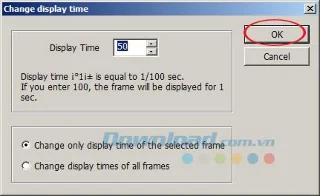
Shortly after the Change display time window appears, enter the display speed in the Display Time box . Also here you can tick the following box to:

  • Change only display time of the selected frame: Only change the display time of the selected frame .
  • Change display times of all frames: Change the display time of all frames.

Depending on the needs of each person, check the corresponding box. Then click OK to save the changes.

Instructions on how to create animated GIFs with PhotoScape

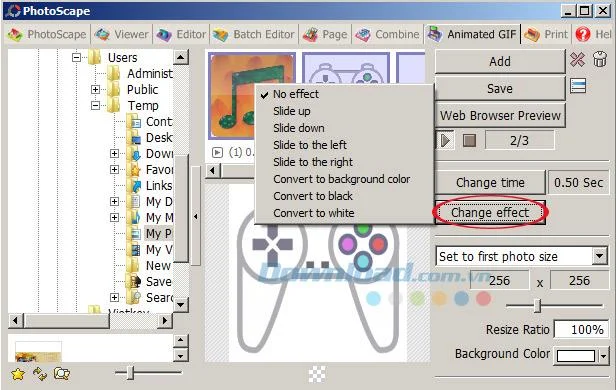
Step 5: If you want to change the effects for your photos, click the Change effect button in the right column of the screen. Here, some options will appear for you:

  • No effect: Do not add effects.
  • Slide up: Slide up.
  • Slide down: Slide down.
  • Slide to the left: Slide to the left.
  • Slide to the right: Swipe right.
  • Convert to background color: Switch to background color.
  • Convert to black: Convert to black.
  • Convert to while: Convert to white.

Depending on the needs of each person, choose a suitable transition effect.

Instructions on how to create animated GIFs with PhotoScape

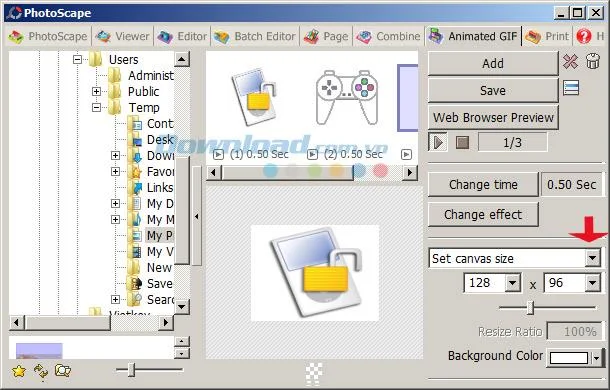
Step 6: If you want to resize an image, click the drop-down button (as shown in the image below) and select Set canvas size . Then type the size you want to change immediately below.

Instructions on how to create animated GIFs with PhotoScape

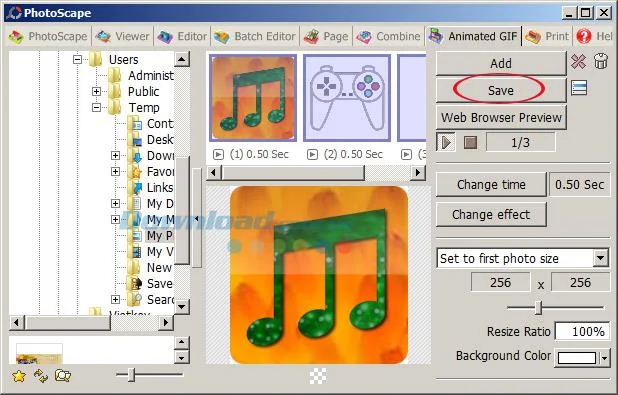
Step 7: After editing like that, then click the Save button to save the newly created animated GIF image.

Instructions on how to create animated GIFs with PhotoScape

So you've successfully created animated GIF already. It's simple right? If you do not want to install the software on your computer, you can refer to how to create GIF images online with the EZGif tool.
In addition, you can refer to some software: Beneton Movie GIF , Easy GIF Animator , Ulead GIF Animator ... to create and edit GIF images.

Video tutorial for creating GIF images with PhotoScape:

I wish you successful implementation!

Leave a Comment

Connect ONLYOFFICE Desktop Editors to Your ownCloud Files

Connect ONLYOFFICE Desktop Editors to Your ownCloud Files

Add your ownCloud account to ONLYOFFICE Desktop Editors, understand what the connection enables, and choose between direct access, sync, and browser editing.

Fix ONLYOFFICE Mobile Timeouts by Checking the Server URL

Fix ONLYOFFICE Mobile Timeouts by Checking the Server URL

Use the right portal or WebDAV address, test HTTPS reachability from your phone, and distinguish private-network, TLS, and login problems.

Enable ONLYOFFICE Desktop Plugin Development and Debugging

Enable ONLYOFFICE Desktop Plugin Development and Debugging

Build and test a custom ONLYOFFICE Desktop Editors plugin, install its .plugin archive, and activate developer tools for debugging.

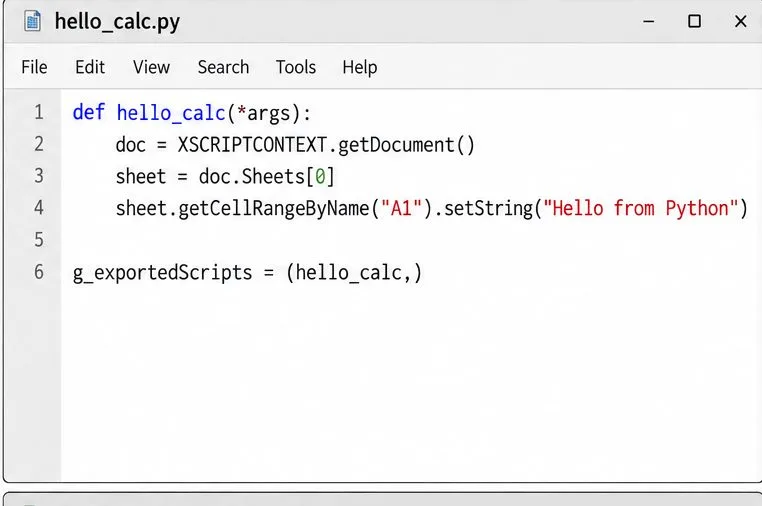
Run Python in Calc Through LibreOffice’s Macro System

Run Python in Calc Through LibreOffice’s Macro System

Make a Python function available in Calc, run it against the open spreadsheet, and troubleshoot missing macros or imports without mixing up LibreOffice and system Python.

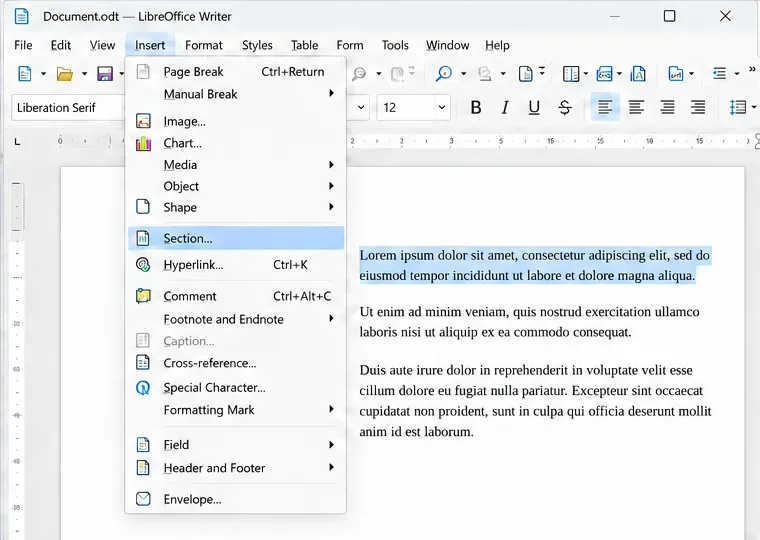
Protect Selected Writer Text with a Section Password

Protect Selected Writer Text with a Section Password

Lock a specific passage against routine edits while keeping the rest of a Writer document usable, and learn when file encryption is the better choice.

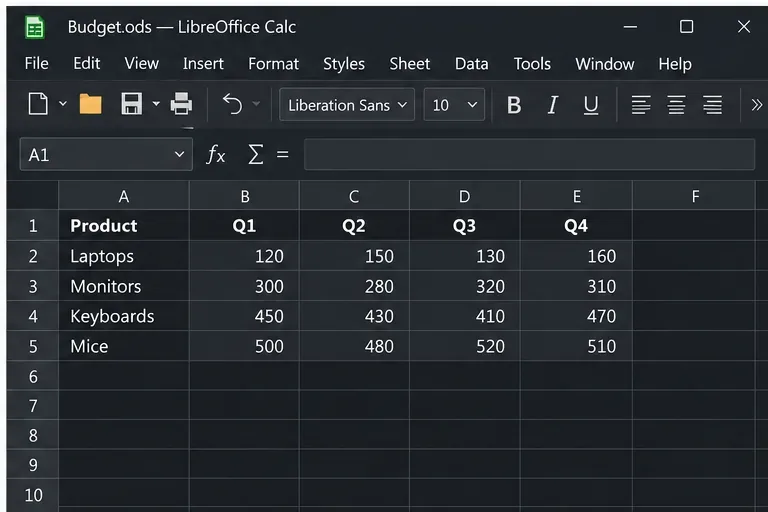
Make Spreadsheet Text Readable in LibreOffice Calc Dark Mode

Make Spreadsheet Text Readable in LibreOffice Calc Dark Mode

Fix hard-to-see spreadsheet text by checking the theme, cell font color, fills, and conditional formatting in Calc.

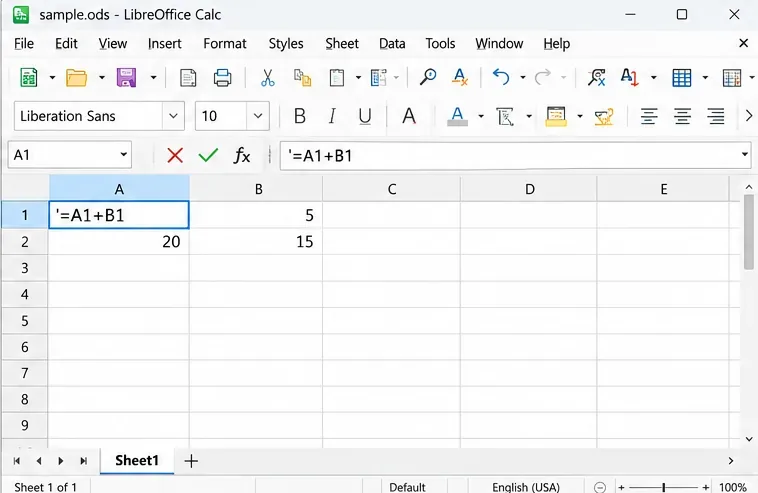
LibreOffice Calc Shows Formulas as Text? Restore the Results

LibreOffice Calc Shows Formulas as Text? Restore the Results

Learn why Calc shows formula text instead of calculated values and fix display mode, Text-formatted cells, apostrophes, or stale results.

Merge Writer Letters with a Logo and Spreadsheet Fields

Merge Writer Letters with a Logo and Spreadsheet Fields

Build a reusable Writer mail merge with Calc recipient data and a shared embedded image, then preview and save the personalized letters.

Limit Optional Diagnostics and Update Data in LibreOffice

Limit Optional Diagnostics and Update Data in LibreOffice

Turn off LibreOffice’s optional update statistics and crash-report prompts, then check what the settings cover and how to verify them.

Use Regex in LibreOffice Writer to Edit Text in Batches

Use Regex in LibreOffice Writer to Edit Text in Batches

Clean spacing, find structured text, and rearrange names with Writer regex patterns you can preview before replacing.