Guide to improving services and search in Edge
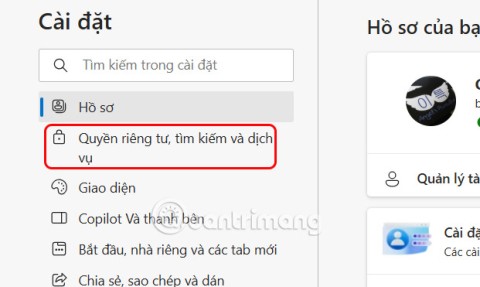
Search and service improvement is a setting in Microsoft Edge that lets the company use your web search data to improve your search and web experience.
Procreate is a great drawing app for kids on the iPad. Here's how to use Procreate for beginners .

Instructions for using Procreate
After downloading and opening Procreate, you will see a photo gallery to choose from. Click the icon +to create a new canvas. Here, you will see a variety of canvas size options available, but you can still create your own canvas if you want. Square canvases are easily shared on most platforms. Therefore, the article chose it for this basic guide.

After clicking on the canvas, you will see a toolbar in the bottom left corner. This toolbar controls your brushes. The bar at the top controls the size of the brush, while the slider below adjusts the opacity of the brush. You can try every opacity and layer strokes with different colors to get the best overlay effect.

Procreate has many brush styles available. You can access them by clicking the Brush icon in the top right-hand corner. Each category gives different brush strokes. You can also download and design your own brush strokes.

Occasionally, you can take inspiration from other paintings when painting. Instead of going from the Procreate app to the image container, you can import it to the canvas. First, click on the wrench icon in the top left corner. It will open the options menu. Click additional options (+). Below you'll see some tasks, including inserting pictures.
You can insert photos from Gallery on iPad or downloaded from the Internet or previously taken photos by clicking Insert a Photo . You can also use Procreate to take photos by clicking Take a photo .

Layers are considered the most important and useful tool of Procreate. To add a layer, click the icon of 2 overlapping squares in the upper right corner. You need to pay a little attention to the order. The top layer will cover all the layers below.
We usually create a layer each time we add a new color to a painting, but you can also add a new layer for each shape so you can move and manipulate it as you like.
You can also hide layers by unchecking the box next to that layer or change the way layers interact with each other by pressing N next to that layer.

The right-hand corner of Procreate has a filled circle. You can click on it, then choose the brush color.
You can also select a color from within the canvas or imported photo by holding your finger on a spot on the screen until a circle of that color appears. Drag the circle to the color you want to select on the screen.

You can quickly fill large closed shapes with a color by pressing the color button in the upper right corner and dragging it to the desired shape. This color will look like a circle while you drag, but when you release it, the shape below it will be colored. If the color fills the entire canvas, there is an opening somewhere in the shape. You can undo, close the shape, and try coloring again. You can work on each drawn shape.


Above is a guide to using Procreate for beginners . Hope the article is useful to you.
Search and service improvement is a setting in Microsoft Edge that lets the company use your web search data to improve your search and web experience.
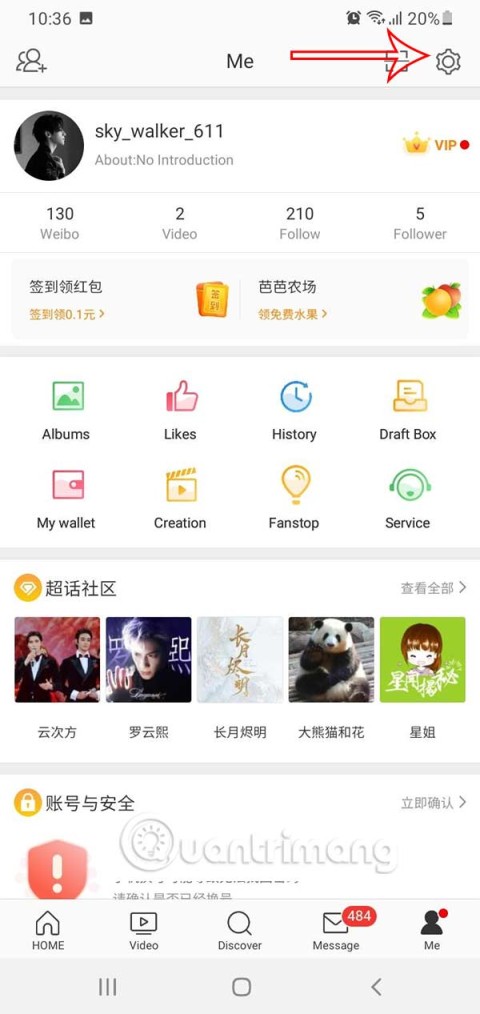
Weibo accounts also have options to edit the account, such as changing the Weibo password. Here are instructions for changing the Weibo password.
Claude AI now allows you to choose from a variety of text writing styles so users get the text they need.
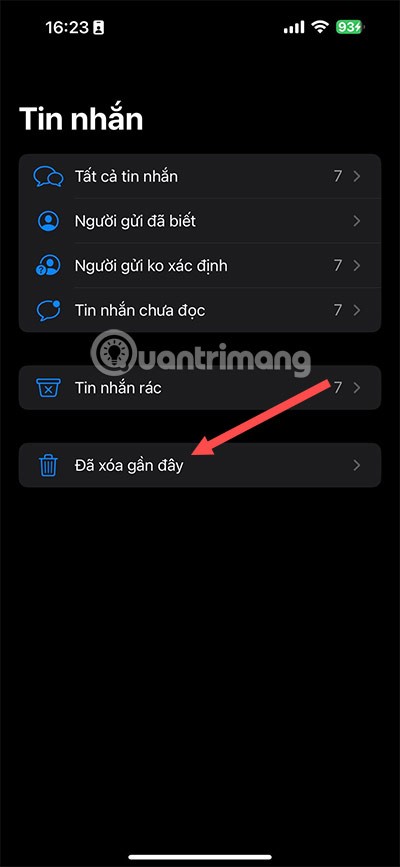
There are several ways to recover deleted messages on iPhone, using iCloud, using iTunes, and using third-party apps.
For notes with a lot of content and many topics, the option to collapse the note content on iOS 18 helps you observe the content more easily.
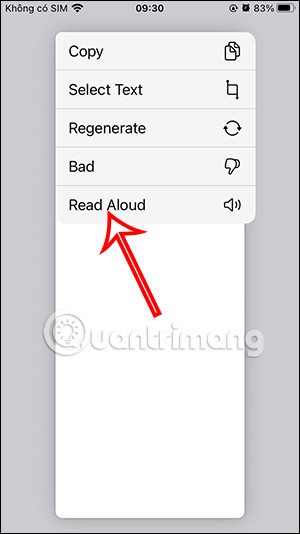
After supporting you to chat by voice on ChatGPT, this AI tool has also updated the option to read responses with many supported languages.
Instead of “bombarding” your friends' messages with dozens of screenshots, you can take a scrolling screenshot and send it.
Hardware Acceleration in Chrome helps smoothen all operations on the browser. If Chrome is having trouble using it, you can turn off Hardware Acceleration.
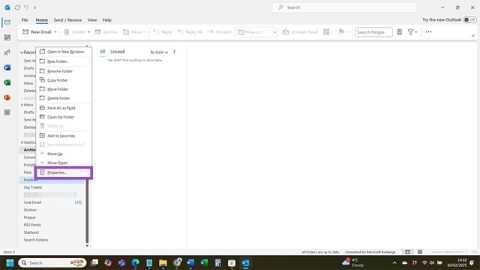
Outlook interface makes many people have difficulty in using, such as the AutoArchive feature is missing on Outlook. Below are some ways to fix the error of missing AutoArchive on Outlook.
ChatGPT continues the trend of creating dollhouse models, alongside the recently emerging AI toy box model. The dollhouse model is quite similar to the AI toy box, also modeling the subject's occupation.
AnimeVsub is a popular anime video viewing app. Here are instructions on how to create an anime video playlist on AnimeVsub.
Gemini has been integrated into the Google Search app so users can use it right away, searching for more in-depth content as they wish.
Every month, Lien Quan Mobile also launches different events to help players receive cool skin sets completely free of charge. Let's explore this month's free skin event right away.
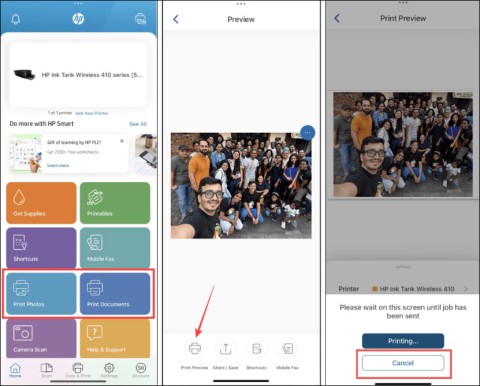
All documents that are ordered to be printed together form a print list on your iPhone so you can manage that list.
Do you want to share your beautiful moments while playing Lien Quan? Let's learn how to quickly record Lien Quan videos.
