How to create a shared reminder list on iPhone
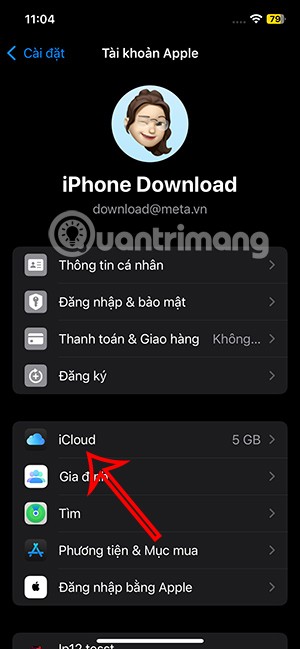
When you create a list on the Reminders app, you can share it with others so they can read it together, such as sharing among family members.
Bitcoin Core has been evolved into a reliable, fast and feature-rich Bitcoin wallet and added with many new features every release. It is known as the first Bitcoin wallet, formerly known as Bitcoin-Qt, has matured over the years.
Download Bitcoin Core for Mac
Bitcoin Core is the most trusted Bitcoin wallet, security aspects rely on the security of server operating systems, network equipment and the usage behavior of devices in the internal network. If you are new to Bitcoin Core wallet and do not know how to use it, the following article will show you how to set up Bitcoin Core and how to make a first Bitcoin transaction in Bitcoin Core.
You need to meet the following requirements to set up a Bitcoin Core wallet:
You download Bitcoin. It will automatically create folders where the blockchain is stored. If you have installed an older version of Bitcoin Qt or Bitcoin Core, simply update your files. You should still back up the wallet.dat file before upgrading.
The first load process will take quite a while. It downloads all previous transactions, which are over 100 GB in size. Depending on the speed and broadband connection of the computer, the load time may vary. Older computers may take days or weeks, while newer and newer computers will process faster.
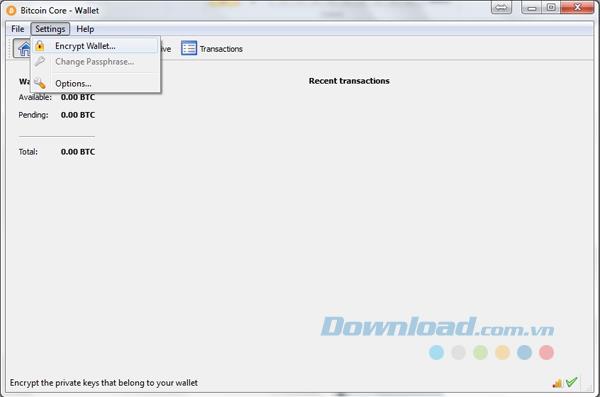
Do not send Bitcoin quickly, please set the password first by clicking on Settings> Encrypt wallet , then enter the password. Once set up, you cannot break or hack if you lose the set password. You need to choose a strong and long password that contains both uppercase and lowercase letters as well as special characters. Do not use words or sentences even if they seem safe and unique to you. In addition, you should not store passwords in digital form on any phone or computer. Write it down and store it somewhere safe. Without the password you will lose all access to the bitcoin in your wallet forever. After the password has been set, the application will shut down. Remember not to interfere with the process, otherwise the wallet and blockchain will be downloaded and the wallet will be destroyed.
Now your wallet is encrypted and the password is stored securely. No one can access your bitcoin storage wallet without a password, not even a hacker. But always remember to run security software, scan your computer to make sure your device is not infected.
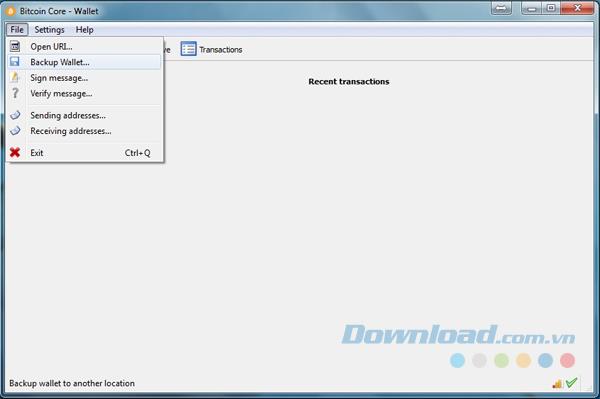
You back up your wallet by going to File> Backup wallet . You will then be asked where you want to store the backup. The wallet.dat file will hold all of your personal wallet information, including automatically generated unique Bitcoin addresses and private keys. Reusing an address after a transaction is not recommended because it is a security hazard. Send the remaining data after the transaction to a new wallet, linked to a new private key. The private key is a specification in bitcoin. A private key is automatically linked to a bitcoin address and both are unique, generated for you. No one can break or recreate it.
Bitcoin transactions are always public and visible to everyone in the blockchain transaction displaying the website. Never store your private key or even import it into any device if it's not needed.
Because the private key is the universal key to moving Bitcoin out of your Bitcoin address to any wallet, you also need to back it up on paper, just as securely as you did with the secret phrase. wallet. First you need to unlock your wallet with a password, then go to Help> Debugwindow> Console and enter:
walletpassphrase yourpassword 10
Yourpassword represents the password you have previously set. Number 10 is the amount of time you want your wallet to unlock. As soon as the wallet is unlocked, Bitcoin in the wallet can be sent without entering the password again.
Then you enter:
dumpprivkey yourwalletaddress
Yourwalletaddress is the address to receive bitcoin. You search for wallet addresses by going to File> Receiving addresses . Copy this address and paste it into the control panel later. This shows the private key of an address in your wallet, if you have more than one address, you need to perform this process for each one. This command can be used only to display the private key for a specific wallet address. And the private key shown after that can only be used to restore access to bitcoin in that address.
If you need to enter a private key then enter:
importprivkey yourprivatekey
Yourprivatekey represents the private key you backed up. After executing this command, it will take some time to search through the entire blockchain of transactions that happened to the address associated with the private key you just entered. Let it load. Once completed, you will find your entered address in the address window ( File> Receiving addresses ).
You can add the recipient's label and address in File> Sending addresses . Bitcoin addresses can be changed, especially for individual individuals, as it is recommended not to reuse an address twice and send the balance to the new address with a new private key associated. with it.
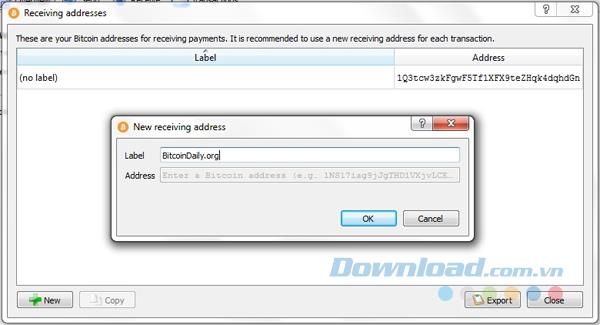
If you purchased bitcoins from a converter or a specific person, you can send bitcoins to your wallet by going to File> Receiving addresses , copying the address you want to transfer bitcoins and pasting it into your exchange form. you or give it to the person you buy bitcoin from. Please make sure you have backed up the private key of the address as mentioned earlier. You can see if it's ready to be sent to the next wallet address by going to Transactions , which displays the confirmation status on the left.
The recipient's address is the Pay to field , you can also click on the Contacts button on the right side to display your saved addresses. If the address is not in the address book, you can put an address label under the Label , then it will be added to the address book after the transaction has been successfully completed.
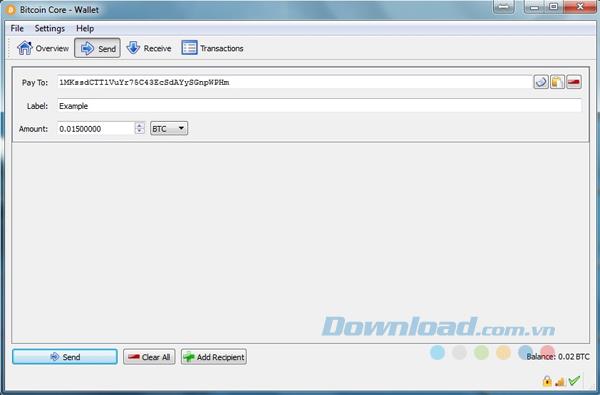
The Amount field is where you enter the amount you want to send. You can deposit 10,000,000 bitcoins or part of bitcoin or any number you like.
Your transaction has been successfully submitted for a fee that complies with the current fee requirements. You can slide the Confirmation time button bright left or right to lower or raise the fee. The higher the fee, the faster your transaction will be confirmed. Do not set fees too low or too high. 0 confirmation means that bitcoin has not been sent to the recipient yet, 1 confirmation means that bitcoin has been sent.
Please double check the entire amount and address of the recipient, then click the Send button .
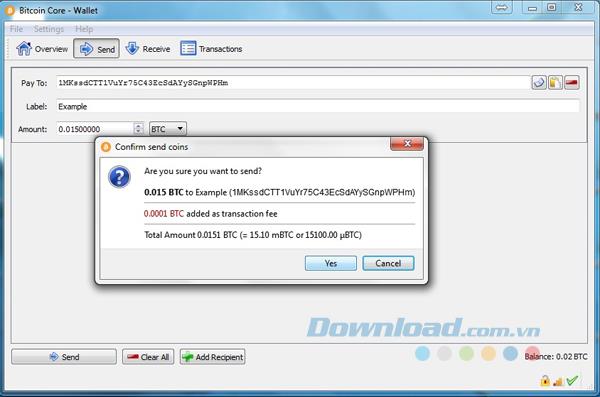
After clicking the Send button , you will be asked to enter the password if the wallet is locked. Enter the password if you are sure that the system is completely clean. Finally, click Yes to confirm the transaction. Remember that once a transaction has been made, you cannot get a refund.
When you create a list on the Reminders app, you can share it with others so they can read it together, such as sharing among family members.
The exciting new Dynamax feature is here in Pokémon GO. Here's what you need to know about how to Dynamax and Max in Pokémon Go.
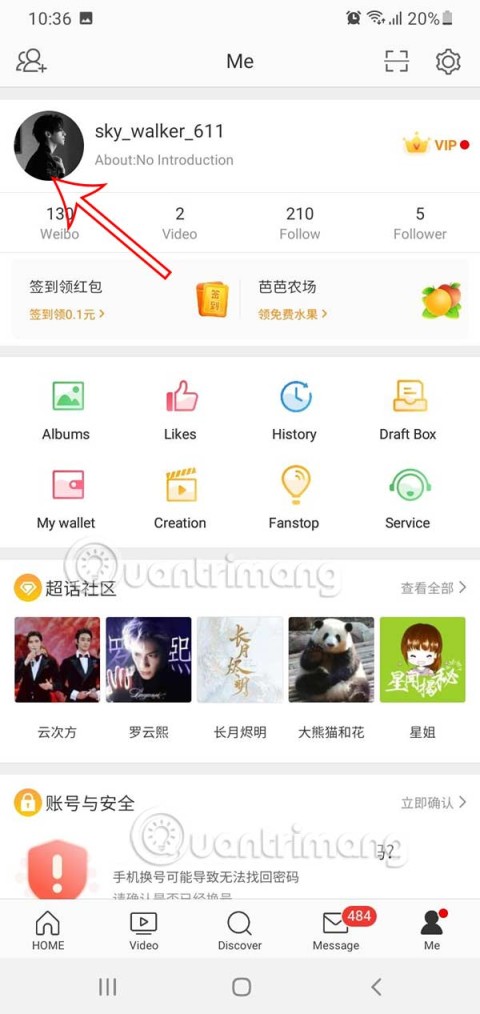
Weibo social network also has the same setting options as other social networking applications such as changing Weibo account password or changing account name to a new name you like.
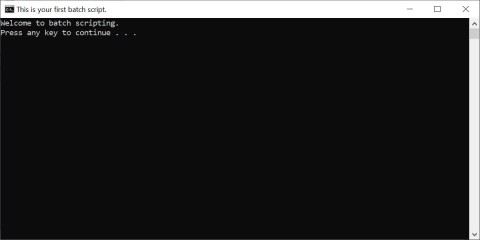
Batch files are a way for computer users to get work done. They can automate everyday tasks, shorten the time it takes to do something, and turn a complex process into something anyone can operate.
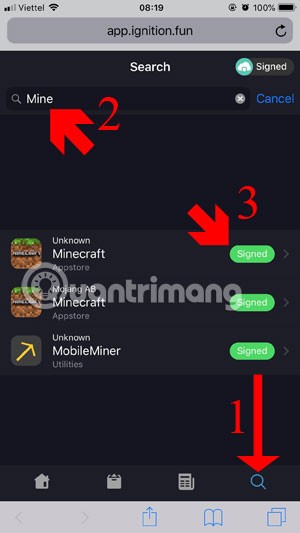
With the instructions in the article you can download and install Minecraft for free on iPhone/iPad
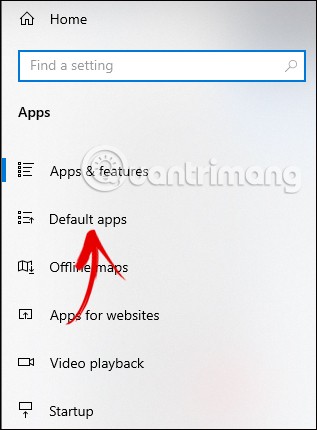
There are many different ways to change the default PDF reader on Windows 10, helping you get the PDF reader on your computer as you like through PDF reading software or even reading PDF files using a browser.
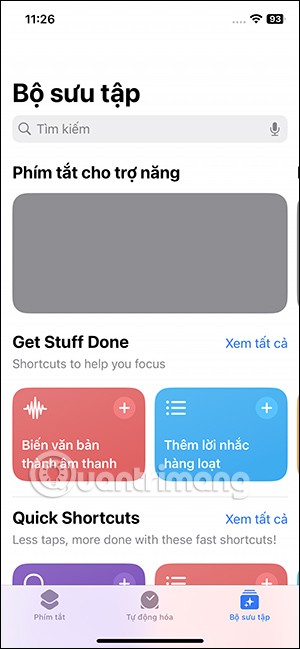
The Shortcuts app on iPhone has a shortcut to convert videos to GIFs with very simple operations.
Numerology reveals exactly what's in your name. From destiny to soul path, here's how to calculate your numerology chart based on your name.
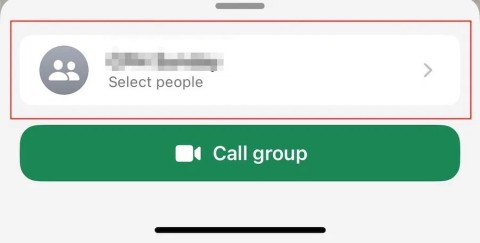
WhatsApp has been updated with a new feature to select video callers in groups, no need to make a call with all members in the group. Here is a guide to select video callers in WhatsApp groups.
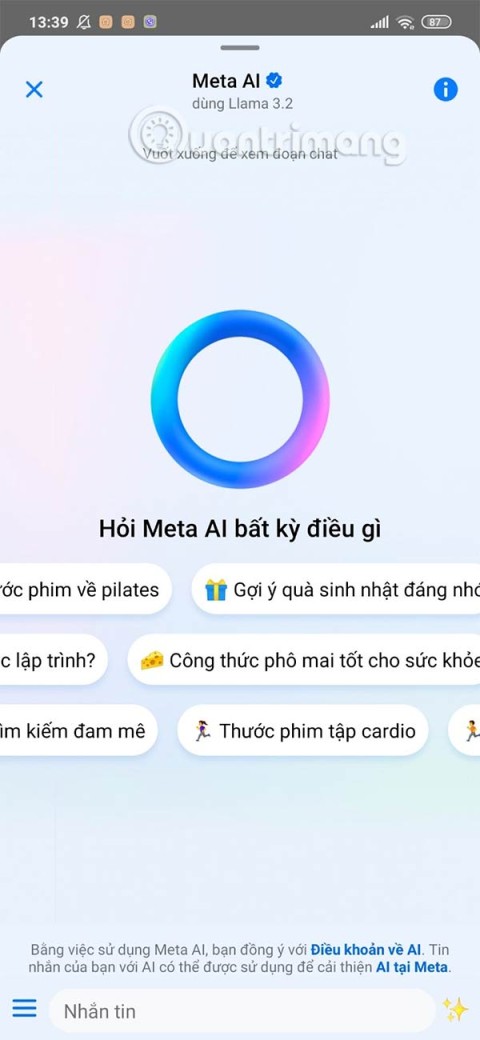
Meta AI has been updated on Messenger for you to experience this chatbot, interact with the chatbot for any issue you care about.
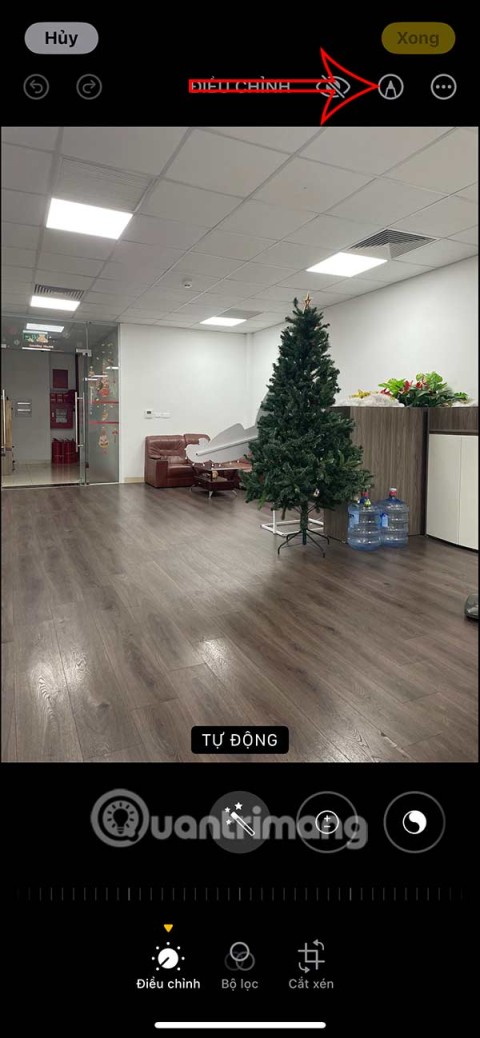
If you have a personal photo that you want to cover some information or even a certain image, you can insert stickers into the photo on iPhone.
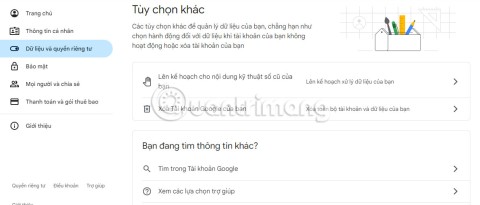
For some reason, you no longer want to use your current Google account, and want to completely delete it. So how can you permanently delete your Google account?
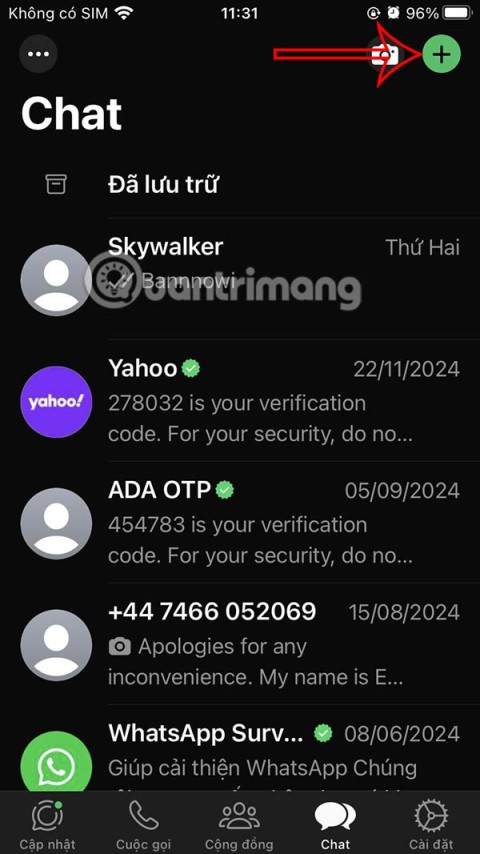
You can now chat with the official ChatGPT on WhatsApp without resorting to third-party chatbots.
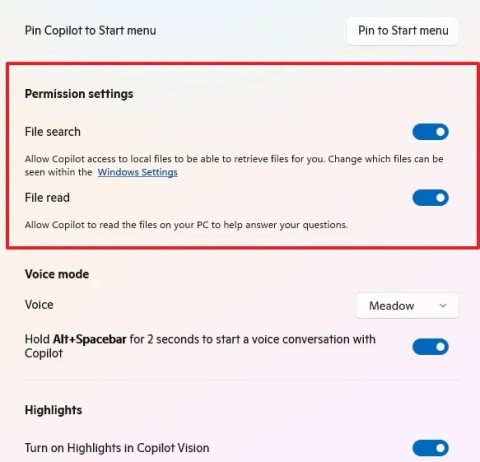
On Windows 11 you can now use the Copilot app to find, open, and ask questions about files stored on your computer.
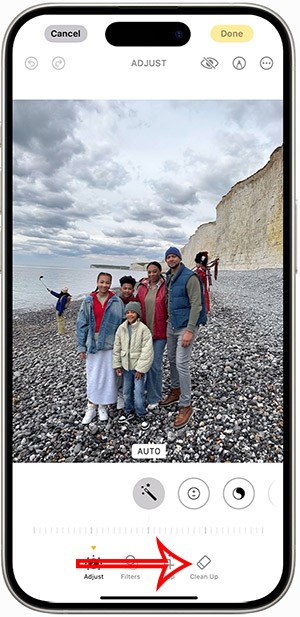
iPhone 15 and later after upgrading to iOS 18 are equipped with new Apple Intelligence technology, capable of removing objects in photos via the Clean Up tool.

