Restore Collabora CODE Settings Without Losing Deployment Changes
Back up coolwsd.xml and its deployment sources, restore them safely, and verify CODE before users return to editing.
Chinese is a language that many young people study today. In order to learn the language well, in addition to studying at the centers, there have been some friends who have found and talked to some Chinese people via social networks such as Facebook , Weibo , ... But to do that, my keyboard must have Chinese language installed.
To be able to type Chinese on the computer, we first need to reconfigure the language for the keyboard. Today we would like to introduce the article on how to install the Chinese keyboard on your computer , please refer.
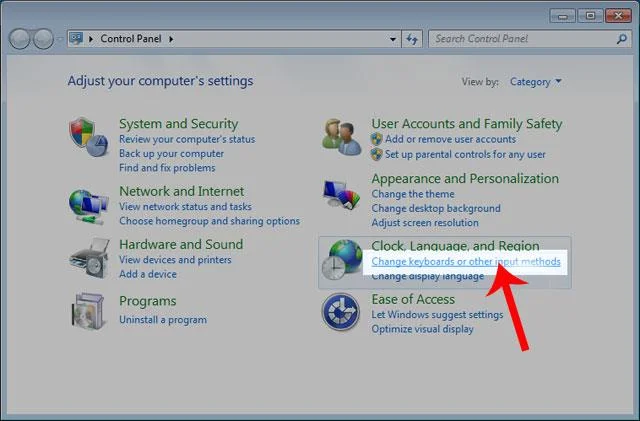
Step 1: Open the Control Panel dialog box on the computer.
Step 2: Click the words Change keyboards or other input methods at Change keyboards or other input methods .
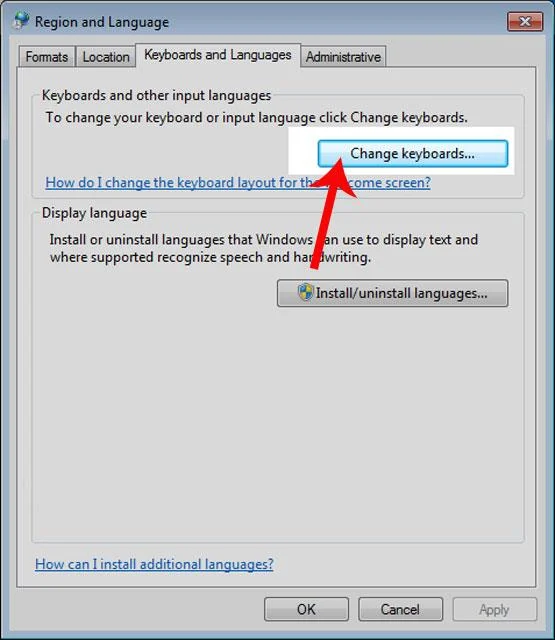
Step 3: The Region and Language dialog box appears, click the Change keyboards button ….
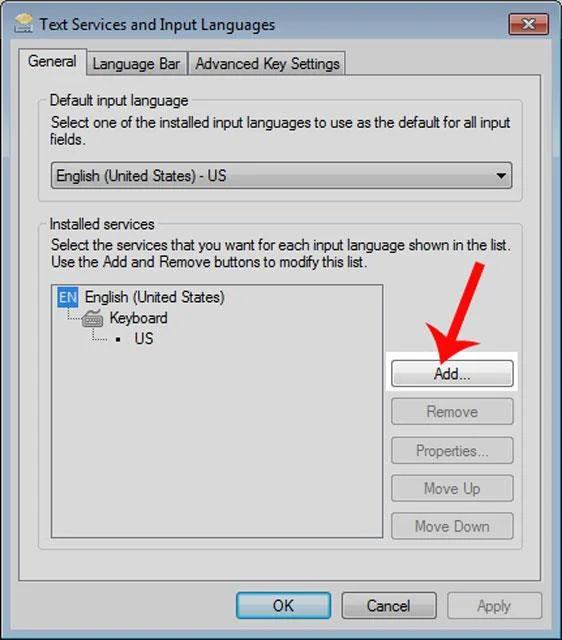
Step 4: Click the Add ... button , to add a new keyboard.
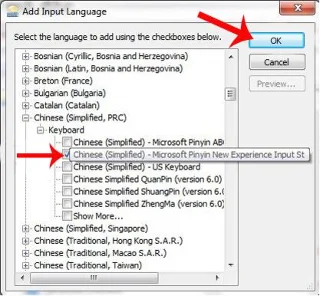
Step 5: Find the Chinese language , then click on Keyboard .
Step 6: Tick the box Chinese (Simplified) - Microsoft Pinyin New Experience Input St , and then click OK .
Step 7: Go back to the Text Services and Input Languages dialog box and click Apply .
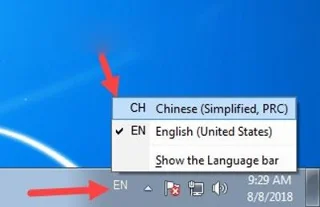
Step 8: Finally, click the language icon on the Taskbar and choose Chinese .
Step 1: Open the Settings (Settings) on the computer up.
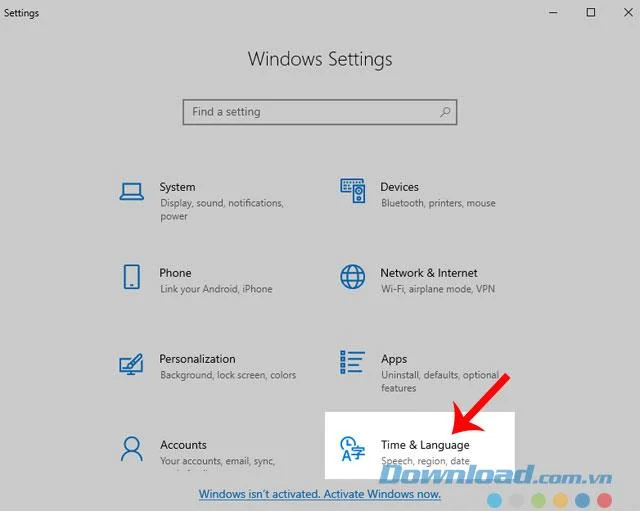
Step 2: In the device's Settings dialog box , click Times & Language .
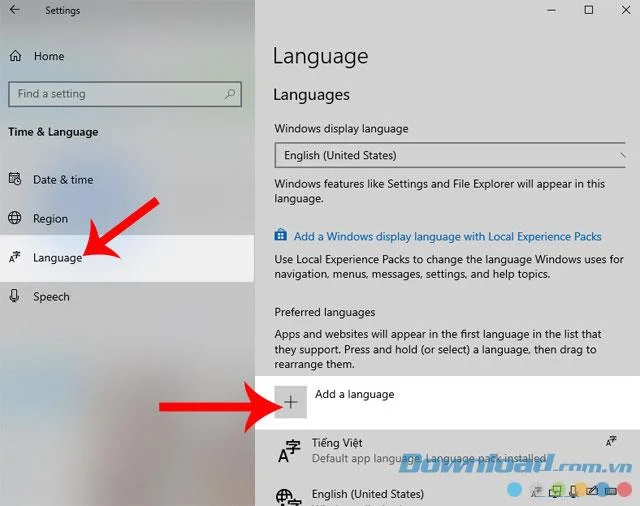
Step 3: Next, click on Language .
Step 4: Then, click the plus sign in the Add a Language section .
Step 5: Scroll down to find and select the Chinese language (Simplified, China) .
Step 6: Click Next to download this language to your computer.
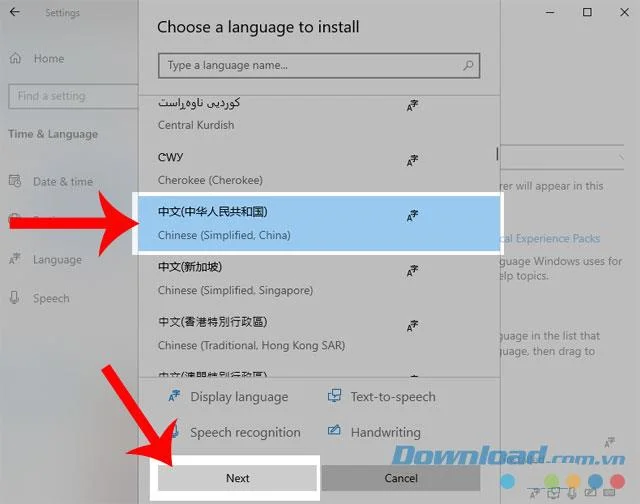
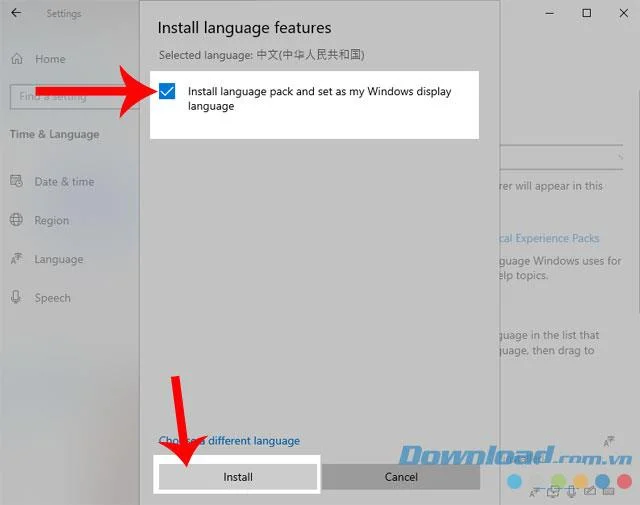
Step 7: Uncheck the Install language pack and set as my Windows display language, then click the Install button .
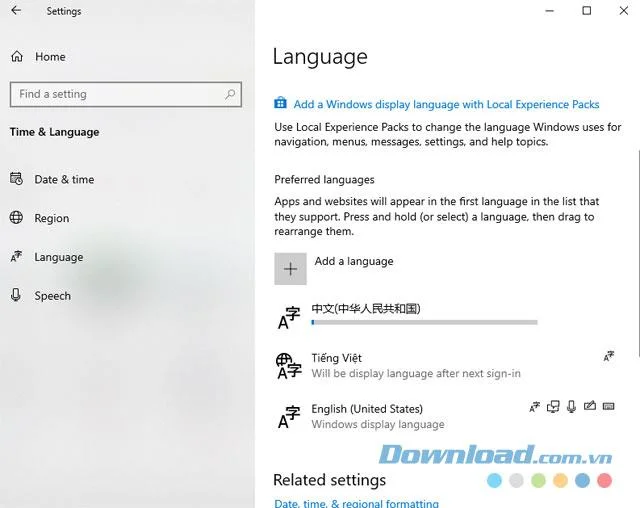
Step 8: Wait a while for the computer to download this language.
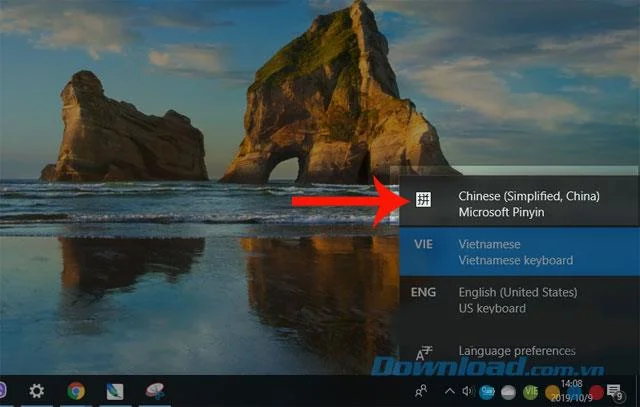
Step 9: In the Taskbar , click the language icon , then select Chinese .
Above is the guide to install Chinese keyboard on your computer, we hope that after following the steps in this article, you can freely write text and messages in this language.
In addition, you can also refer to some other articles such as:
I wish you successful implementation!
Back up coolwsd.xml and its deployment sources, restore them safely, and verify CODE before users return to editing.
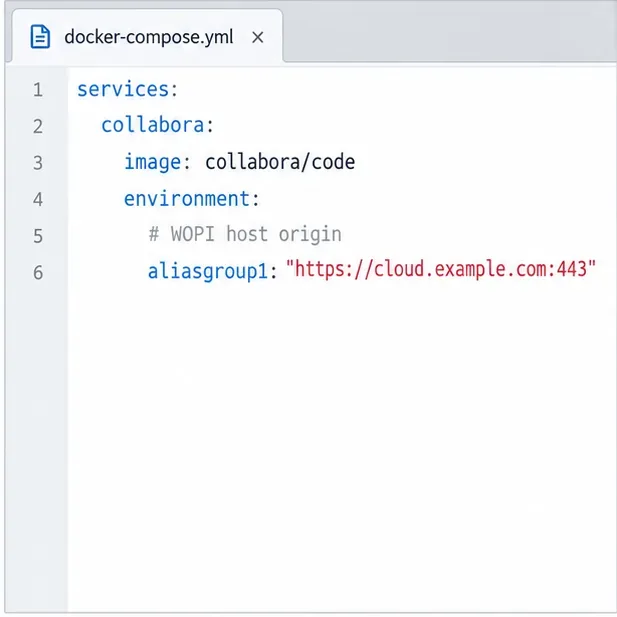
Allow the exact Nextcloud or other WOPI origin in CODE, then verify the active host allow-list and distinguish it from Nextcloud’s source-IP restriction.
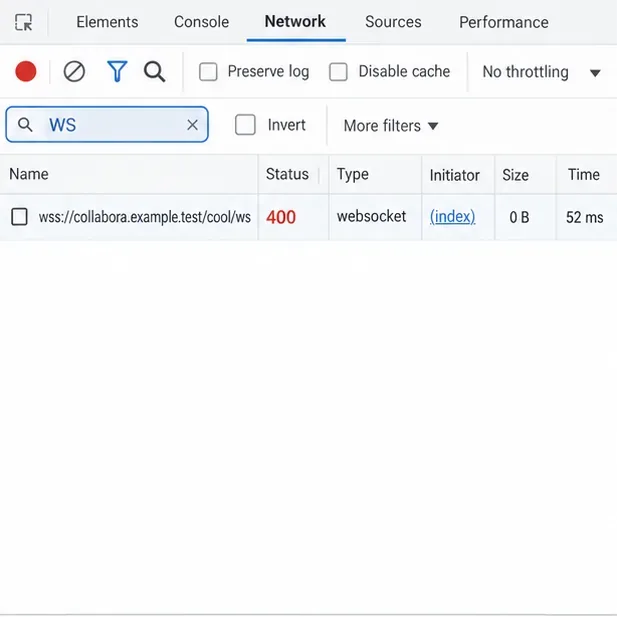
Trace Collabora’s browser, WOPI, and WebSocket connections to find why a document will not open, then apply the fix that matches your Nextcloud setup.
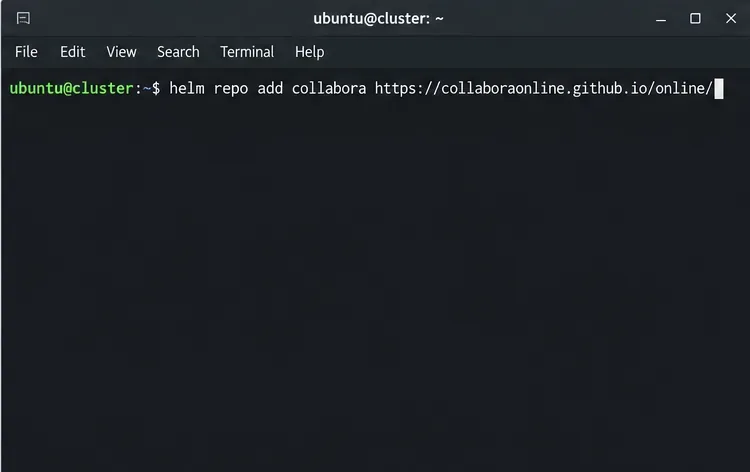
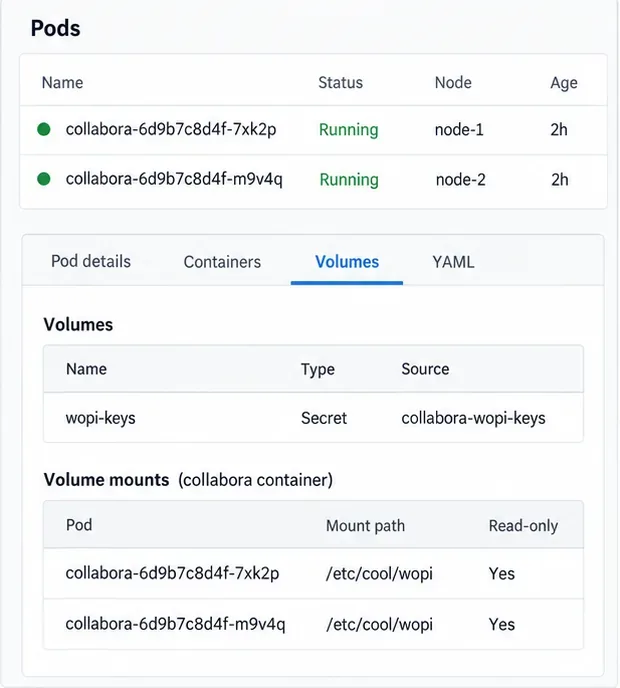
Deploy Collabora CODE replicas with Helm, keep each document on one pod through WOPI affinity, and verify ingress, node placement, and Nextcloud editing.
Trace a failed socket handshake from browser to coolwsd, then match the reverse-proxy route to your Collabora version, including the CODE 26.04 Apache change.
Trace Collabora WOPI proof failures to mismatched keys, stale discovery data, clock drift, or proxy URL changes—without weakening validation.
Reset browser zoom, test a clean session, and identify when a malformed size menu needs a Collabora server update.
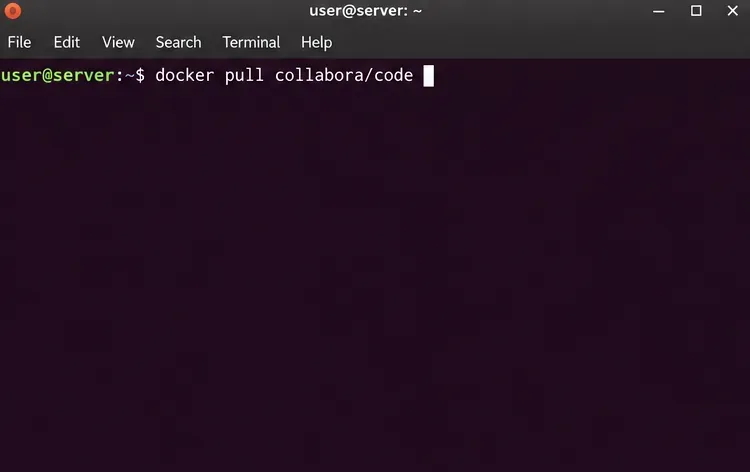
Deploy Collabora CODE with Docker, connect it securely to Nextcloud Office, and verify document editing with practical WOPI and proxy checks.
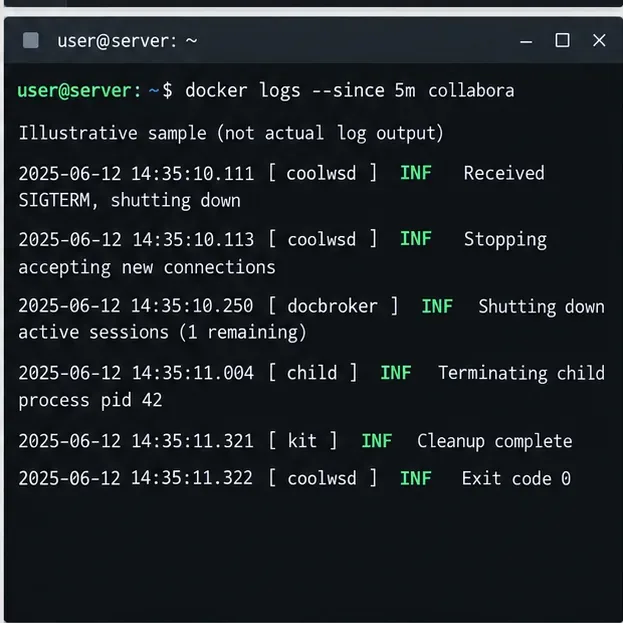
Temporarily raise coolwsd to debug, capture one failed open, and use the log sequence to separate WebSocket, WOPI, proxy, and container issues.
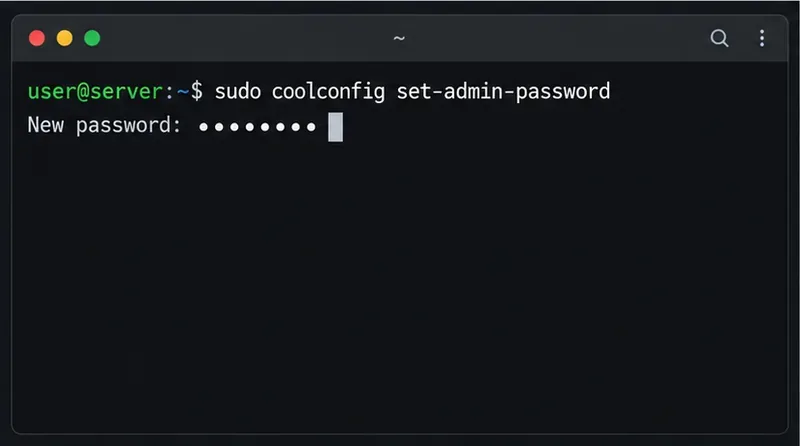
Configure the Collabora Online admin login for Docker or Linux, restart the right service, and verify the new password without exposing it.