Restore Collabora CODE Settings Without Losing Deployment Changes
Back up coolwsd.xml and its deployment sources, restore them safely, and verify CODE before users return to editing.
Shopee is one of the most used online shopping applications today. When using the app to make a purchase, we first need to set up a shipping address, which will help the shipper quickly bring the ordered item to your door.
During the purchase process, we are not always at a fixed location to receive the goods, so in order for the shippers to quickly bring items to their door, Shopee allowed it. The user adds a new shipping address. Here we invite you to follow the article to guide people to add shipping addresses on Shopee .
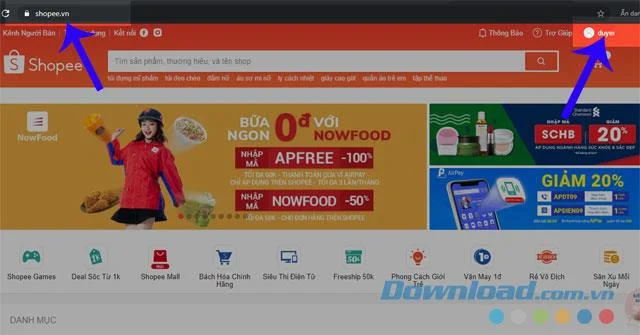
Step 1: First, visit Shopee's website in the browser by clicking the download button below:
Step 2: At the home page, click on your shopee account name in the upper right corner of the screen.
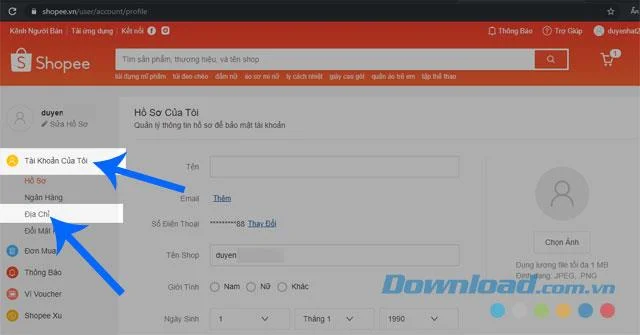
Step 3: Next, click on My Account.
Step 4: Now your account information will be displayed, click on the Address .
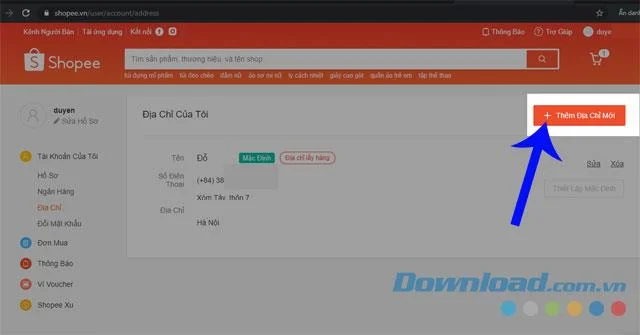
Step 5: Here, there will be the shipping address you have set up earlier, click the Add new address button to add the destination.
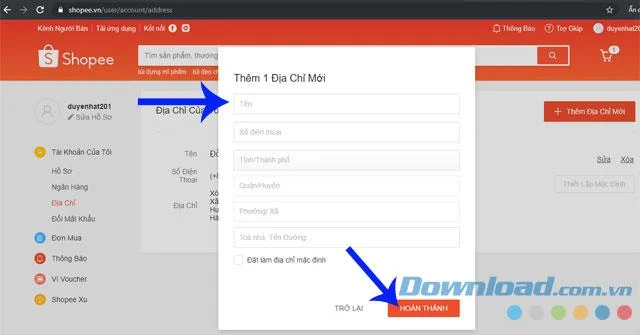
Step 6: Now fill in your information and the new shipping address, then click the Finish button .
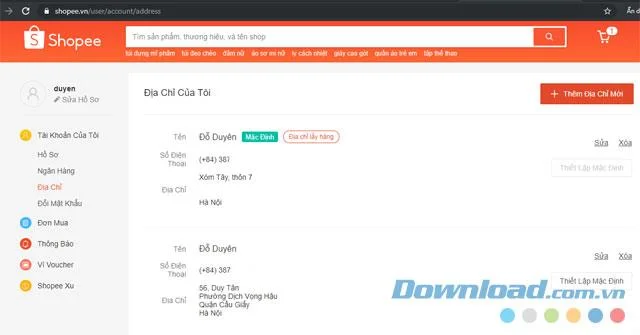
Step 7: After completing the above steps, at this time our account will have a new shipping address.
If you do not want to add your shippingee's address to your computer by using a computer, you can follow these steps to add a new address with your phone.
Download Shopee on Android Download Shopee on iOS
Step 1: First, you need to open the Shopee app on your phone.
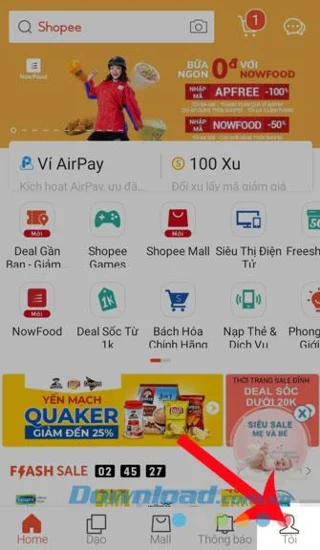
Step 2: At the main interface of the application, click on I in the lower right corner of the phone screen.
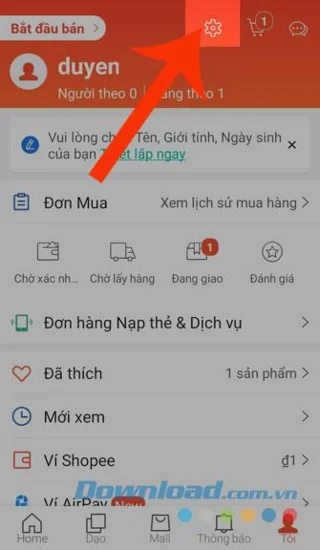
Step 3: Then, click the Settings icon at the top of the screen.

Step 4: Select the Address section .
Step 5: At this time, the screen will display the address that you have set before and want to add another address, click on Add new address .
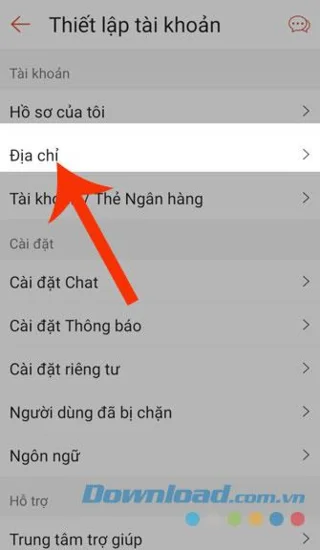
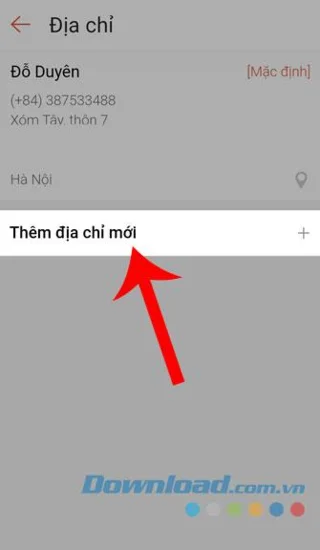
Step 6: Complete your information and specify a new address, then click the Select button at the bottom of the screen.
Step 7: Now, your Shopee account will have two shipping locations, if you want more then repeat the steps above.


Video instructions on adding shipping addresses on Shopee
Hopefully after you complete the steps to add a new delivery address on the Shopee above, you will be assured that the ordered item will be delivered to any location you want.
In addition, you can also refer to a number of other articles such as: Instructions for recovering Shopee passwords , How to sell on Shopee: posting products, fixing products , Shopping guides on Shopee , ...
I wish you successful implementation!
Back up coolwsd.xml and its deployment sources, restore them safely, and verify CODE before users return to editing.
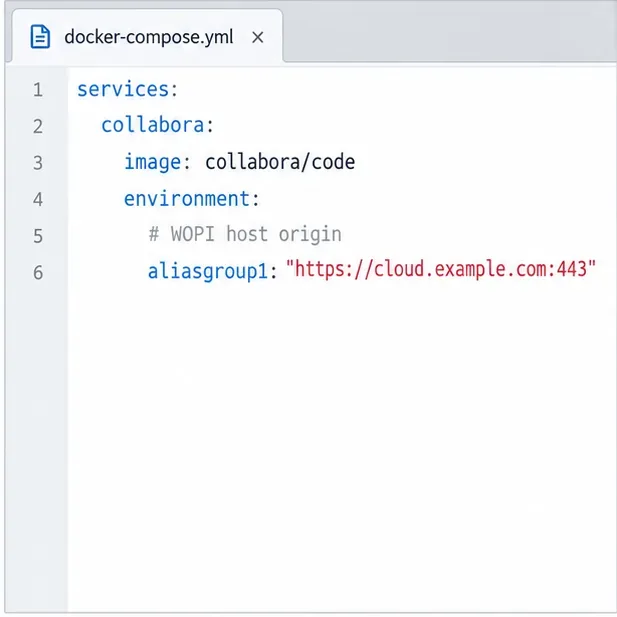
Allow the exact Nextcloud or other WOPI origin in CODE, then verify the active host allow-list and distinguish it from Nextcloud’s source-IP restriction.
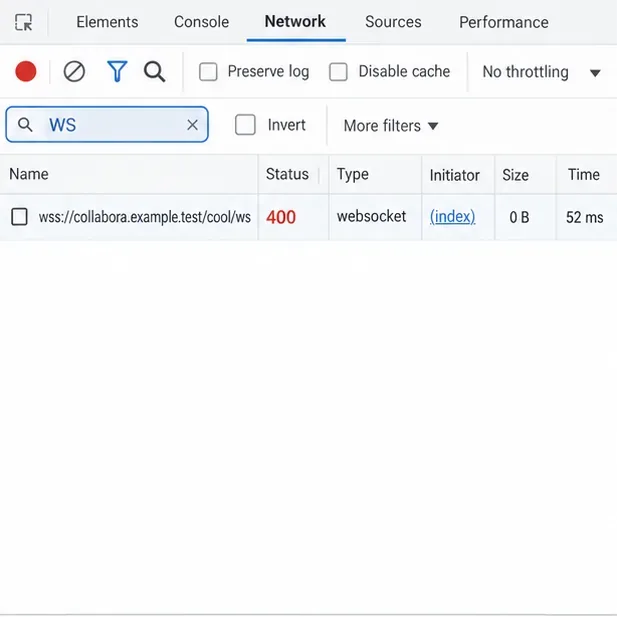
Trace Collabora’s browser, WOPI, and WebSocket connections to find why a document will not open, then apply the fix that matches your Nextcloud setup.
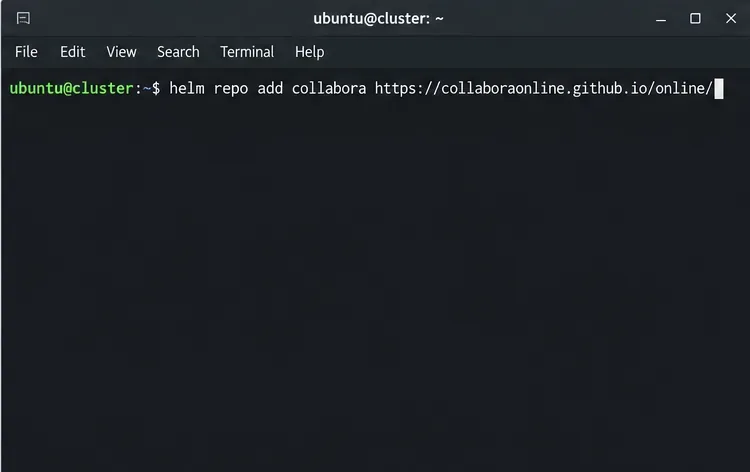
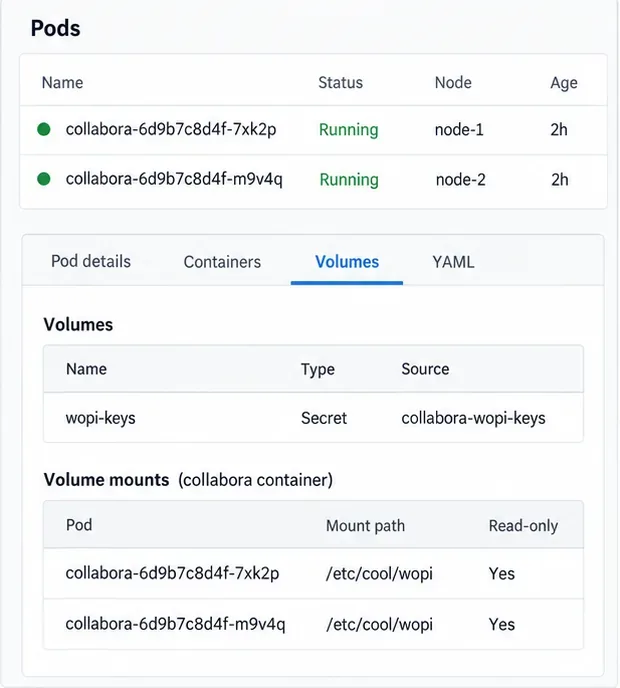
Deploy Collabora CODE replicas with Helm, keep each document on one pod through WOPI affinity, and verify ingress, node placement, and Nextcloud editing.
Trace a failed socket handshake from browser to coolwsd, then match the reverse-proxy route to your Collabora version, including the CODE 26.04 Apache change.
Trace Collabora WOPI proof failures to mismatched keys, stale discovery data, clock drift, or proxy URL changes—without weakening validation.
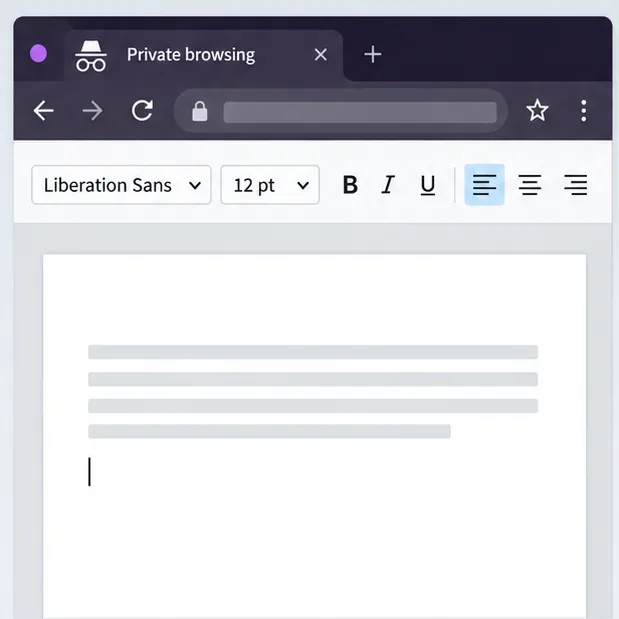
Reset browser zoom, test a clean session, and identify when a malformed size menu needs a Collabora server update.
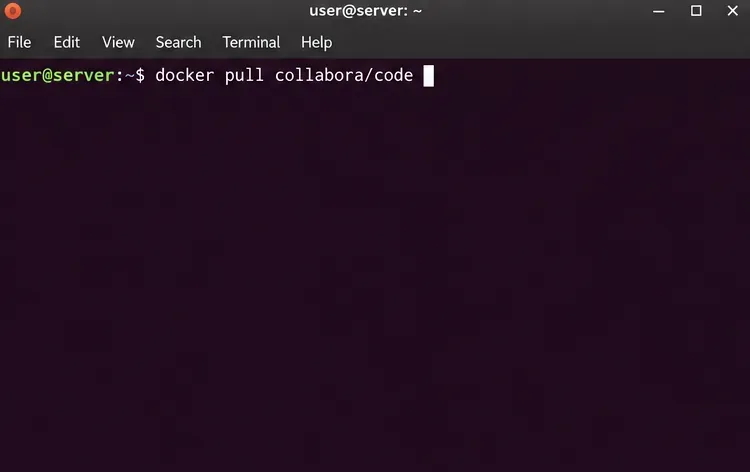
Deploy Collabora CODE with Docker, connect it securely to Nextcloud Office, and verify document editing with practical WOPI and proxy checks.
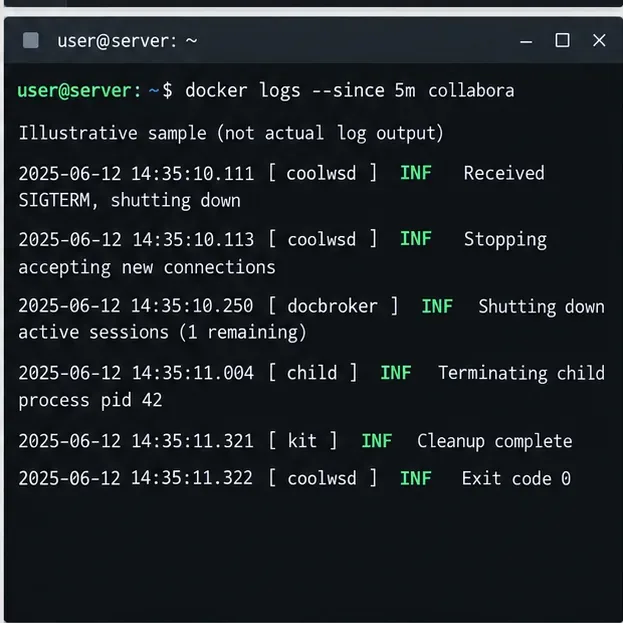
Temporarily raise coolwsd to debug, capture one failed open, and use the log sequence to separate WebSocket, WOPI, proxy, and container issues.
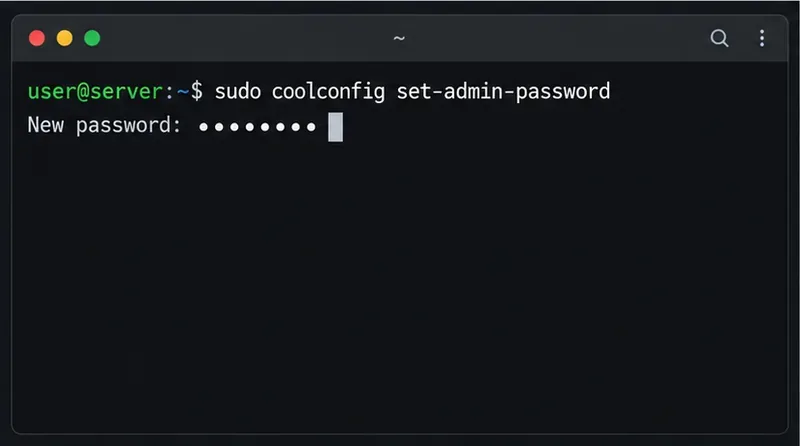
Configure the Collabora Online admin login for Docker or Linux, restart the right service, and verify the new password without exposing it.