The fierce survival images in the wild

The Biological Photography Competition brings together a lot of valuable wildlife works, capturing the fierce survival moments.
If your photos contain sensitive content that you don't want others to see, hide those parts of the content using the tools at your disposal. You can use the built-in tools available on your Windows 11 PC to do this.
Colorize sensitive areas in photos with Paint
The built-in Paint app is a useful tool for many users for basic photo editing, including hiding parts of a photo. You can use the app's fill tool to fill the part of the photo you want to hide with a solid color.
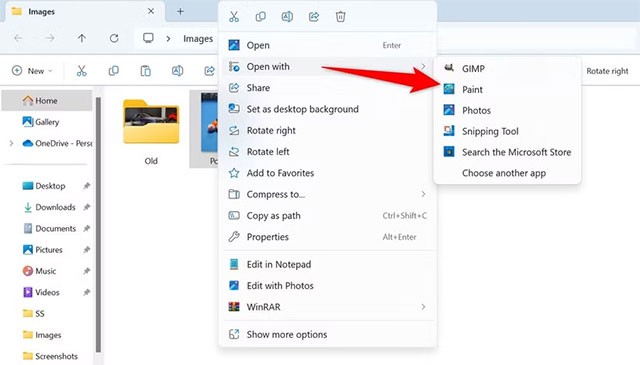
First, open File Explorer (press Windows+E ) and locate the photo you want to edit. Right-click the photo and select Open With > Paint . Alternatively, launch the Paint app, select File > Open and select your photo.
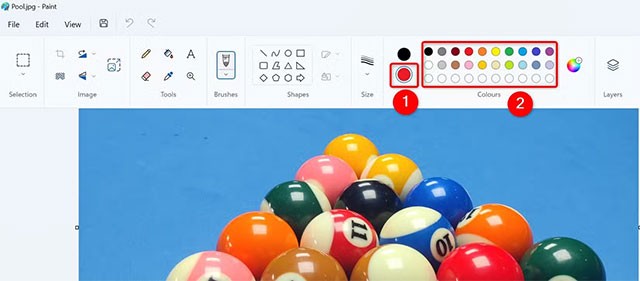
Once the image is launched in Paint, from the Colors section at the top, click " Color 2 ". In the color palette, select the solid color you want to use to mask sensitive information.
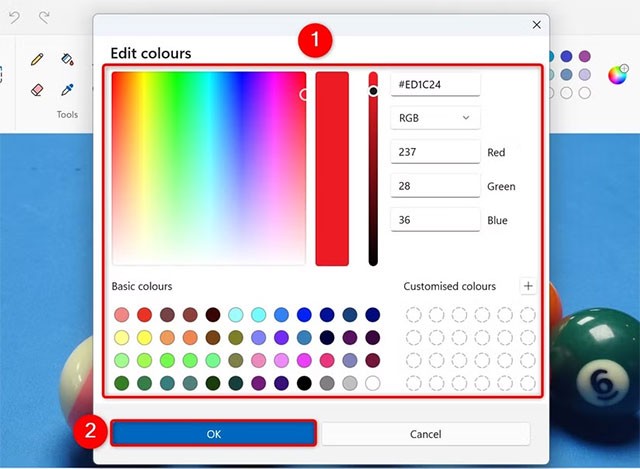
In case you want to use a custom color that is not on the color palette, click on " Edit Colors " and select the color you want. You can select a color by entering the HEX code of that color. Click " OK " to finish.
From the Shapes section at the top, select the shape you want to use to hide sensitive content in your photo. Then, on the photo, draw a shape that covers all of the information you want to hide.
Paint will fill the shape with the color you choose, hiding it from the image. To make sure it's a solid fill, right-click and select Fill > Solid Fill . If you choose a different fill type, like Crayon, some of the back of the shape will still be visible.
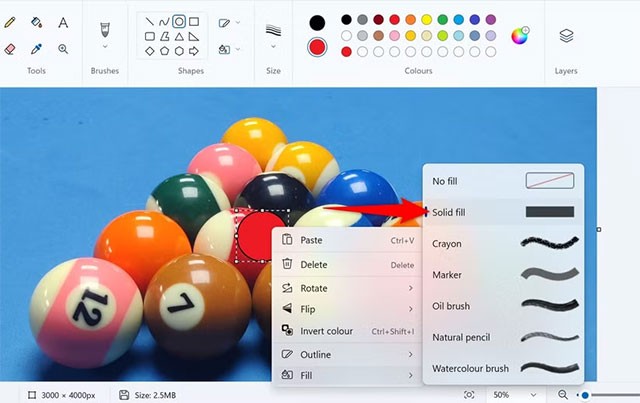
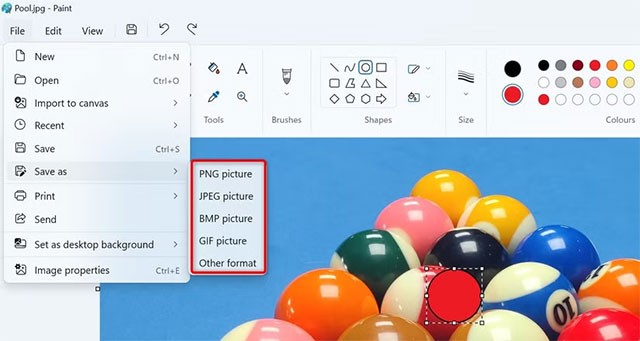
Make sure the information you want to hide in the image is colored in. To save the image as a copy of the original, from the Paint menu bar, select File > Save As and choose the desired image format. In the Save As window, select the folder to save the image to, enter a name for the image in the " File Name " field, and click " Save ."
Hide information in screenshots using the Snipping Tool
If you take a screenshot and then want to hide certain parts of the image, use the built-in Snipping Tool app. Launch Windows Search (press Windows+S), type Snipping Tool, and click select.
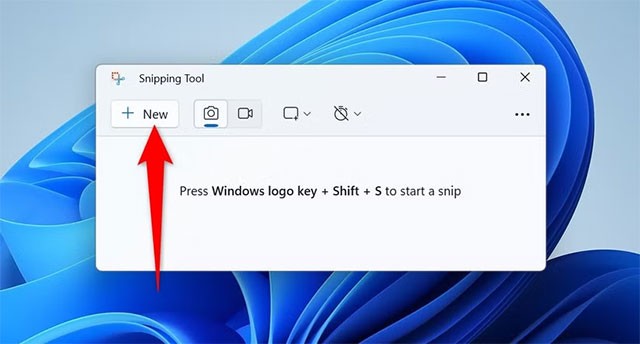
In the top bar of the application, click " New " or press Ctrl+N to take a new screenshot. Then take the screenshot.
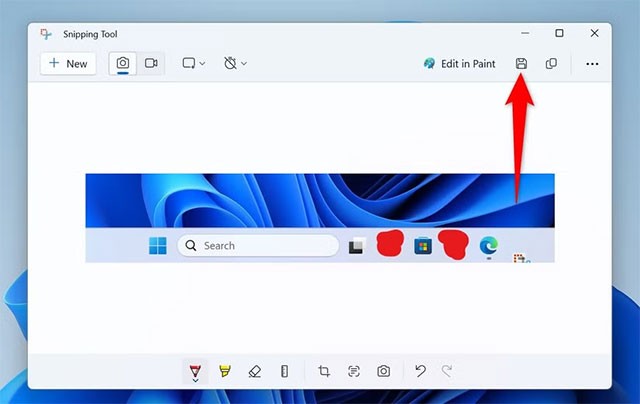
Once the screenshot appears in the app, from the list of tools at the bottom, select the down arrow icon below Pen (the first item). Select the pen size and color you want to use to hide part of your image.
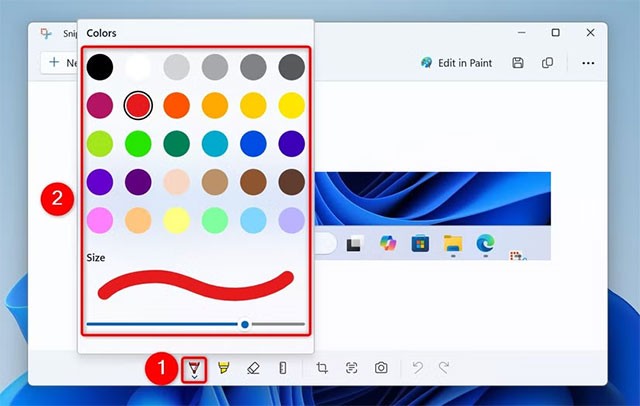
In the image, select the area you want to hide and the Snipping Tool will fill that area with the selected color. This will hide the information visible in that area.
To save the screenshot, click " Save As " (floppy disk icon) at the top.
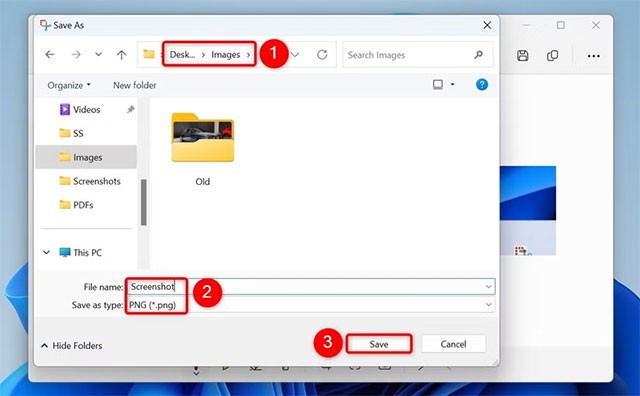
In the Save As window, select a folder to save the image to. Click the " File Name " field and enter a name for the image. Select an image format from the " Save as Type " drop-down menu and click " Save ".
Use Microsoft PowerPoint to put content in pictures
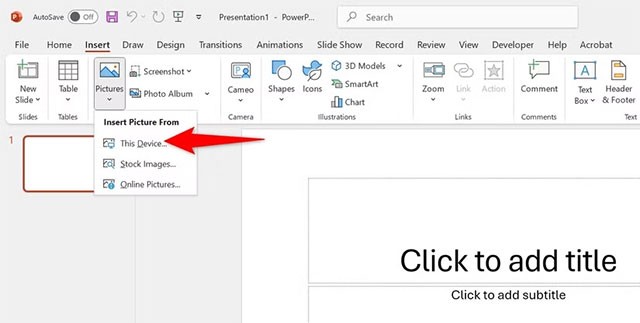
You can also use PowerPoint to hide parts of your pictures. First, launch PowerPoint, create a new presentation, and select Insert > Pictures > This Device .
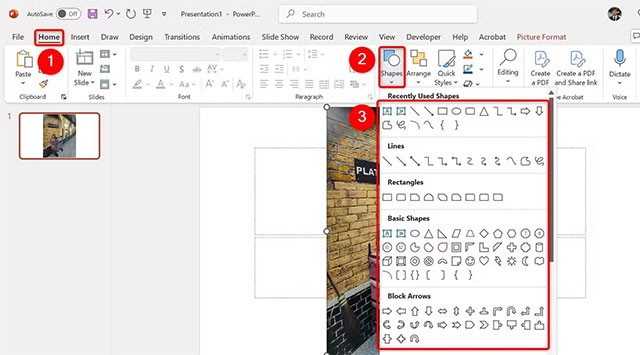
Find and double-click the picture you want to edit to add it to PowerPoint. Then, select the " Home " tab, click " Shapes " and select the shape you want to use to hide information in the picture. Draw that shape over the part of the picture you want to hide.
Right-click on the shape and select " Format Shape ." On the right pane, click " Fill " and select " Solid Fill ." Click the " Color " menu and select the color you want to use. Make sure " Transparency " is set to "0%." Then, click " Line " and select " No Line " to ensure there is no border.
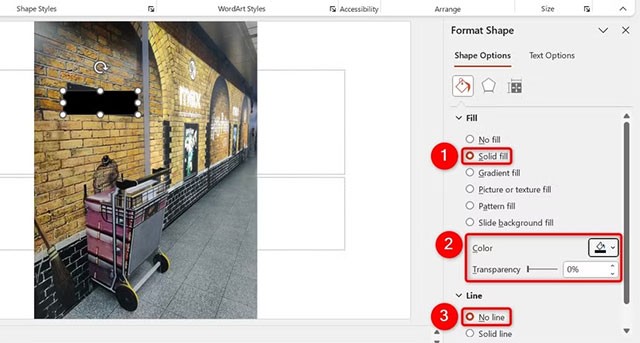
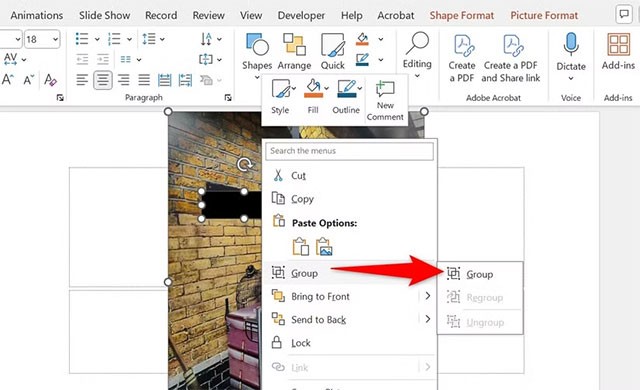
Click to select the photo. Hold down the Ctrl key and select the shape you added. Right-click the shape and navigate to Group > Group . This ensures that both your photo and shape are one object.
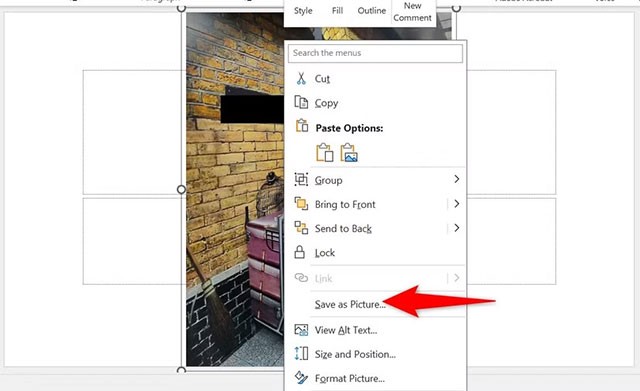
To save your edited photo, right-click on the photo and select " Save as Picture ". In the Save as Picture window, select a folder to save the photo. Click in the " File Name " field and enter a name for the file. Select the photo format from the " Save as Type " drop-down menu. Then, select " Save ".
And that’s how you share your photos while keeping some parts of them hidden. There are also other online safety tips you should follow to stay protected online.
28 new Windows 11 shortcuts in addition to familiar Win 11 shortcuts will help you work faster and more efficiently.
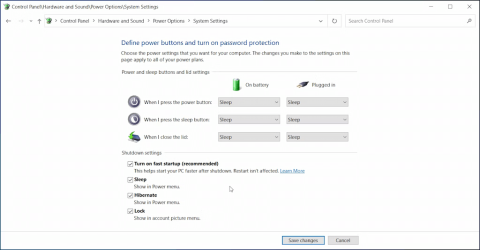
How to restore the Sleep option on the Power Menu, please refer to the article below of WebTech360.
At the Qualcomm Snapdragon Summit on October 22, Microsoft announced a series of improvements coming to Windows PCs that will improve the overall experience for musicians, music producers, and other audio professionals.
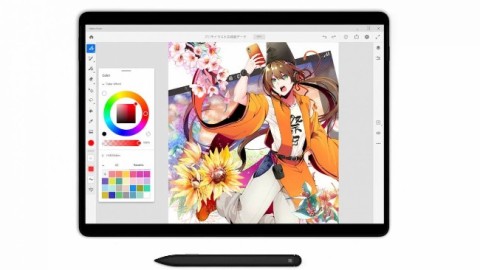
Previously, Adobe Fresco only supported devices with touchscreens and styluses.
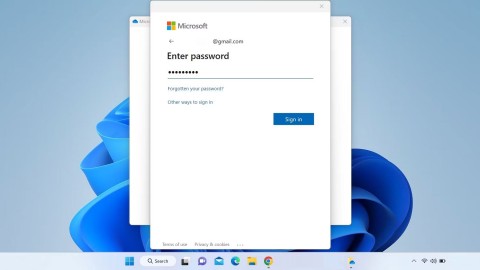
Do you see a red circle with a white cross to the left of your files, folders, or Windows drives? If so, it means OneDrive is out of sync and the folders affected by this issue are not syncing properly.
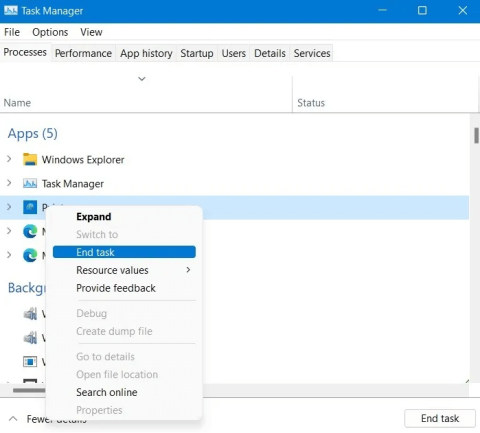
Turning off background applications on Windows 10 will help your computer run less sluggishly and save system resources. The following article by WebTech360 will guide readers on how to turn off background applications on Windows 10.
If you only use your mouse for common tasks, it is not necessary to enable mouse acceleration. Here are instructions for turning off mouse acceleration in Windows 11.
File Pilot is a lightweight, clean, and feature-rich file manager that outperforms the Windows default tool in every way.
In this series of articles we will introduce you to how to customize the default user profile in Windows 7.
Ransomware Protection is a useful feature that comes with Windows 11 to help secure users' devices against Ransomware attacks.
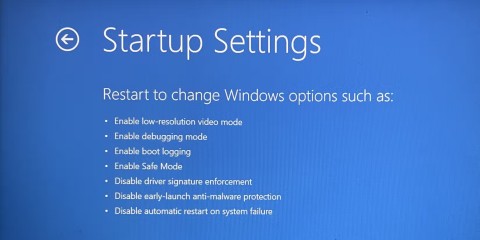
When your Windows PC has problems booting, Advanced Boot Options can help you figure out what's wrong.
Windows 10 is well supported. Software and hardware compatibility issues are rare. On the other hand, there have been major compatibility issues with Windows 11.
A quick and effective solution is to identify and delete large, space-consuming files that are hiding on your computer.
Like other Windows operating systems, Windows 11 still contains software and components that make the machine heavy.
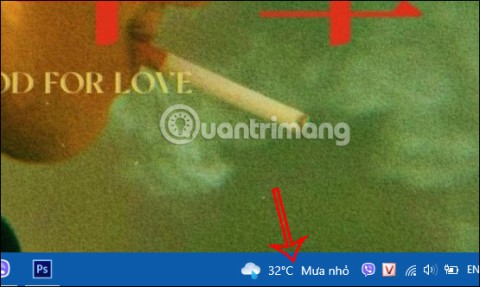
If you want to review weather information, show the weather widget again on the Windows 10 Taskbar, follow the instructions below.

