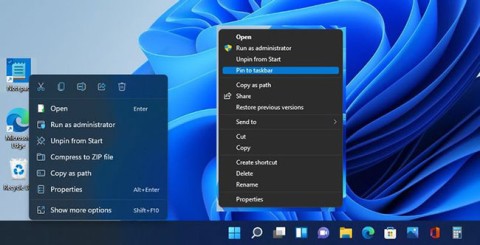
28 Windows 11 shortcuts you should know and use often
28 new Windows 11 shortcuts in addition to familiar Win 11 shortcuts will help you work faster and more efficiently.
There are some cases where a PC needs to run Check disk (chkdsk) when it starts up or reboots. For example, if you run chkdsk on the system drive that is running Windows, it will schedule a disk check the next time you reboot. Windows also forces a disk check to run automatically when the computer unexpectedly shuts down .
Checking your disk is a really time-consuming task. If you don't want to waste time on your next boot, here's how to disable chkdsk on startup in Windows 10, 8, 7, Vista, and Windows XP.
1. Check chkdsk schedule
Open Command Prompt as admin , type the following command and press Enter .
chkntfs C:
If you schedule chkdsk to run you will get a response similar to “chkdsk has been scheduled manually to run on next reboot”.
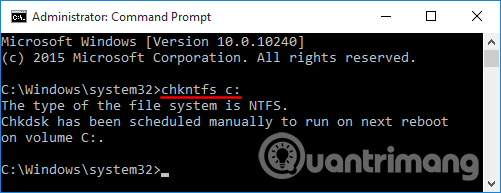
If the drive is reported dirty the system will force a check for it automatically on the next reboot.

2. Turn off chkdsk when Windows starts
The following options will disable chkdsk on Windows startup and depending on how it is scheduled you will use the appropriate method.
Option 1. Turn off automatic disk check
If your computer detects a dirty disk when it starts up, you will be prompted to run a disk consistency check before Windows loads. However, sometimes Windows may continue to run automatic disk checks every time it restarts, which is annoying. To turn off automatic disk checks, you must clear the dirty bit by following the steps below.
Note: This process requires the use of disk editing software such as WinHex. If you want to edit the dirty bit for the currently used system drive, you need to use the WinPE boot CD to boot into the computer.
To manually clear the dirty bit on a Windows drive, follow these steps:
Step 1 . To begin, open WindHex as admin, click on the Tools menu and select Open Disk .
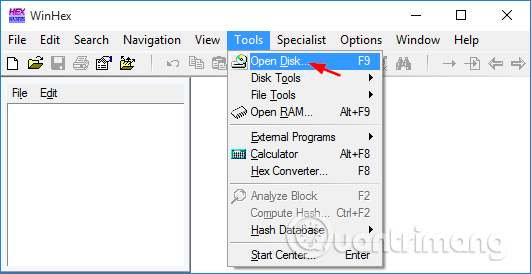
Step 2. When prompted to select the drive to edit, select the drive whose dirty bit you want to edit and then click OK .

To clear the dirty bit on a FAT32 drive, click on the Boot sector in the directory browser. The dirty bit for FAT32 drives is located at offset 0x41 . If the drive is dirty, the bit will be 01, change 01 to 00 and save the changes. You have now successfully cleared the dirty bit.
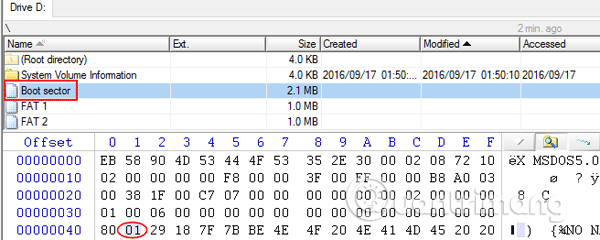
For NTFS drives, click $Volume in the directory browser. The dirty bit offset is slightly different on each NTFS drive. To determine the dirty bit, look for the 13-byte hex string that starts with 03 01 and ends with 80 00 00 00 18.
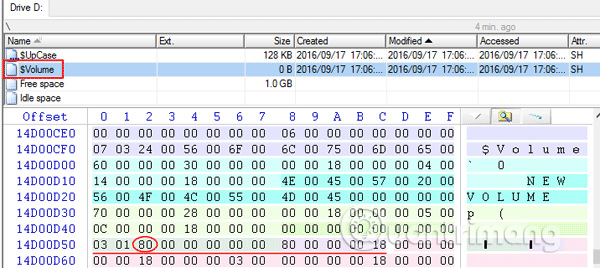
The dirty bit is the third byte of the hex string marked with a red line above and the dirty bit with a red circle. To set the flag on the drive, simply change it to 01 or to 00 if you want to clear the flag.
Option 2: Cancel scheduled disk check
You can cancel a scheduled disk check using Command Prompt or Registry Editor, which is much easier.
Using Command Prompt
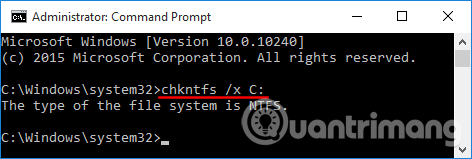
Open Command Prompt as administrator. If you want to disable scheduled disk check on drive C:, type the following command and press Enter .
chkntfs /x C:
Using Registry Editor
Open Registry Editor , navigate to the following key:
HKEY_LOCAL_MACHINE\SYSTEM\CurrentControlSet\Control\Session Manager
Double-click the BootExecute value in the right panel.

This will open the Edit Multi-String window , click on the Value data box , then delete all the lines leaving only the line as shown below.
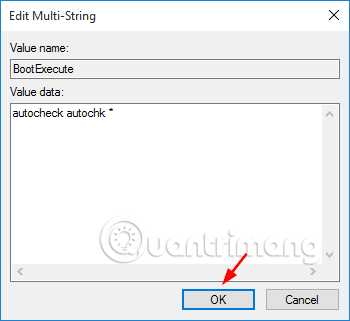
When done, click OK and close Registry Editor.
Good luck!
28 new Windows 11 shortcuts in addition to familiar Win 11 shortcuts will help you work faster and more efficiently.
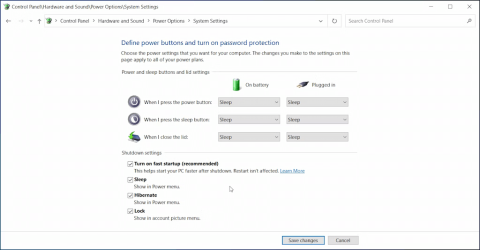
How to restore the Sleep option on the Power Menu, please refer to the article below of WebTech360.
At the Qualcomm Snapdragon Summit on October 22, Microsoft announced a series of improvements coming to Windows PCs that will improve the overall experience for musicians, music producers, and other audio professionals.
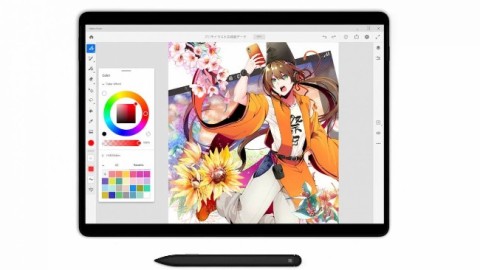
Previously, Adobe Fresco only supported devices with touchscreens and styluses.
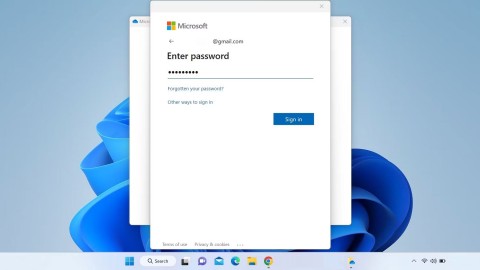
Do you see a red circle with a white cross to the left of your files, folders, or Windows drives? If so, it means OneDrive is out of sync and the folders affected by this issue are not syncing properly.
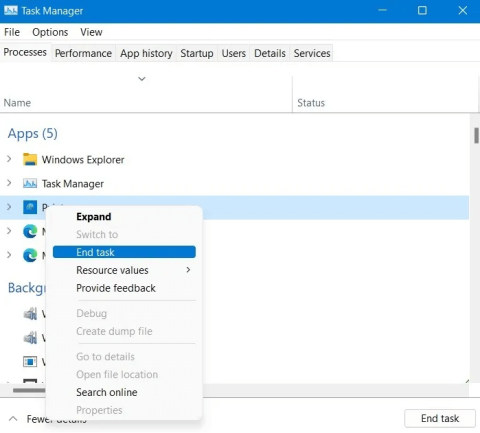
Turning off background applications on Windows 10 will help your computer run less sluggishly and save system resources. The following article by WebTech360 will guide readers on how to turn off background applications on Windows 10.
If you only use your mouse for common tasks, it is not necessary to enable mouse acceleration. Here are instructions for turning off mouse acceleration in Windows 11.
File Pilot is a lightweight, clean, and feature-rich file manager that outperforms the Windows default tool in every way.
In this series of articles we will introduce you to how to customize the default user profile in Windows 7.
Ransomware Protection is a useful feature that comes with Windows 11 to help secure users' devices against Ransomware attacks.
When your Windows PC has problems booting, Advanced Boot Options can help you figure out what's wrong.
Windows 10 is well supported. Software and hardware compatibility issues are rare. On the other hand, there have been major compatibility issues with Windows 11.
A quick and effective solution is to identify and delete large, space-consuming files that are hiding on your computer.
Like other Windows operating systems, Windows 11 still contains software and components that make the machine heavy.
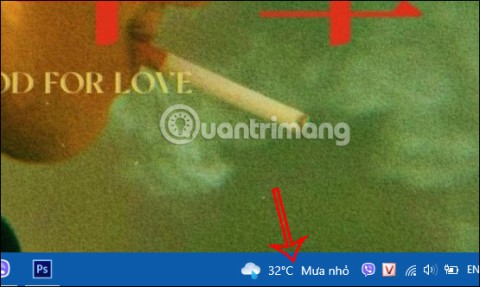
If you want to review weather information, show the weather widget again on the Windows 10 Taskbar, follow the instructions below.
