28 Windows 11 shortcuts you should know and use often

28 new Windows 11 shortcuts in addition to familiar Win 11 shortcuts will help you work faster and more efficiently.
The Snipping Tool app on Windows 11 allows you to take screenshots, edit them, and add notes to them. For example, you can set up automatic screenshot borders on Snipping Tool, adjust the thickness of the screenshot border to your liking. Here are instructions on how to create screenshot borders in Snipping Tool.
How to create Snipping Tool screenshot borders
Step 1:
You enter the keyword Snipping Tool in the search bar and then click to open the tool on your computer.
Next in the Snipping Tool interface, click on the 3 dots icon and select Settings in the displayed list.
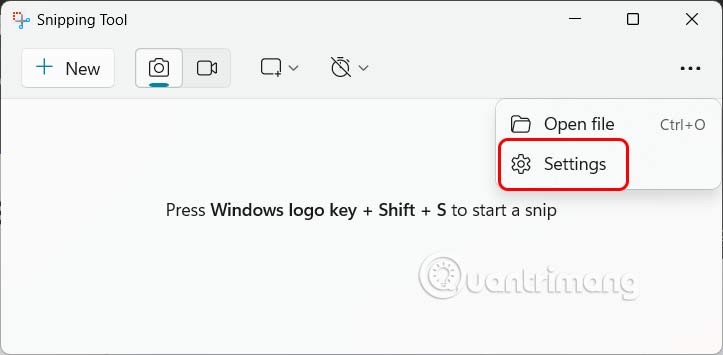
Step 2:
Go to the settings interface for the tool, scroll down and enable the Add border to each screenshot option to create a screenshot border on Snipping Tool.
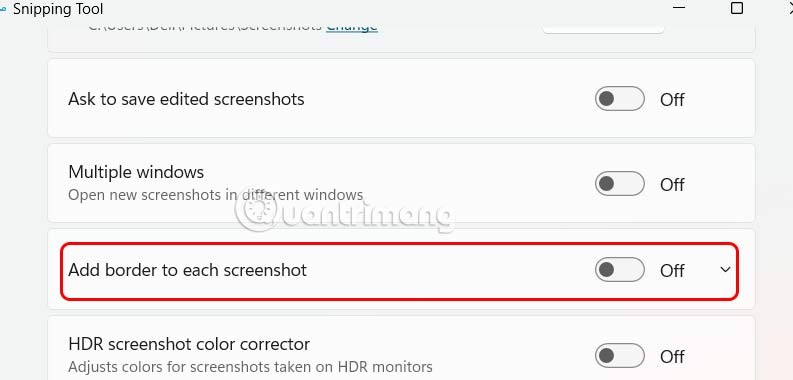
Step 3:
Click the drop-down arrow icon to expand the screenshot border customization. Here we choose the thickness of the border we want. You can preview how the border will appear in the image above.
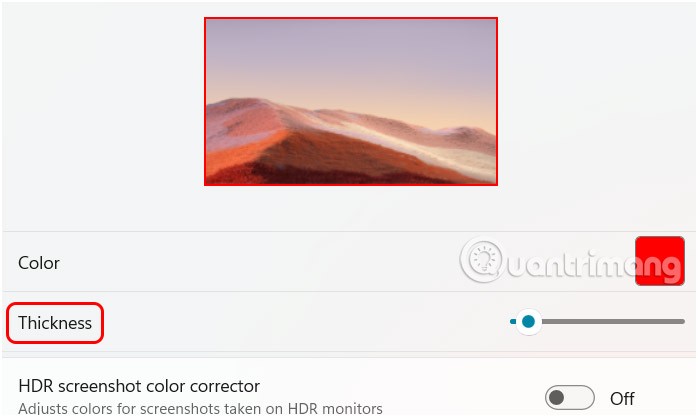
Then tap the colored square to choose a color for the screenshot border.
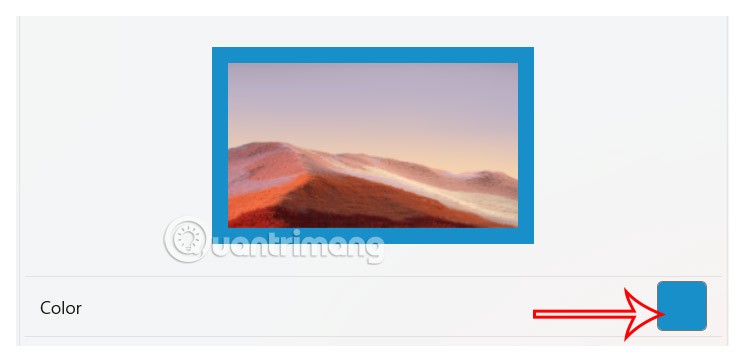
Now when you take a screenshot it will automatically have a border around it like below.

If you don't want the screenshot border anymore, just turn off Add border to each screenshot.
28 new Windows 11 shortcuts in addition to familiar Win 11 shortcuts will help you work faster and more efficiently.
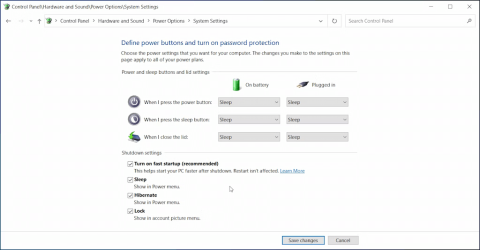
How to restore the Sleep option on the Power Menu, please refer to the article below of WebTech360.
At the Qualcomm Snapdragon Summit on October 22, Microsoft announced a series of improvements coming to Windows PCs that will improve the overall experience for musicians, music producers, and other audio professionals.
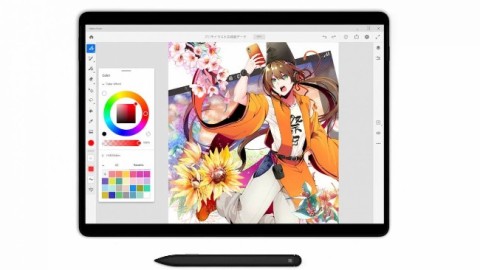
Previously, Adobe Fresco only supported devices with touchscreens and styluses.
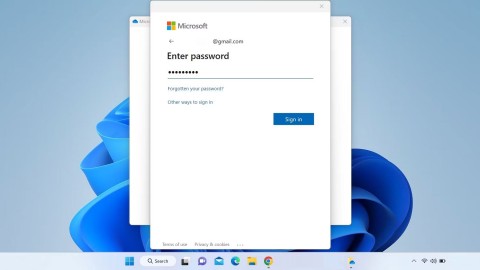
Do you see a red circle with a white cross to the left of your files, folders, or Windows drives? If so, it means OneDrive is out of sync and the folders affected by this issue are not syncing properly.
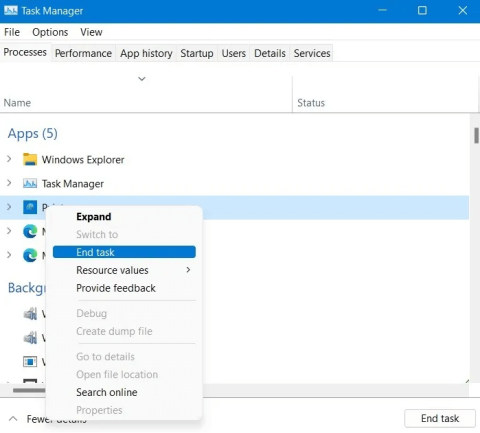
Turning off background applications on Windows 10 will help your computer run less sluggishly and save system resources. The following article by WebTech360 will guide readers on how to turn off background applications on Windows 10.
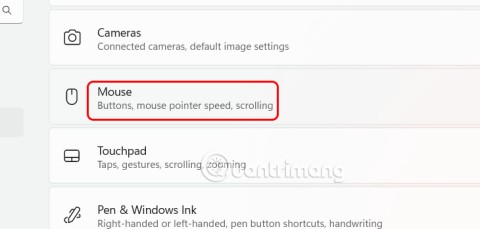
If you only use your mouse for common tasks, it is not necessary to enable mouse acceleration. Here are instructions for turning off mouse acceleration in Windows 11.
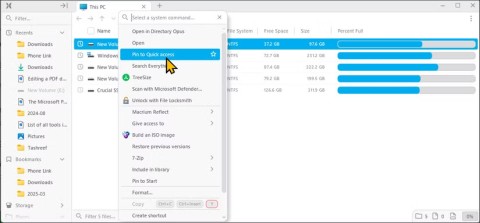
File Pilot is a lightweight, clean, and feature-rich file manager that outperforms the Windows default tool in every way.
In this series of articles we will introduce you to how to customize the default user profile in Windows 7.
Ransomware Protection is a useful feature that comes with Windows 11 to help secure users' devices against Ransomware attacks.
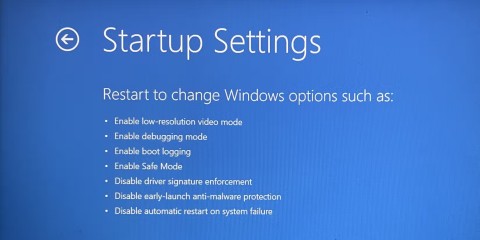
When your Windows PC has problems booting, Advanced Boot Options can help you figure out what's wrong.
Windows 10 is well supported. Software and hardware compatibility issues are rare. On the other hand, there have been major compatibility issues with Windows 11.
A quick and effective solution is to identify and delete large, space-consuming files that are hiding on your computer.
Like other Windows operating systems, Windows 11 still contains software and components that make the machine heavy.
If you want to review weather information, show the weather widget again on the Windows 10 Taskbar, follow the instructions below.
