6 Ways to Open Computer/System Properties in Windows 10
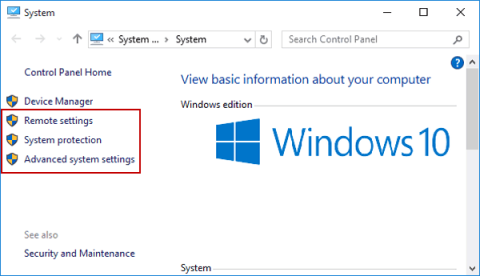
You can use one of the following 6 methods to open Computer Properties (or System Properties) on Windows 10.
Installing Windows on a Mac using the official Boot Camp Assistant software is certainly the easiest and best way of installing Windows on a Mac computer. In addition to the fact that it’s extremely easy to use and setup, when you install Windows using Boot Camp, Windows and apps will have full access to the hardware unlike virtual machines. Get the Boot Camp icon in the Taskbar
After installing Windows on Mac using Boot Camp, you need to install the Boot Camp drivers in order to get trackpad and other features working.
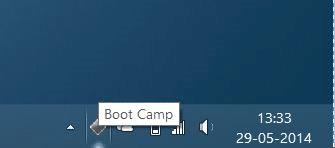
With default settings, Boot Camp sits in the system tray area of taskbar and lets you quickly access Boot Camp Control Panel which in turn allows you change default start up disk and a couple of keyboard and trackpad settings. The other advantage of having Boot Camp icon in the system tray is that you can quickly reboot into Mac OS X by right-clicking on the Boot Camp icon and then clicking Restart in OS X option.
But if for some reason, the Boot Camp icon is missing from the system tray area and it used to appear when you had installed Boot Camp for the first time, you can follow the given below instructions to add the same to system tray in Windows.
Method 1:
For Windows 10
(Scroll down for previous Windows versions)
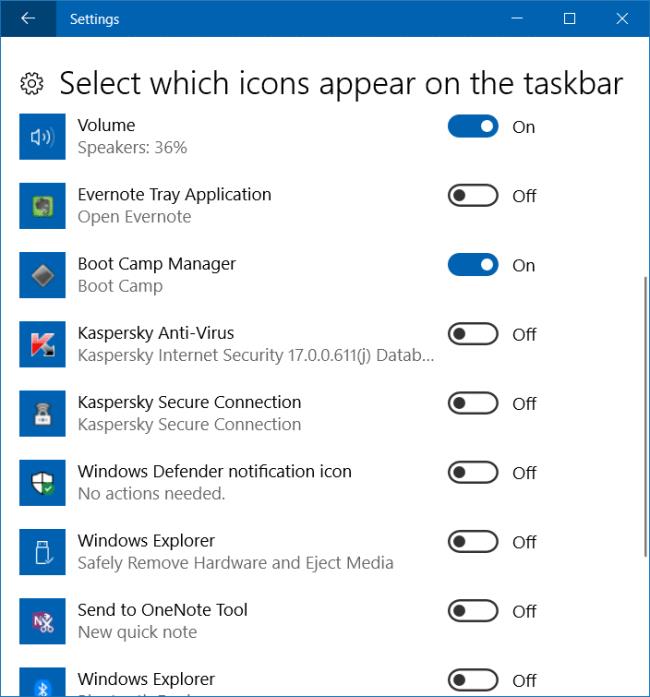
Step 1: Open the Settings app. Navigate to Personalization > Taskbar.
Step 2: In the Notification area section, click Select which icons appear on taskbar link.
Step 3: In the resulting page, turn on Boot Camp Manager entry.
For Windows 8/8.1
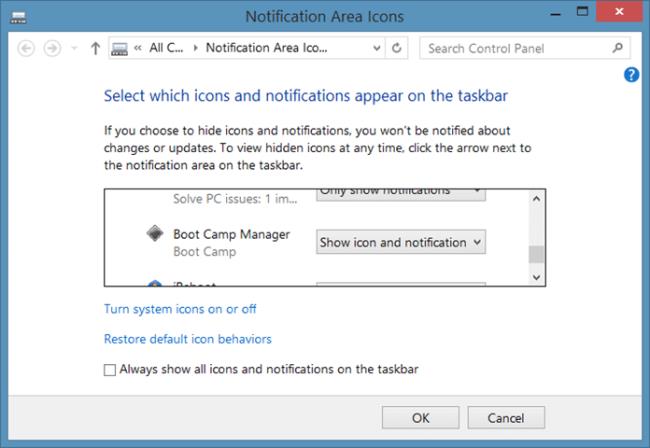
Step 1: Click on the small up arrow icon in the system tray (see picture ) to see hidden icons and then click Customize option.
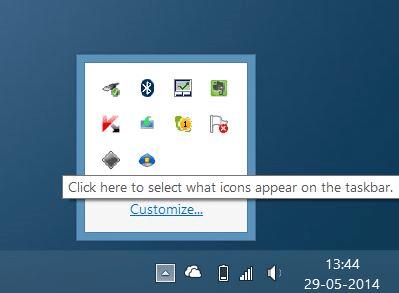
Step 2: Scroll down the list to see if Boot Camp Manager entry is present. If Boot Camp Manager is exist, set its behaviour to Show icon and notifications by selecting the same from the drop down menu. And if Boot Camp icon doesn’t exist there, follow the instructions mentioned in Method 2.
Method 2:
If you are on Windows 10/8.1:
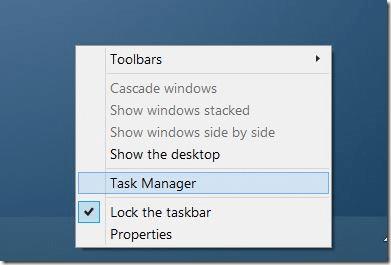
Step 1: Open Task Manger by right-clicking on the empty space of the taskbar and then clicking Task Manager option.
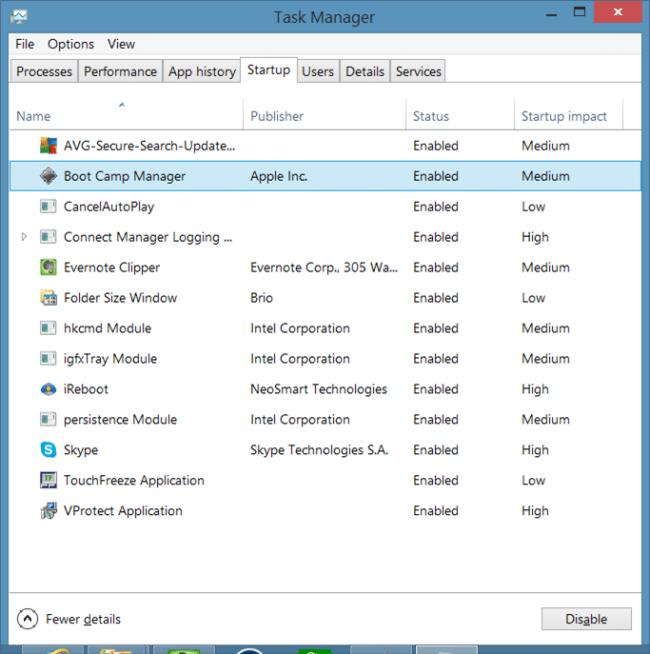
Step 2: Switch to the Startup tab and make sure that Boot Camp isn’t disabled here. If it’s disabled, select Boot Camp entry and then click Enable. That’s it!
If you’re on Windows 7:
Step 1: Open System Configuration utility. To do that, open Run dialog with the help of Command + R hotkey, type Msconfig in the box and the press enter key.
Step 2: Switch to the Startup tab and then make sure that Boot Camp Manager is starting with Windows.
Method 3
NOTE: This method works on Windows 10/8/7.
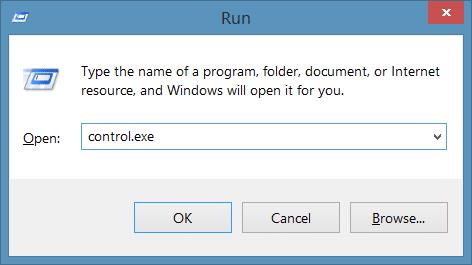
Step 1: Open Control Panel. To do this, open Run dialog box by simultaneously pressing Windows logo and R keys. In the resulting box, type Control.exe, and then press Enter key.
Step 2: Change the Control Panel view to Small icons. You should now see Boot Camp applet in the Control Panel.
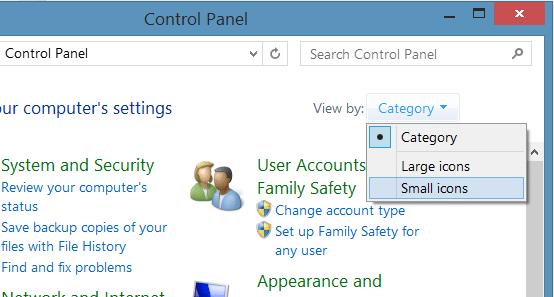
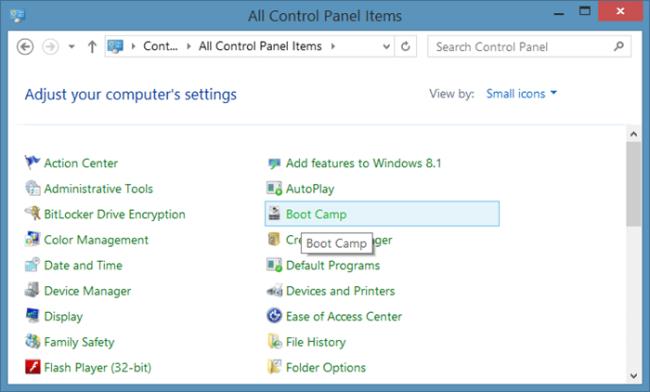
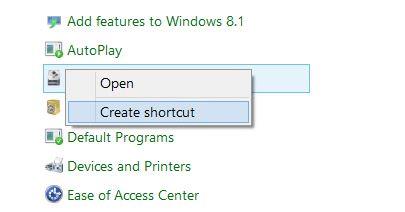
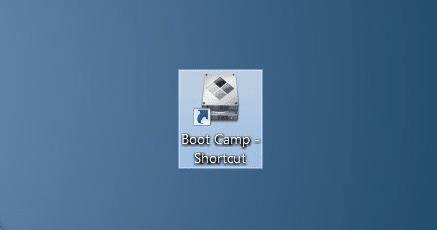
Step 3: Right-click on the Boot Camp applet and then click Create shortcut to create a shortcut of Boot Camp on the desktop.
Step 4: Next, you need to put this shortcut in the Startup folder. To do so, open Run dialog box again with the help of Windows + R hotkey.
Step 5: In the Run box, type shell:startup and then press enter key to open Startup folder.
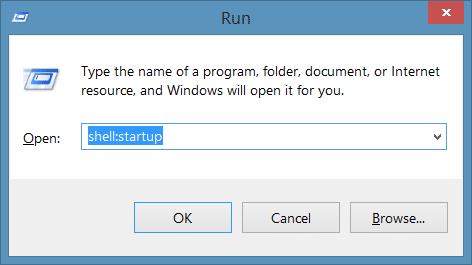
Step 6: Now, copy or move the shortcut that you have just created on the desktop to the Startup folder. That’s it!
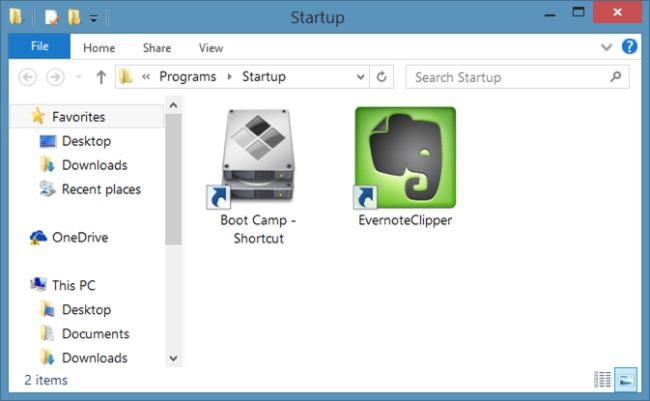
Step 7: Restart your PC to see the Boot Camp in the system tray. From here onwards, Boot Camp icon will automatically start with Windows and will be available to access from system tray.
You can use one of the following 6 methods to open Computer Properties (or System Properties) on Windows 10.
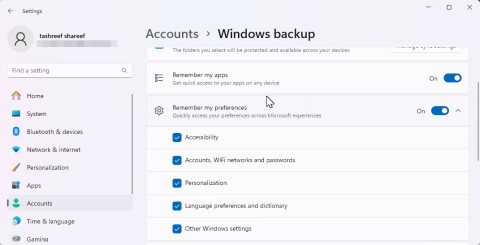
While Windows Backup is a good backup solution for Windows 11, it has its limitations. That's why you should rely on the following 3-step process to properly back up your Windows 11 PC.
28 new Windows 11 shortcuts in addition to familiar Win 11 shortcuts will help you work faster and more efficiently.
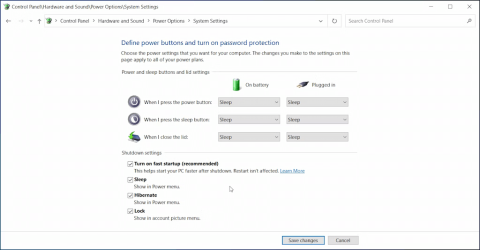
How to restore the Sleep option on the Power Menu, please refer to the article below of WebTech360.
At the Qualcomm Snapdragon Summit on October 22, Microsoft announced a series of improvements coming to Windows PCs that will improve the overall experience for musicians, music producers, and other audio professionals.
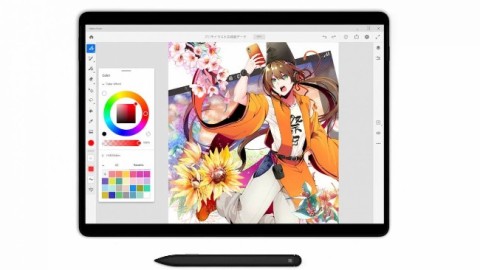
Previously, Adobe Fresco only supported devices with touchscreens and styluses.
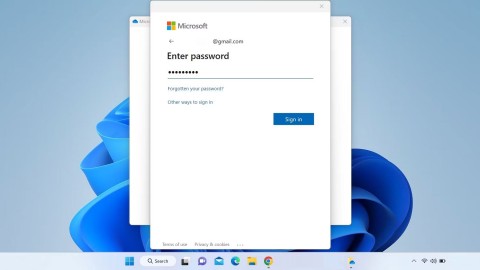
Do you see a red circle with a white cross to the left of your files, folders, or Windows drives? If so, it means OneDrive is out of sync and the folders affected by this issue are not syncing properly.
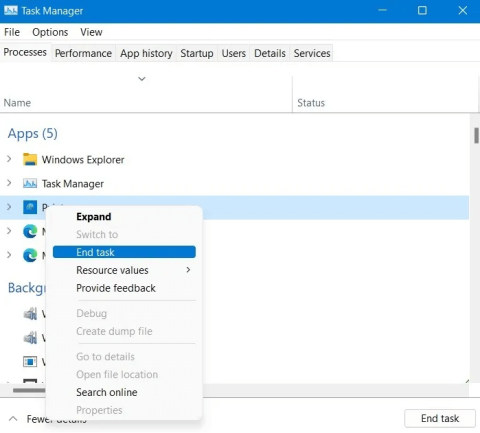
Turning off background applications on Windows 10 will help your computer run less sluggishly and save system resources. The following article by WebTech360 will guide readers on how to turn off background applications on Windows 10.
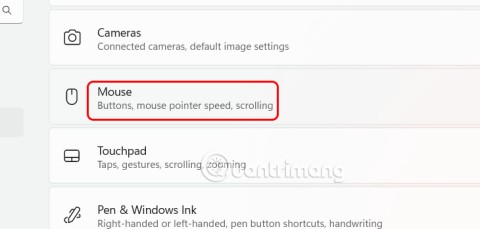
If you only use your mouse for common tasks, it is not necessary to enable mouse acceleration. Here are instructions for turning off mouse acceleration in Windows 11.
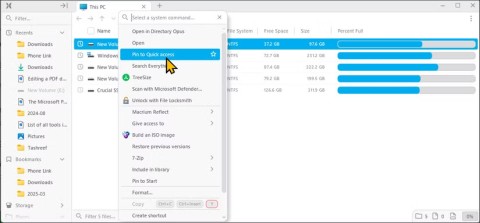
File Pilot is a lightweight, clean, and feature-rich file manager that outperforms the Windows default tool in every way.
In this series of articles we will introduce you to how to customize the default user profile in Windows 7.
Ransomware Protection is a useful feature that comes with Windows 11 to help secure users' devices against Ransomware attacks.
When your Windows PC has problems booting, Advanced Boot Options can help you figure out what's wrong.
Windows 10 is well supported. Software and hardware compatibility issues are rare. On the other hand, there have been major compatibility issues with Windows 11.
A quick and effective solution is to identify and delete large, space-consuming files that are hiding on your computer.
