How to Zoom on Chrome
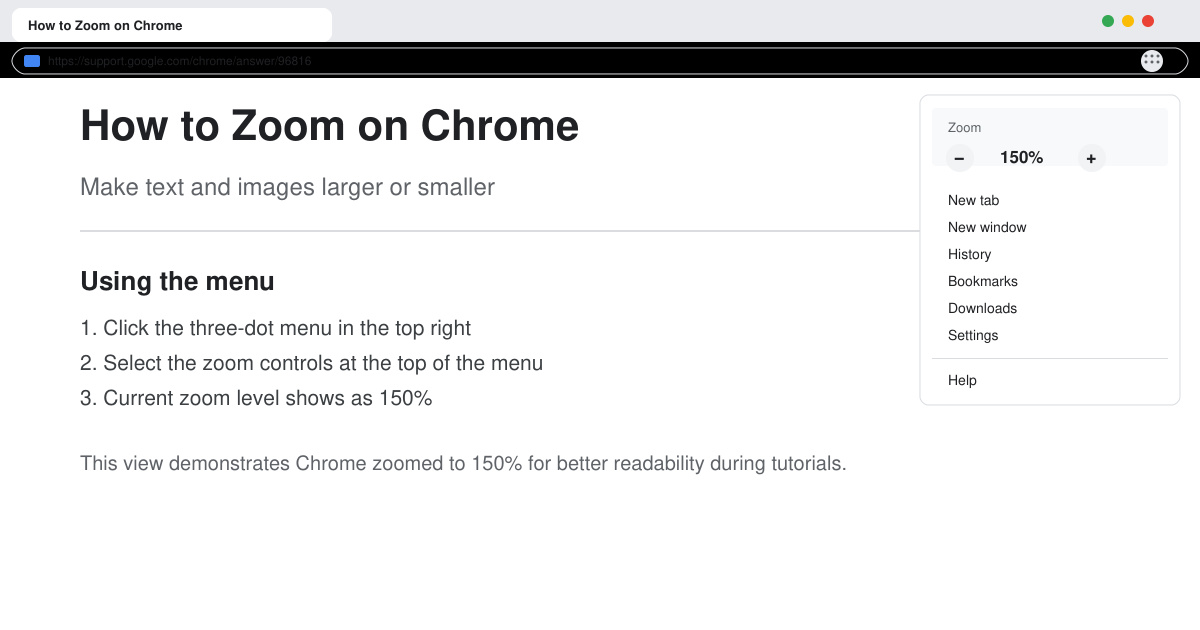
Learn how to zoom on Chrome with keyboard shortcuts, menu options, and touch gestures to improve readability on any webpage in seconds.
Cut, Copy, and Paste are basic commands that help you multiply and organize files and folders on your computer or device, making you more productive and efficient. On a Mac, finding a way to copy and paste files and folders is pretty intuitive. However, when it comes to cutting and pasting, the process is not as straightforward, because, on a Mac, you first Copy content, and then use the "Move Item Here" command instead. To learn more about all the different ways you can cut, copy and paste files and folders on macOS, read this tutorial:
Contents
NOTE: This guide covers macOS Catalina or newer. The features shared in our guide may not work on older versions of macOS. To check your macOS version, read What version of macOS do I have?
First things first: Select one or more files and folders
The first thing you need to do if you are trying to either copy or move content to another location is to select the file(s) and/or folder(s) in question. To select a single file or folder, click on it. To select more files and/or folders, hold down the Command (⌘) key on your keyboard (which replaces Windows' Ctrl key in most keyboard shortcuts) while clicking the additional items you want to select.

The Command key on a Mac keyboard
When you are viewing content as Icons, the Shift key has the exact same function as Command(⌘). However, in any of the other view modes, as List, as Columns, and as Gallery, you can use it to select adjacent items. Click the first item in your selection, hold down the Shift key, and then click the last item. The files and/or folders in between are also selected.

The Shift key on a Mac keyboard
When it comes to adjacent files and/or folders, you can also click and then hold down the mouse button while dragging the cursor to create a selection area that includes them. This is easier done when viewing files and folders as Icons.

Use only your mouse to select adjacent files or folders
You can use the keyboard shortcut Command(⌘) - A to select all the files and/or folders in a location.

Press Command and A to select the entire content in a location
The option to Select All is also available from the Finder's Edit menu. Open the folder where the files are located, click on Edit, and then on Select All.

Select All the files and folders
TIP: Select All can also be used to select the entire contents of a document. We included more information about selecting text in The complete guide to selecting text on your Mac.
1. How to Cut, Copy, and Paste files and folders using keyboard shortcuts
Keyboard shortcuts are, for most users, the fastest way to copy or move files and folders to another location.
Regardless of what you want to do next, you first need to Copy the file(s) in question by using the keyboard shortcut Command(⌘) - C.
Press Command and C to copy files and folders
To Paste them to another location, go there and use the keyboard shortcut Command(⌘) - V. The items are now available in both locations.
Press Command and V to paste files and folders you previously copied
To move files (or cut them), after copying, use the keyboard shortcut Option - Command(⌘) - V. The files are now only available in the new location and have been removed from the old one.

Press Option, Command and V to move files and folders you previously copied
TIP: While the Copy and Paste shortcuts in this section can also be used for text, things are quite different when you try to Cut. To learn more, read 5 ways to Cut, Copy, and Paste text on a Mac.
2. How to Cut, Copy, and Paste files and folders using the right-click menu
The right-click menu is easily accessible when you want to move or copy items. You just used your mouse to make a selection, now right-click on it to open a contextual menu, and click on Copy. If you are copying one item, the Copy option in the menu is followed by that item's name. If you selected two items, the menu reads "Copy 2 Items," for three - "Copy 3 Items," and so on.

Click on Copy to add the file to your clipboard
If you wanted to copy the file, go to the chosen location, right-click on a free area in that folder, and then click on the Paste Item command from the contextual menu. Similar to copying, the option changes to "Paste 2 Items," and so on, when it comes to more files and/or folders.

Use the Paste option from the right-click menu
If you wanted to cut the file and move it to a new location, then, once you have it copied in your clipboard, go to that location and right-click on any free area to open the contextual menu. With the contextual menu open, press the Option key on your keyboard.

Press Option on your keyboard while the right-click menu is open
The Paste option changes to "Move Item Here" (or "Move x Items Here"), and you can click it to finish cutting or moving your file(s).

Press Option on your keyboard to change the options in the contextual menu
3. How to Cut, Copy, and Paste files and folders using the Finder's Edit menu
Options to help you copy or move files and folders on your Mac are also available in the Finder's Edit menu. Once your files are selected, click on Edit to open the menu and then on "Copy x Items" to add the files to your clipboard.

Copying the items adds them to your clipboard
Move to the location of your choice, open the Finder's Edit menu again, and click on Paste Item or "Paste x Items" - in case of multiple files and/or folders.

Use Paste from the Finder's Edit menu
To cut the items in your clipboard from their original location and move them to another one, go to the destination folder and open the Finder's Edit menu. Pressing the Option key on your keyboard changes the menu, revealing the "Move x Items Here" option. Click on it, and the files and folders in your clipboard become available in this folder instead.

Pressing the Option key changes what is displayed in the Edit menu
4. How to Cut, Copy, and Paste files and folders using the mouse
Using the mouse to copy and move files and folders is fast and easy, especially when you are organizing your content and need to work with multiple folders.
Make sure both the source and the destination folders are open on your screen, then grab your selection by clicking on it and holding down the mouse button. When you move your mouse and drag them around, you can see the number of items you grabbed displayed next to your mouse pointer.
Dragging your selection around shows the number of items in it
To move the items, or cut and paste them, drag and drop them to the folder of your choice.

Hold down the mouse button to drag and drop your selection to a new location
If you want to copy the items, press the Option key before dropping them in the folder. A plus sign (+) icon appears next to your mouse pointer. Release the mouse button after dragging the items on top of the destination folder, and copies of your items are now available in this location.

Hold down the Option key to copy the files
TIP: You can also use the Option key to create duplicates of your files in the same folder.
5. How to Cut, Copy, and Paste files and folders using the Terminal
There are many ways to open the Terminal app on your Mac, but we find it easiest to first open Spotlight with the default keyboard shortcut Command (⌘) - Spacebar, then type in "terminal" and access the app from the results.

Finding the Terminal app via Spotlight
The Terminal app opens, and you can enter commands. To cut and paste, or move a file or a folder, you need to use the following one-line command:
mv source destination
Replace source with the path to the file or folder you want to move and destination with the path to the destination folder. Then, press Return on your keyboard. For instance, to move the folder Wallpapers from the Documents folder to the Desktop, we used the following command:
mv ~/Documents/Wallpapers ~/Desktop
To move the file S.jpg from the Wallpapers folder in Documents and to the Desktop, we used the following command:
mv ~/Documents/Wallpapers/S.jpg ~/Desktop

The commands used in the Terminal app to move a folder and a file
When it comes to copying, the commands for files and folders are different. To copy a file, use:
cp source destination
Replace source with the path to the file you want to copy and destination with the path to the destination folder. Then, press Return on your keyboard. To copy the file S.jpg from the Wallpapers folder in Documents and to the Desktop, we used the following command:
cp ~/Documents/Wallpapers/S.jpg ~/Desktop

The command used in the Terminal app to copy a file
To copy a folder, including all its contents, use:
cp -r source destination
Replace source with the path to the folder you want to copy and destination with the path to the destination folder. Then, press Return on your keyboard. To copy the folder Wallpapers from the Documents folder to the Desktop, we used the following command:
cp -r ~/Documents/Wallpapers ~/Desktop

The command used in the Terminal app to copy a folder
TIP: The ~ (tilde) symbol is used as a replacement for the Home folder, which contains both your Desktop and your Documents folders.
Bonus: Find out what items are currently in the clipboard
If you need to copy or move a lot of content around, the whole process can become confusing. If you want to check that the file(s) and/or folder(s) you just copied or cut are the correct ones, you can check by opening the clipboard. In the Finder's Edit menu, click on Show Clipboard.
The Edit menu has a Show Clipboard option
The clipboard opens, showing a list of the items that were cut or copied last - in our case, one folder and six JPG files.
The Clipboard lists all the items you cut or copied last
Which way to Cut, Copy, and Paste do you prefer?
Depending on the situation, we use different ways to copy and move around files and folders: we mostly drag and drop when it comes to moving, but we tend to use the Command (⌘) - C and Command (⌘) - V keyboard shortcuts whenever we copy. What about you? Which of these ways strikes you as the most comfortable and straightforward? Comment below and let's discuss.
Learn how to zoom on Chrome with keyboard shortcuts, menu options, and touch gestures to improve readability on any webpage in seconds.
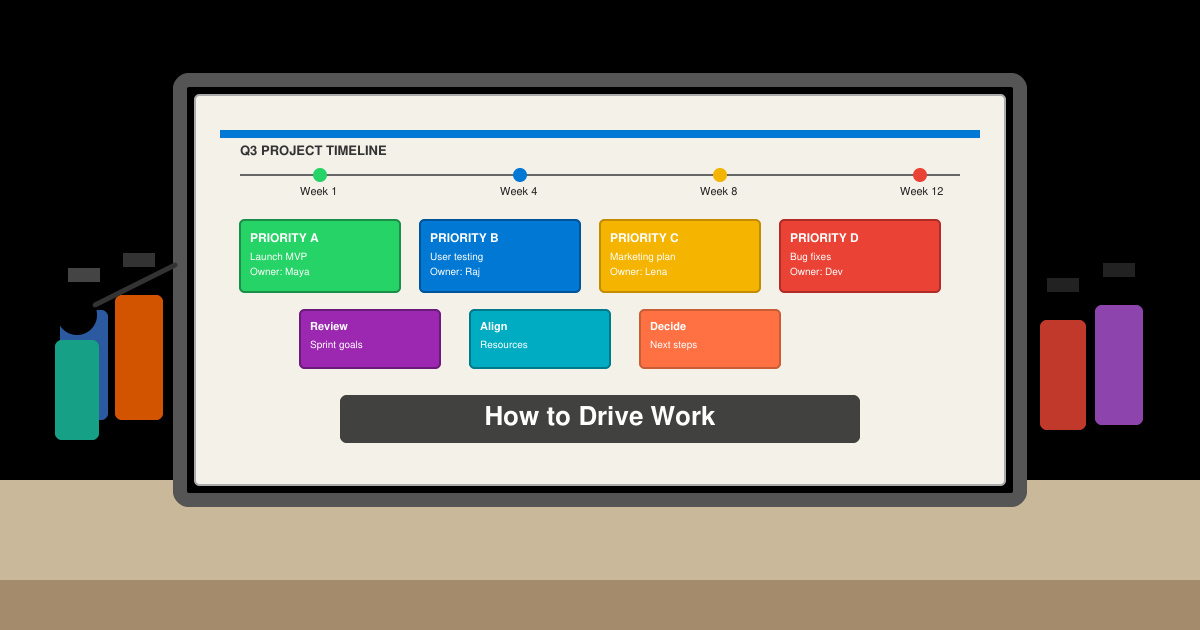
Discover how to drive work with clear processes that keep projects moving and teams aligned. This guide covers practical steps to improve output and reduce delays across any workplace.
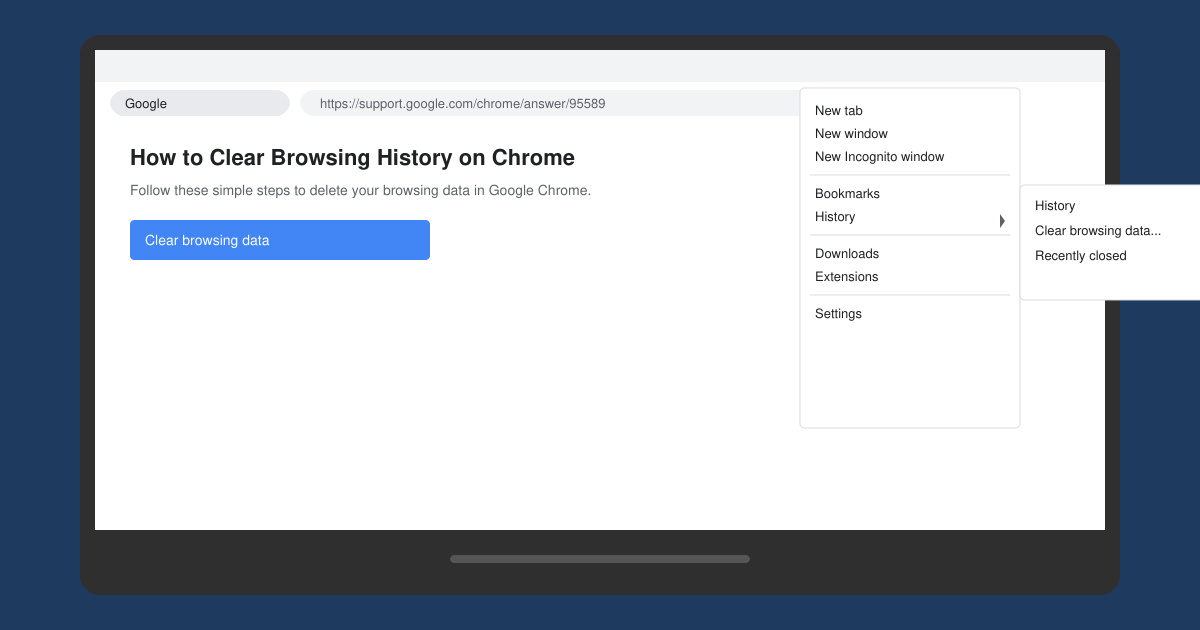
Learn exactly how to clear browsing history on Chrome in under a minute. Follow these precise steps to remove data from your desktop or mobile browser and improve privacy.
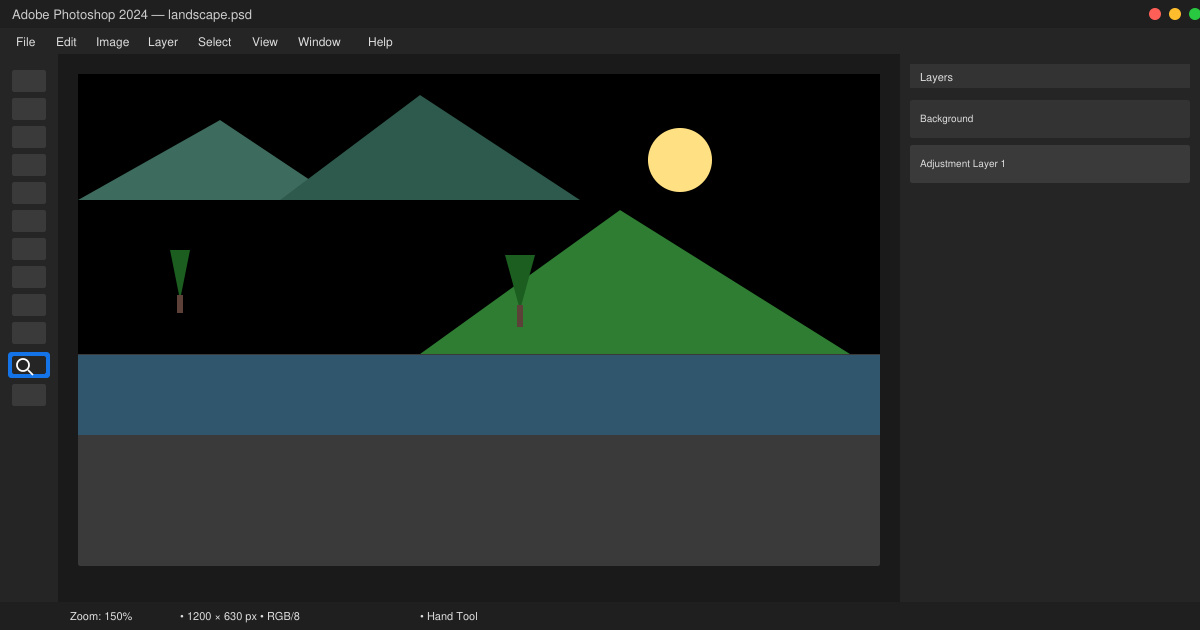
Learn how to zoom in on Photoshop with precise methods for detailed photo editing and design work. Follow these steps to master zooming quickly in Adobe Photoshop.
How to Use Discord starts with creating an account and joining servers. This guide shows exactly how to set up voice chats, manage channels, and connect with communities quickly.
Master how to boil broccoli perfectly every time with this step-by-step guide. Learn exact timing and techniques for tender, vibrant, nutrient-rich results.
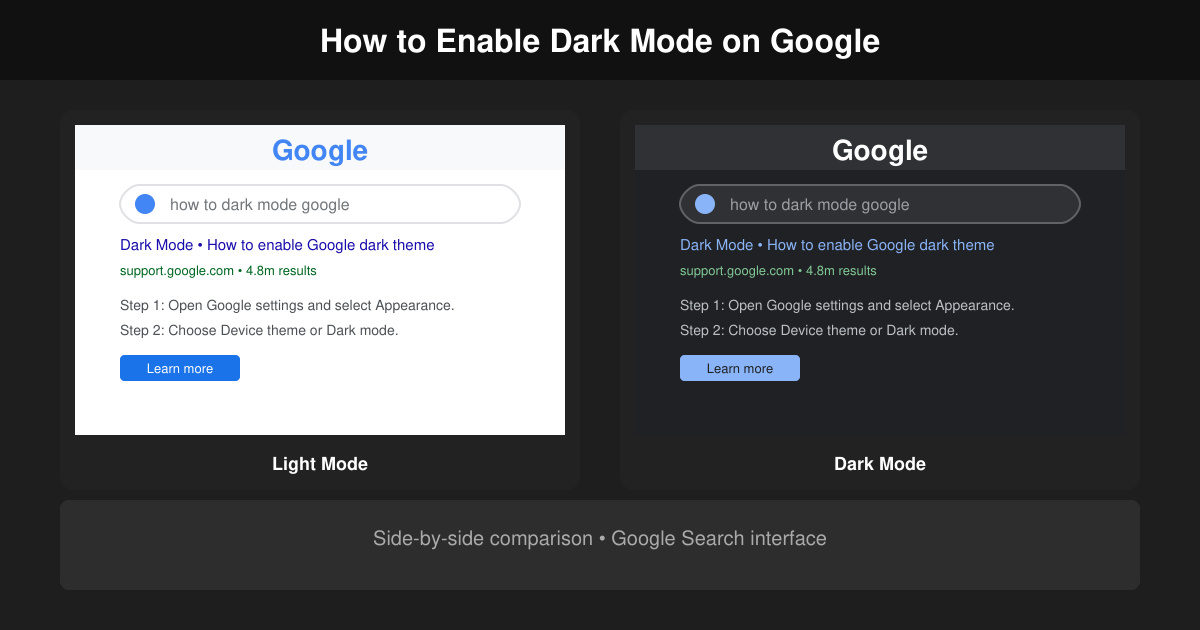
Learn how to dark mode on Google across Search, Chrome and apps to cut eye strain at night. This guide shows the exact settings to enable Google dark theme in under a minute.
Learn exactly how to add font to Canva with this step-by-step guide. Upload custom fonts through Brand Kit to use them across all your designs in minutes.
How to Use Skype for free video calls, messaging, and screen sharing. Follow this complete guide to install the app, set up your account, and start communicating in minutes.
Learn how to clear Google history quickly to protect your privacy. This step-by-step guide shows you how to delete search activity from your Google account on any device.